Chapter 8:
Initial Terminal Imaging
Introduction
Factory default HDD/SSD images for the NCR 7613 are distributed on bootable auto-
imaging USB Flash Drive media. The following procedures describe how to
apply/restore an image on the terminal.
Warning:
Using this procedure will replace any previously stored OS images
created using the
Disk Image Backup and Recovery Tool
.
Note:
A USB Keyboard is required to perform this operation.
Note:
For more information, refer to the
Imaging Procedure
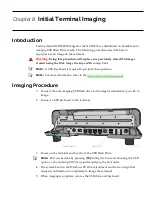
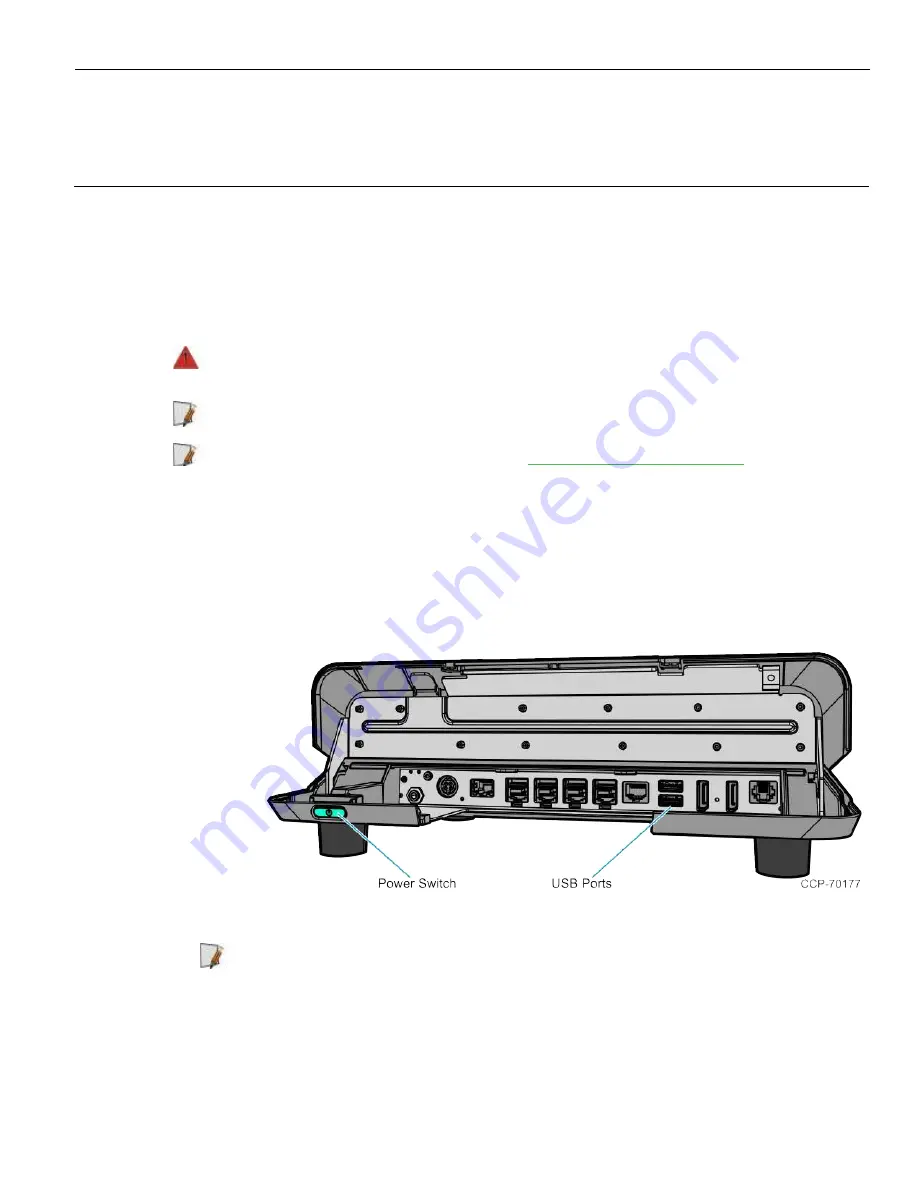
1. Connect the auto-imaging USB flash drive to the target terminal that you wish to
image.
2. Connect a USB keyboard to the terminal.
3. Power on the terminal and boot from the USB Flash Drive.
Note:
This can be done by pressing [
F8]
during the boot and choosing the USB
option), or by entering
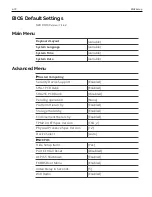
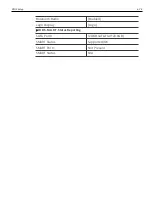
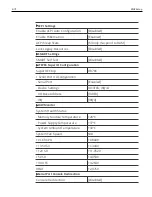
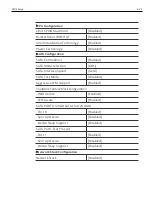
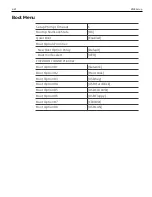
BIOS Setup
and modifying the boot order.
4. The system boots in the Windows PE OS environment and starts a script that
requests confirmation to completely re-image the terminal.
5. When imaging is complete, remove the USB drive and keyboard.
Summary of Contents for XR3 (7613)
Page 1: ...User Guide NCR RealPOS XR3 7613 Release 1 0 BCC5 0000 5154 Issue B...
Page 13: ...xi...
Page 20: ...Product Overview 1 7 Label Locations...
Page 62: ...4 49 Disk Image Backup and Recovery Tool 2 Click on the USB Button...
Page 69: ...Disk Image Backup and Recovery Tool 4 56 A progress bar is displayed as the image is applied...
Page 70: ...4 57 Disk Image Backup and Recovery Tool A message is displayed when the load is complete...
Page 71: ...Disk Image Backup and Recovery Tool 4 58 5 Reboot the POS...
Page 82: ...5 69 Power Management 2 Select Network Adapters Realtek PCIe GBE Family Controller 2...
Page 98: ...7 85 BIOS Updating Procedure 5 Select Make Bootable...
Page 124: ...2x20 Customer Display Interface 9 111 245 246 247 248 249 250 251 252 253 254 255...
Page 132: ...2x20 Customer Display Interface 9 119 245 246 247 248 249 250 251 252 253 254 255...
Page 140: ...2x20 Customer Display Interface 9 127 245 246 247 248 249 250 251 252 253 254 255...
Page 144: ...10 131 Wireless Adapter Switching 6 Select Create a new package OK...
Page 151: ...B 138 Touch Screen Calibration Do NOT touch the bezel with your other fingers...

