


48 Checking the printing area
1.
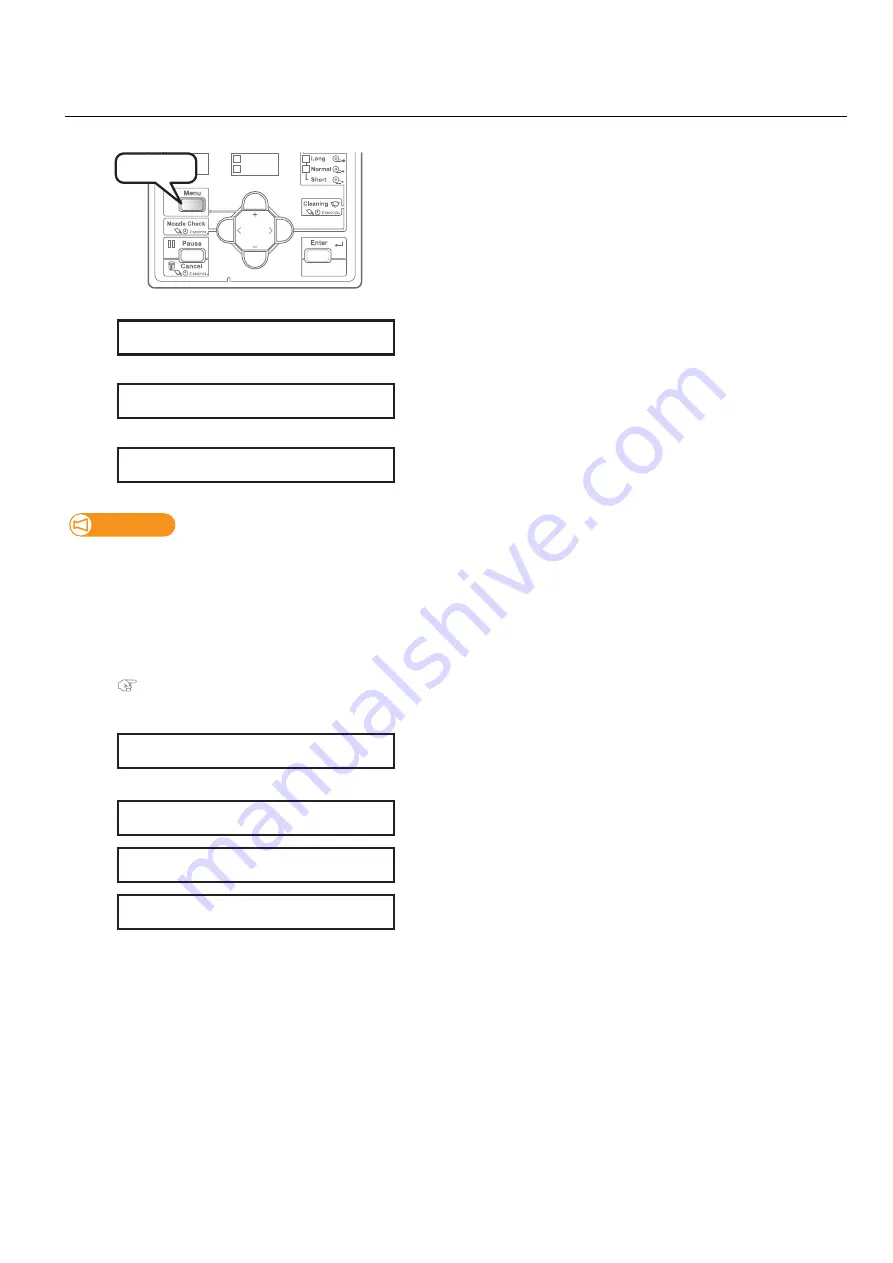
Setting “Show Edges” function
[1]
Press the [Menu] key.
[2]
Press the [>] key.
[3]
Press the [Enter] key.
[4]
• Use the [+] or [-] key to select the user type from Type 1 to Type 10.
• Press the [Enter] key.
Important!
If you have changed the User Type to another type, all settings that can be changed by User Type settings change to the settings
of the selected user type.
•
When the “Media Setting” for the User Type settings have been changed, the settings for the “Media height”, “Obst.”, “Media
size”, “Media location” and “Media origin” are changed to the settings of the selected User Type. Therefore, be careful with
the print start position. Images might be printed at the position that was not intended or outside the media.
•
You can change the settings for the “Media Setting” from the Panel Setting menu.
"**>5: MediaSetting" on page 67
[5]
• Press the [-] key until “**>7: Show Edges” appears.
• Press the [Enter] key.
[6]
Use the [+] or [-] key to select the setting.
• Off: LED pointer does not show the printing area. This is the default setting.
• Step: LED pointer shows where the image will be printed on the media and
the printer will ask you at each point of corner if the position is OK.
• Auto: LED pointer shows where the image will be printed on the media
without checking with the user.
[7]
Press the [Enter] key to confirm.
1
2
Set Media
Remove Media
Media Set
Low speed
Press!
Menu1:
Setup
>
Set1:
User
Type
User:
Type
1
**>7:
Show
Edges
Show
Edges:
Off
Show
Edges:
Step
Show
Edges:
Auto
Summary of Contents for VJ-626UF
Page 144: ...VJ626UFE A 05 ...


