Getting Started
2-3
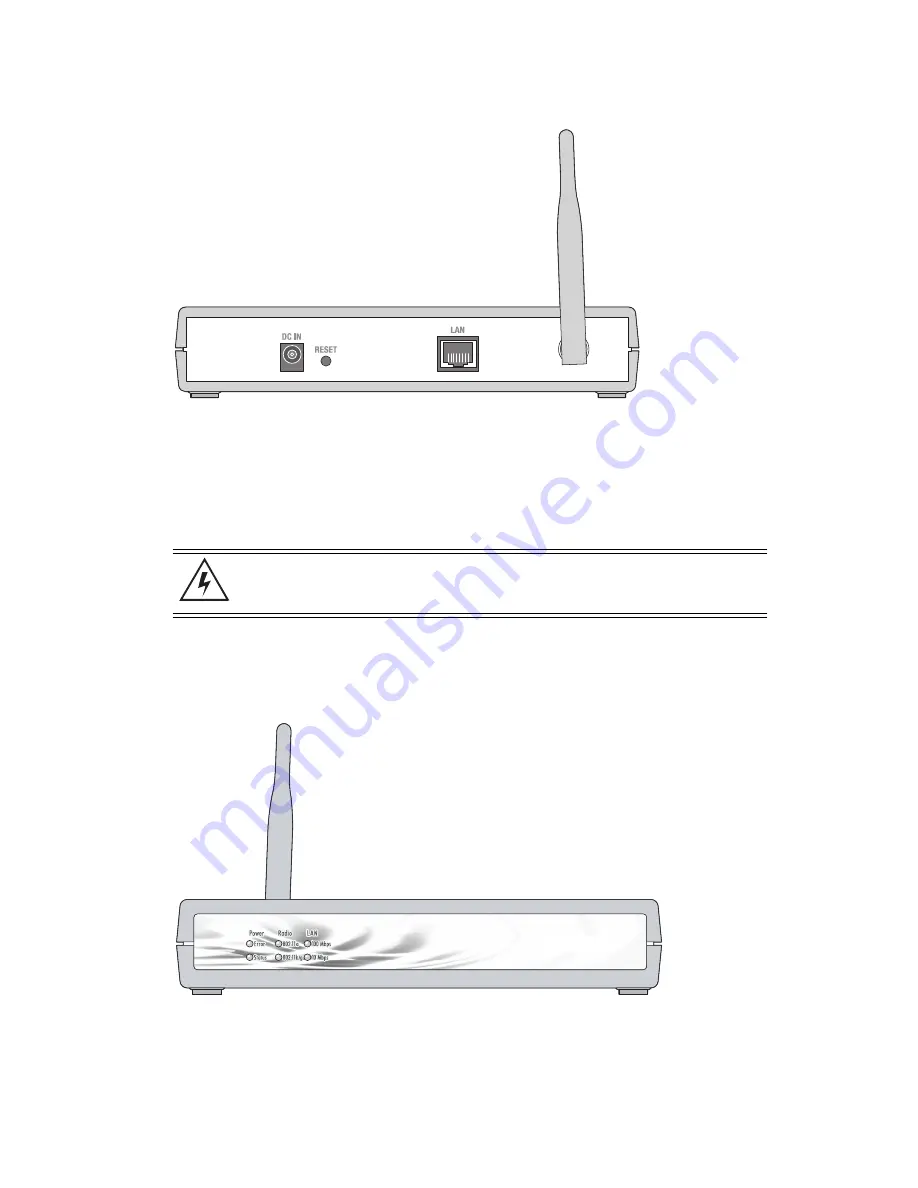
Figure 2.1 Rear of the CB3000
2. Attach one end of an Ethernet cable to a RJ-45 jack on a networked computer or router.
3. Connect the other end of the Ethernet cable to the
LAN
connector on the rear of
the CB3000.
4. Plug the power adapter into the
DC-IN
connector on the rear of the CB3000.
5. Connect the plug end of the power adapter into a power outlet. The built-in power converter
automatically selects and adjusts the power for the appropriate voltage.
6. Verify the installation by checking the status of the LEDs on the front of the CB3000.
Figure 2.2 Front of the CB3000
describes the CB3000 LED indicators. If the CB3000’s LED functionality has been verified, log into
the CB3000 console to begin basic device configuration (see
Logging into the CB3000 on page 2-4
WARNING! Only use the power adapter supplied by Motorola
with the CB3000. Using an incorrect power adapter could damage
the CB3000 and void the product warranty.
Summary of Contents for CB3000 - Client Bridge - Wireless Access Point
Page 1: ...M CB3000 Client Bridge User s Guide ...
Page 24: ...2 12 CB3000 Client Bridge User s Guide ...
Page 65: ...Management Options 4 7 Figure 4 4 View Log Screen ...
Page 74: ...4 16 CB3000 Client Bridge User s Guide ...
Page 90: ...5 16 CB3000 Client Bridge User s Guide ...
Page 94: ...B 2 CB3000 Client Bridge User s Guide ...
Page 96: ...C 2 CB3000 Client Bridge User s Guide ...
Page 104: ...D 8 CB3000 Client Bridge User s Guide ...
Page 105: ......


