Chapter 2: Network Setup
2
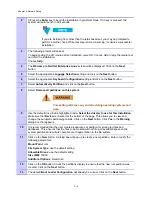
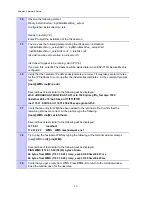
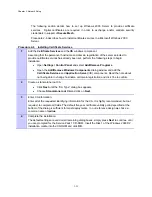
Proceed with logging into Steel Belted Radius using the credentials you created when installing
the Windows 2003 server. For our reference design we used:
username = Administrator
password = G0ld11
3
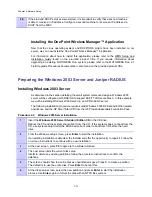
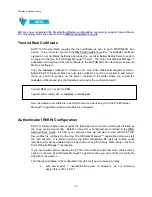
In the dialog box click Permanently trust this server, Then click
Yes
to authenticate to this
server
4
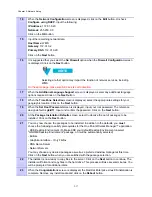
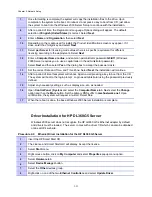
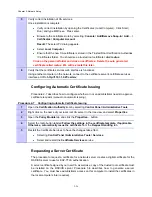
On the menu tree on the left expand the
Authentication Policies
Tree. Click on Trusted Root
Certificates.
5
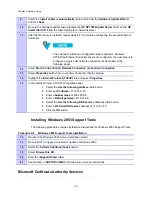
Click the
Add
button on top of the menu bar. Navigate to the folder where you exported the
root.der
certificate. Select the file and click open. You should see the root certificate loaded in
the main window.
6
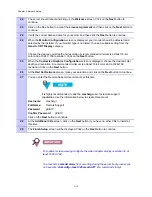
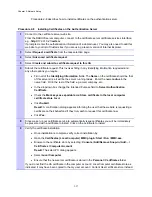
On the left tree click on the Certificate branch.
7
Click the Add button. Navigate where you exported the
server.pfx
certificate. Select the file
and click
Open
.
8
You will be prompted for the password you configured when the certificate was exported. Type
the password you configured when you exported the certificate (in our reference design we
used g0ld11) and click
Open
.
9
You should see your server certificate loaded in the main window.
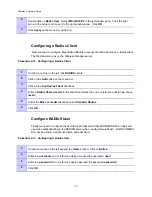
Configuring EAP Settings
We need to now tell Steel Belted Radius to use EAP-TTLS authentication.
Procedure 2-11 Configuring EAP Settings
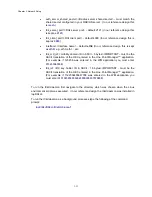
1
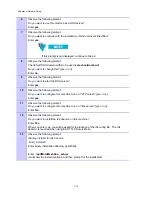
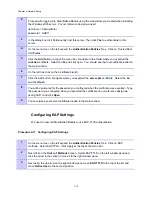
On the menu tree on the left expand the
Authentication Policies
Tree. Click on EAP
methods. Select EAP TTLS. Click Apply at the top of the menu bar.
2
Next click on the
Order of Methods
branch. Select EAP-TTLS on the left window pane and
click the arrow in the center to move it to the right window pane.
3
Next using the up arrow on the right window pane move
EAP-TTLS
to the top of the list and
move
Native User
to the second position.
2-30
Summary of Contents for 2.1
Page 2: ...This page intentionally left blank ii ...
Page 4: ...This page intentionally left blank iv ...
Page 10: ...This page intentionally left blank x ...
Page 12: ...This page intentionally left blank xii ...
Page 14: ...This page intentionally left blank xiv ...
Page 59: ...Chapter 3 MOTOMESH Duo Hardware This page intentionally left blank 3 12 ...
Page 86: ...Chapter 5 Customer Information This page intentionally left blank 5 7 ...
Page 123: ......
Page 131: ...Appendix A Figure 9 39 General Settings Tab in the Web User Interface 9 30 ...

