38
7.5 Adjusting the vehicle image contour
A customer-specific and contour-accurate vehicle image
can be stored in the MVS system.
See chapter "Creating a customised vehicle image" on
page 39.
In the top view the vehicle is stored as an image in a
rectangular frame and fitted. For example, if using vehicles
with wheels protruding at the sides, as in the case of
tractors, the black base area between the wheels in the
rectangular frame can be seen.
If this is not desired, the deposited image can be stretched
out in the longitudinal and transverse direction over the
rectangular image frame.
The result is a visual impression of a contours-accurate
representation.
The following aspects must be observed:
• In this case, the image covers a portion of the range of
vision set by the cameras during calibration.
• People who are in such areas are captured by the
cameras, however, their image is covered by the
superimposed image.
• By stretching the vehicle contour, the distances
between persons and objects with respect to the
vehicle are scaled correspondingly.
7.5.1 Configuration
WARNING
Risk of accidents due to concealed persons and objects!
If the vehicle image is enlarged beyond the image frame,
the vehicle image covers persons and objects in certain
areas of the camera image.
• When making adjustments to the vehicle image,
make sure that the surroundings of the vehicle are
still clearly visible.
1.
Select the menu “
... / Settings / Representation /
Contour of vehicle image"
and press the
button to
confirm the selection.
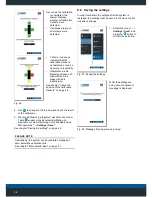
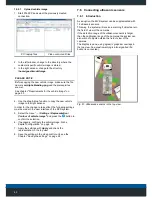
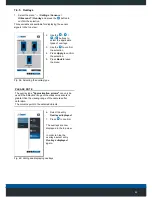
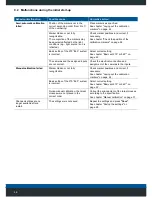
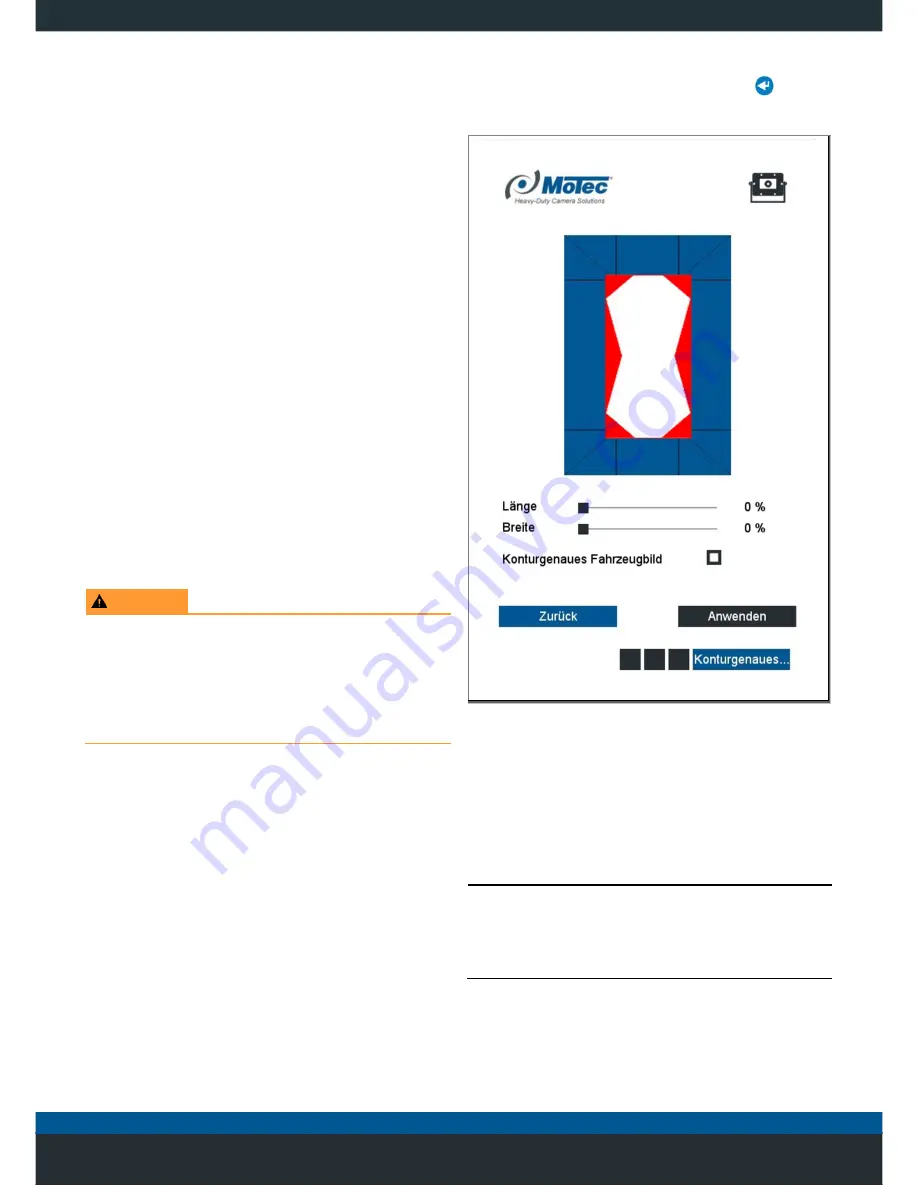
Fig. 49: Adjusting the vehicle image (Example)
1. Activate the selection field
Contour-Accurate Vehicle
Image
.
2. Scale the vehicle image with the
Length
and
Width
sliders.
3. Apply the settings with
Apply
and check the
representation in the top view.
PLEASE NOTE
In the areas marked in
red
in Fig. 49, the vehicle image
overlaps the camera image (blue).
Persons and objects in the areas marked in
red
are
covered in the top view of the vehicle image and are not
visible.


