51
6.
Click the Print icon, then change the settings as appropriate for your filament type
and model.
Preview: Check the Preview box if you want to preview the model after slicing is
done.
Print When Slice Done: Because we are printing from the USB stick, uncheck this
box to save the Gcode file to the USB stick.
Machine Type: Select MP Guider II.
Material Type: Select the type of filament you are using.
Supports: If your model has overhanging elements, enable the Supports option.
Raft: It is recommended to enable the Raft option.
Resolution: It is recommended to select the Standard option.
More Options: It is recommended to leave them at the default values.
7.
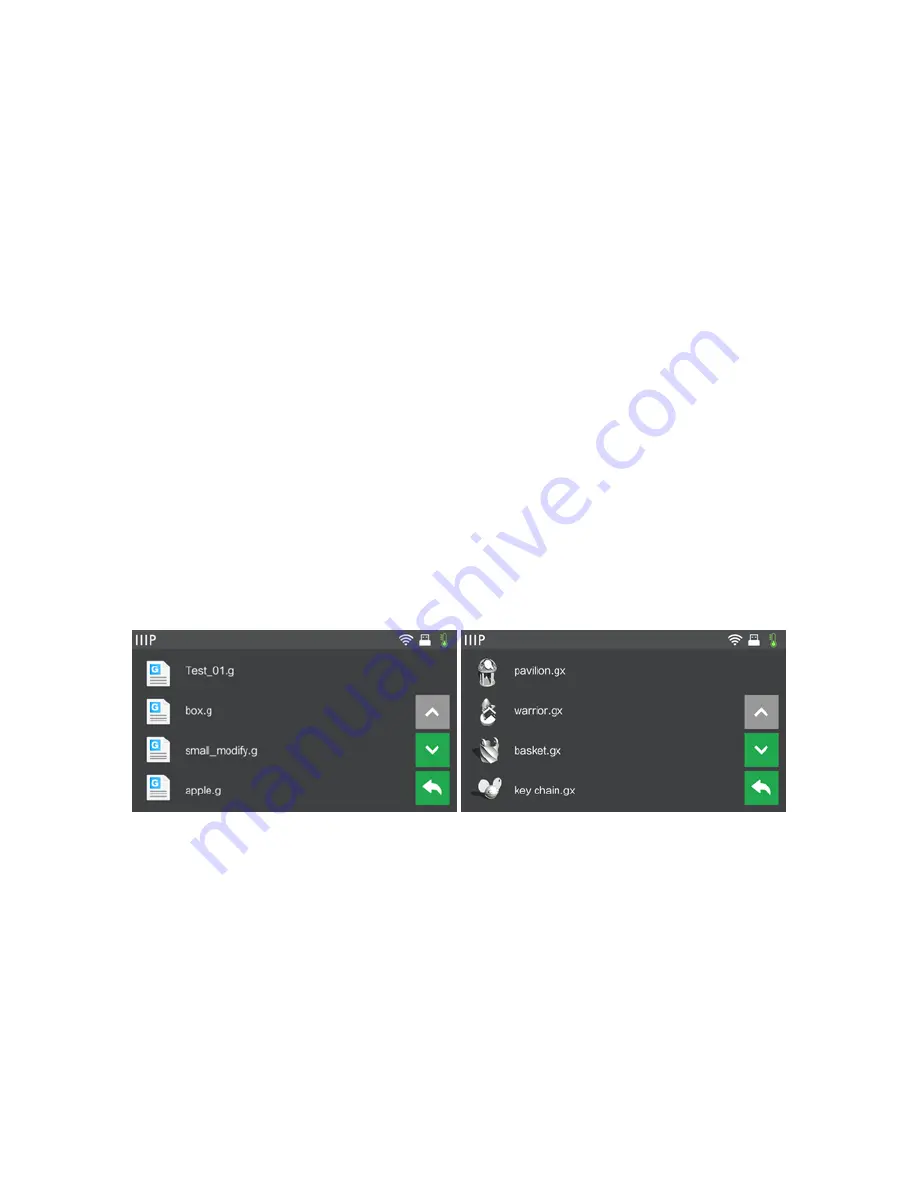
Click OK to save the Gcode file. Save it to the USB stick. You can rename the file as
desired and save it as either a .g or .gx file. Files with a .gx extension can be
previewed, while .g files cannot.
8.
Eject the USB stick, then plug it into the USB port on the printer.
9.
Power on the Guider II printer.
10.
Ensure that the build plate is leveled and that filament is loaded.


