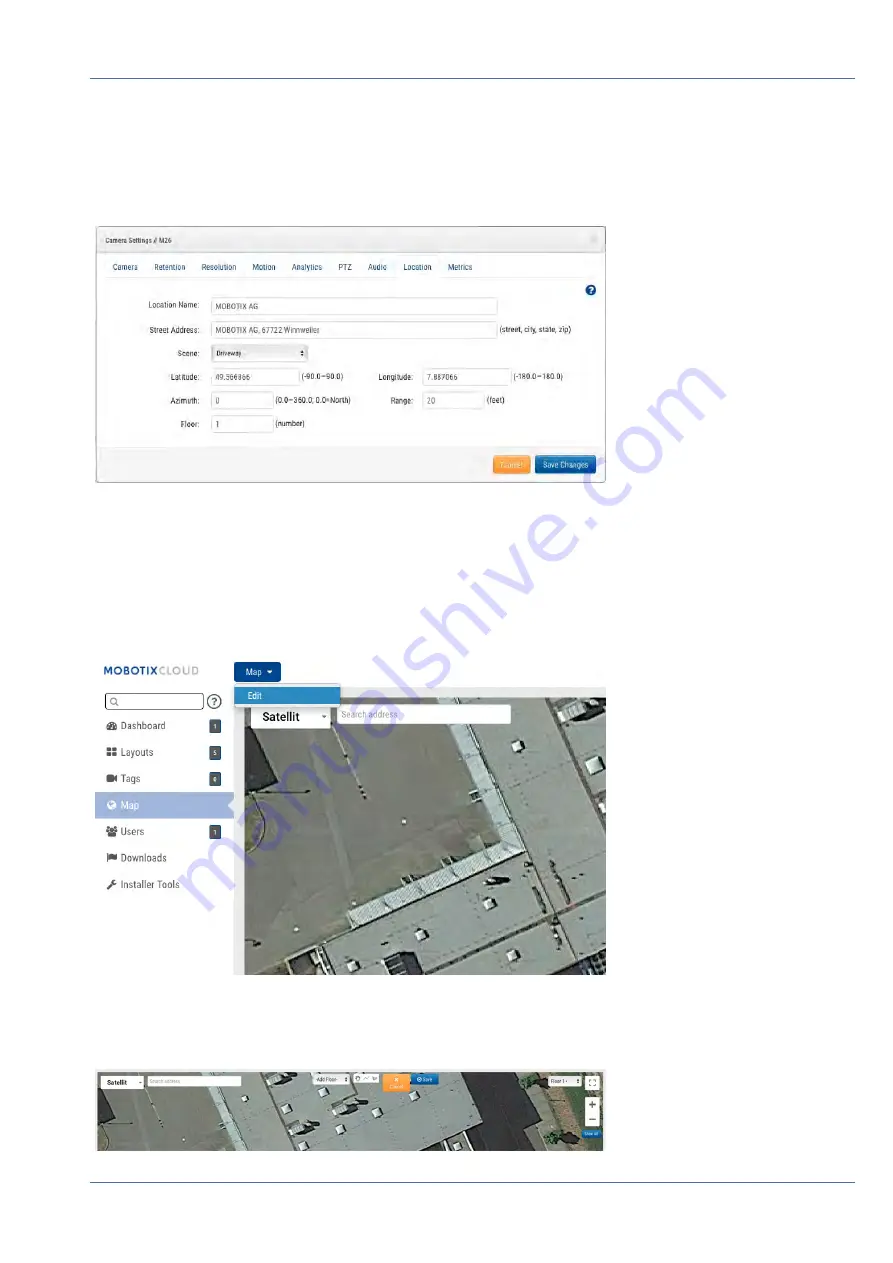
Fig. 82: Map example floors
There are two ways to add cameras to the map. One is to specify the address of a camera (
Camera
Settings > Location
tab).
Fig. 83: Camera location settings
Entering a street address will add it to the map and automatically fill in the latitude and longitude. By
default, the cameras are added to the 1st floor. Changing the number will move the camera to that floor. You
can set floors from -10 to 100.
The easiest way to add cameras is to go to the Map, click the
Map
drop-down button at the top left and
select
Edit
.
Fig. 84: Map edit
This will add a red outline to the map indicating you are in
Edit
mode. A new set of buttons will appear at
the top right of the map.
Maps
Using Maps
93 / 102
Summary of Contents for Cloud Bridge
Page 1: ...User Guide MOBOTIX Cloud 2020 MOBOTIX AG V02_5 14 2020 ...
Page 4: ...4 102 ...
Page 5: ...5 102 2 Support ...
Page 7: ...7 102 3 Imprint ...
Page 9: ...9 102 4 Notices ...
Page 11: ...11 102 5 Legal Notes ...
Page 13: ...13 102 6 Delivered Parts Connectors and Dimensions ...
Page 17: ...17 102 7 Installation and Setup ...
Page 25: ...25 102 8 Introduction ...
Page 33: ...Fig 14 Adding cameras to a layout Introduction The Web User Interface 33 102 ...
Page 35: ...35 102 9 Camera Settings ...
Page 45: ...45 102 10 Bridge Settings ...
Page 51: ...51 102 11 User Management ...
Page 58: ...User Management Managing Users 58 102 ...
Page 59: ...59 102 12 History Browser ...
Page 73: ...Fig 58 Gallery Viewer choose display History Browser Using the Gallery Viewer 73 102 ...
Page 74: ...History Browser Using the Gallery Viewer 74 102 ...
Page 75: ...75 102 13 Motion Alerts and Regions of Interest ...
Page 83: ...83 102 14 Bandwidth Considerations ...
Page 91: ...91 102 15 Maps ...
Page 96: ...Maps Using Maps 96 102 ...
Page 97: ...97 102 16 System Alerts and Notifications ...
Page 100: ...System Alerts and Notifications Using System Alerts and Notifications 100 102 ...


