Operation
2-4
2-2.4 Closing the PCMCIA/FDD/CD-ROM/DVD/COMBO
/DVD RW Door
Be sure to close and secure the access doors before transporting the A770.
1. Shut the door or put the PCMCIA/FDD/CD-ROM/DVD/COMBO/DVD RW
back in place.
2. Align the door or cover securing screws with their sockets.
3. Use your finger to hold the screw in place. Insert a small flat-edged object ( a
small sized screwdriver or the edge of a small coin) into the slot of one of the
securing screws and turn clockwise until tight.
4. Repeat step 2 and 3 for each securing screw.
2-3 Connecting and Installing Devices
This section gives instructions for installing, removing, changing, or
connecting devices via the notebook external ports or sockets.
2-3.1 Serial and Parallel Port
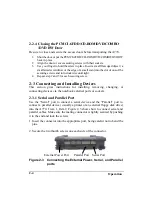
Use the “Serial” port to connect a serial device and the “Parallel” port to
connect a parallel device ( usually a printer or an external floppy disk drive)
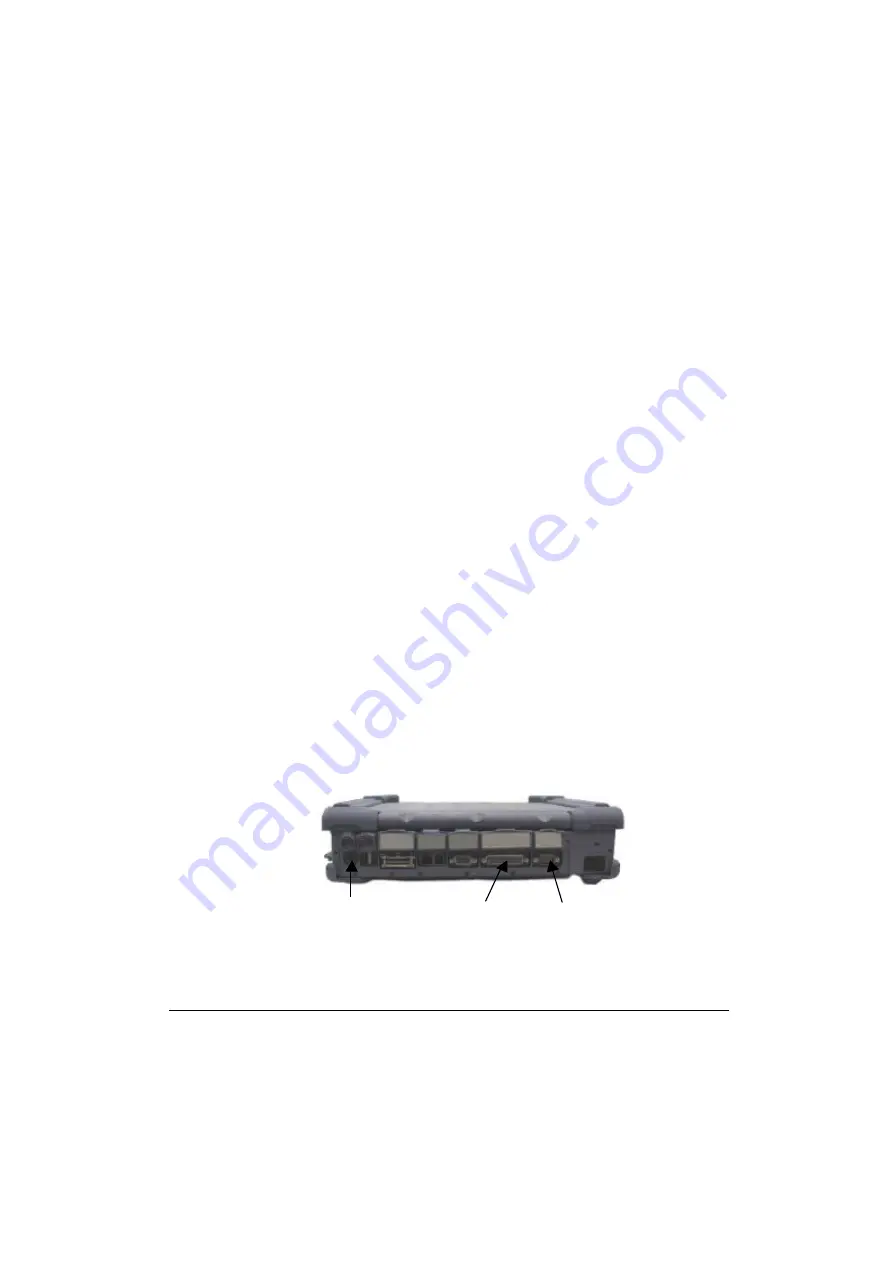
into the A770. I tem 1, Item2, Figure 2-3 shows how to connect serial and
parallel cables. Make sure the mating connector is tightly secured by pushing
it to the end and lock the screws.
1. Insert the connector into the appropriate port, being careful not to bend the
pins.
2. Secure the two thumb screws one each side of the connector.
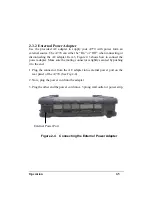
Figure 2-3 Connecting the External Power, Serial , and Parallel
ports
Parallel Port Serial Port
External Power Port
Summary of Contents for A770
Page 2: ......
Page 11: ...i Open Size With Rubber Bumper 315mm W 70mm H 260mm D Weight 14 3 lbs 6 5 kg ...
Page 15: ...iii 2 4 5 Wireless LAN Utility Installation PROSET 2 18 ...
Page 17: ...v 4 4 Cleaning 4 2 ...
Page 19: ...vii List of Tables Table 1 1 Standard A770 Notebook Computer 1 2 ...
Page 20: ...viii ...
Page 35: ...System Overview 1 15 Figure 1 6 Cursor Control Keys ...
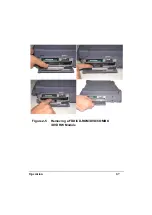
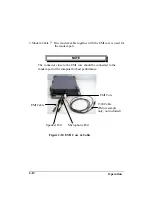
Page 54: ...Operation 2 7 Figure 2 5 Removing a FDD CD ROM DVD COMBO DVD RW Module ...
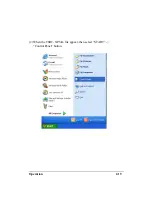
Page 66: ...Operation 2 19 2 When the TSRC XP htm file appear then select START Control Panel button ...
Page 73: ...Operation 2 26 10 When the Hardware Update Wizard screen appears click on Finish button ...
Page 101: ...SetupConfiguration Utility 3 20 4 Use IRQ5 as below ...

