


Solving Problems with Printing Quality
92
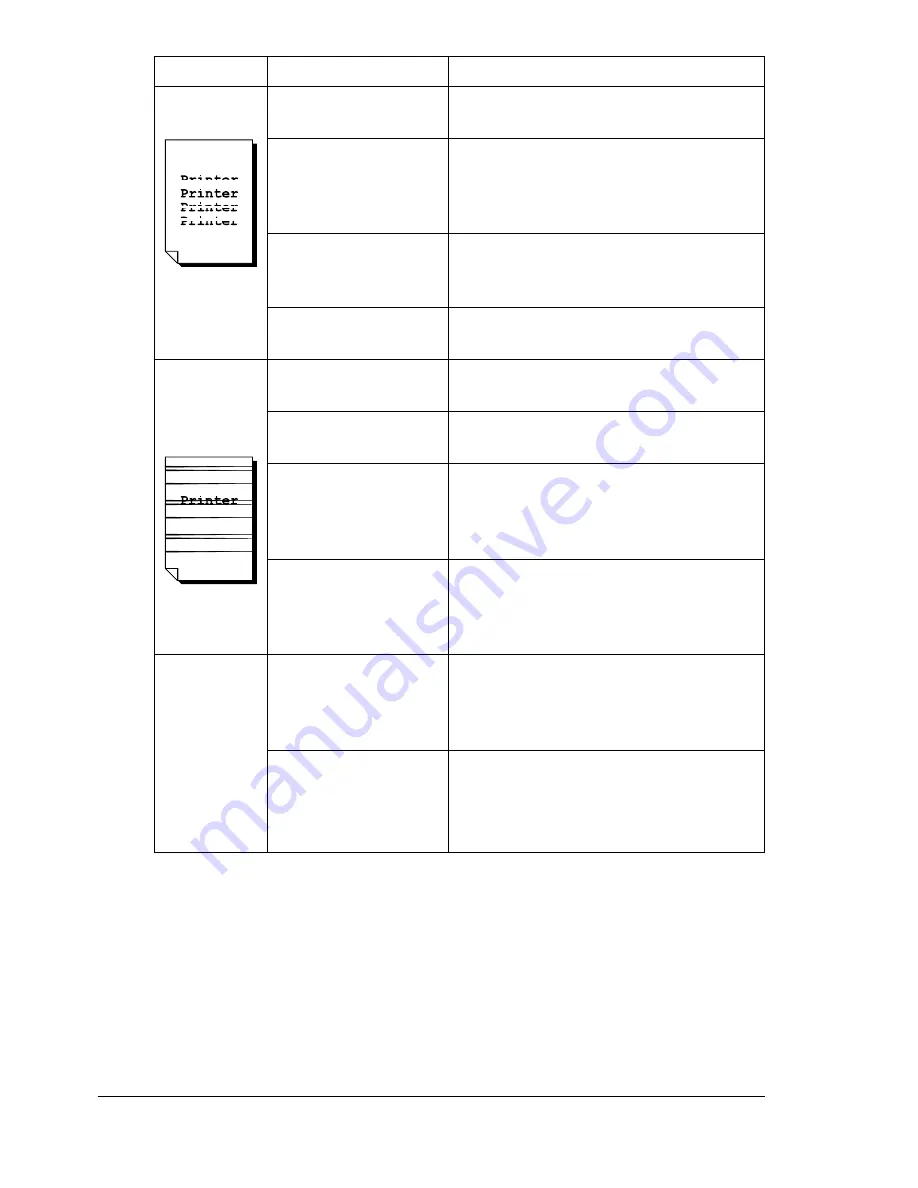
Image
defects.
The laser lens cover
is dirty.
Clean the laser lens cover with a soft,
dry cloth.
The toner cartridge is
leaking.
Remove the toner cartridge and check
for damage. If it is damaged, replace it
(Status Display’s Printer/Toner
Replace... menu).
The toner cartridge is
damaged.
Remove the toner cartridge with the
color causing the abnormal image.
Replace it with a new toner cartridge.
The OPC drum
cartridge is damaged.
Replace the OPC drum cartridge .
Lateral lines
or bands
appear on
image.
The printer is not on a
level enough surface.
Level the printer (not exceeding ±1°
slant).
The media path is
dirty with toner.
Print several sheets and the excess
toner should disappear.
One or more of the
toner cartridges are
defective.
Remove the toner cartridge and check
for damage. If it is damaged, replace it
(Status Display’s Printer/Toner
Replace... menu).
The OPC drum
surface is scratched
or damaged.
Remove the OPC drum cartridge and
check the green photosensitive
surface for scratches. If it is damaged,
replace it.
Colors look
drastically
wrong.
One or more of the
toner cartridges are
malfunctioning or
expired.
Remove the toner cartridges and verify
that the toner is distributed evenly on
the cartridge roller, and reinstall the
toner cartridges.
One or more of the
toner cartridges are
low or out.
Check the Status Display for a
COLOR
Toner Low
or
COLOR Toner
Empty
message. If necessary,
replace the specified toner cartridge.
Symptom
Cause
Solution
Summary of Contents for Magicolor 2300W
Page 1: ...magicolor 2300W User s Guide 1800708 001A ...
Page 7: ...1 Software Installation ...
Page 15: ...2 Using Media ...
Page 31: ...3 Working with the Printer ...
Page 35: ...4 Working with the Printer Driver ...
Page 45: ...5 Working with the Status Display ...
Page 50: ......
Page 51: ...6 Replacing Consumables ...
Page 64: ......
Page 65: ...7 Maintaining the Printer ...
Page 74: ......
Page 75: ...8 Troubleshooting ...
Page 105: ...9 Installing Accessories ...
Page 110: ......
Page 111: ...10 Repacking the Printer ...
Page 123: ...A Technical Specifications ...
Page 150: ......


