Solving Other Problems
85
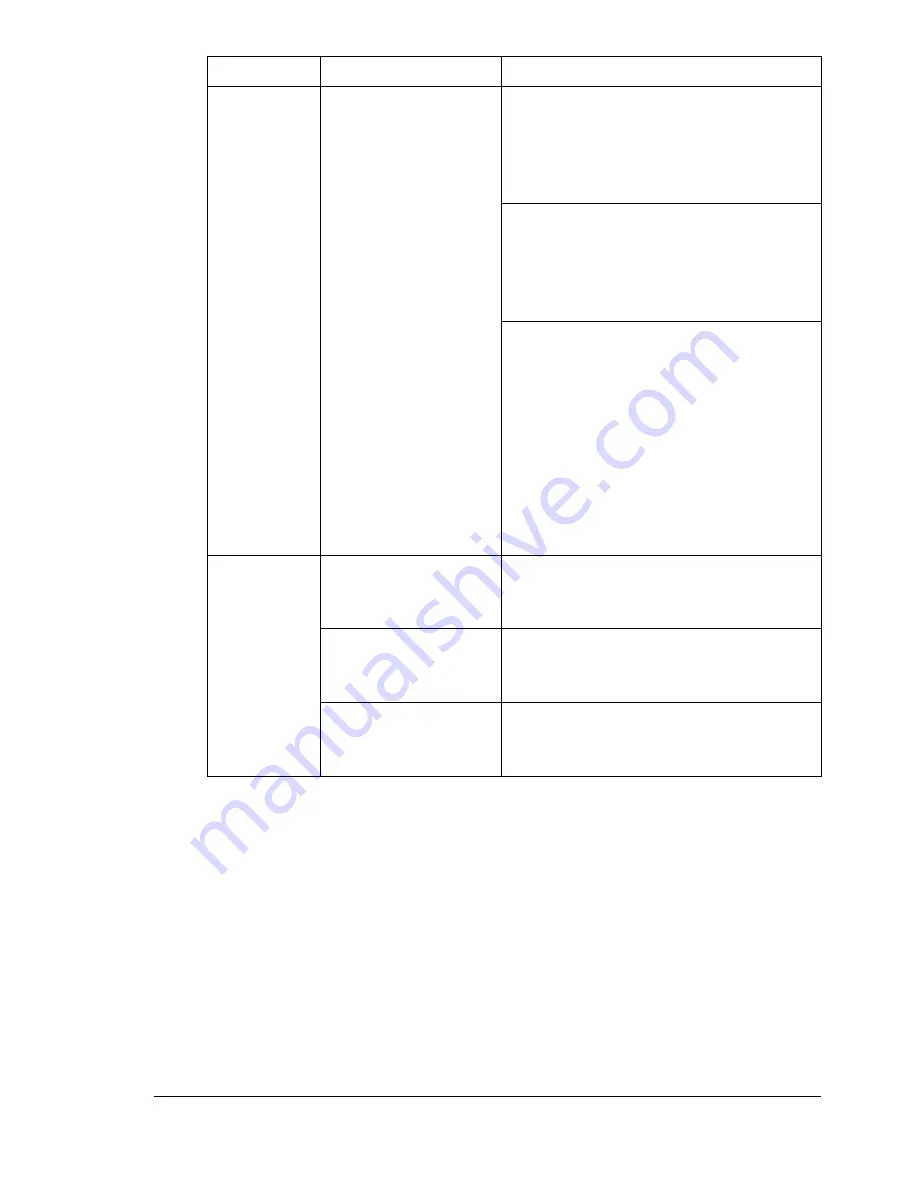
The printer
pauses
approxi-
mately 150
seconds.
The printer pauses
for the color
calibration procedure
(also known as the
Auto-Image Density
Control [AIDC] cycle).
This process is
provided to make
sure reliable printer
operation with
optimum output
quality. If you open
the door before the
Ready indicator on
the control panel
lights up and the
Error indicator turns
off, the printer stops
and repeats the
calibration cycle.
Wait while your printer automatically
pauses to do an AIDC calibration cycle
after rebooting your printer when there
has been an environmental change
such as in temperature or humidity.
Wait while your printer automatically
pauses to do an AIDC calibration cycle
after “waking up” from Energy Saver
mode with more than 1,000 pages
since the last AIDC cycle.
Wait while your printer automatically
pauses to do an AIDC calibration cycle
after the installation of a new toner
cartridge or OPC drum cartridge.
You hear
unusual
noises.
The printer is not
level.
Put the printer on a flat, hard, level
surface not to exceed ±1° slant in any
direction.
The media tray is not
installed correctly.
Remove the media tray that you are
printing from and reinsert it completely
into the printer.
There is a foreign
object stuck inside
the printer.
Turn off the printer and remove the
object. If you cannot remove it, contact
Technical Support.
Symptom
Cause
Solution
Summary of Contents for Magicolor 2300W
Page 1: ...magicolor 2300W User s Guide 1800708 001A ...
Page 7: ...1 Software Installation ...
Page 15: ...2 Using Media ...
Page 31: ...3 Working with the Printer ...
Page 35: ...4 Working with the Printer Driver ...
Page 45: ...5 Working with the Status Display ...
Page 50: ......
Page 51: ...6 Replacing Consumables ...
Page 64: ......
Page 65: ...7 Maintaining the Printer ...
Page 74: ......
Page 75: ...8 Troubleshooting ...
Page 105: ...9 Installing Accessories ...
Page 110: ......
Page 111: ...10 Repacking the Printer ...
Page 123: ...A Technical Specifications ...
Page 150: ......


