mindray
DC7 Diagnostic Ultrasound System
31
2.9.1
DICOM Media Storage
Steps:
1. Press <iStation> on the control panel to enter the patient information screen.
2. Select one or more exams (with image) that is not active, click [Backup].
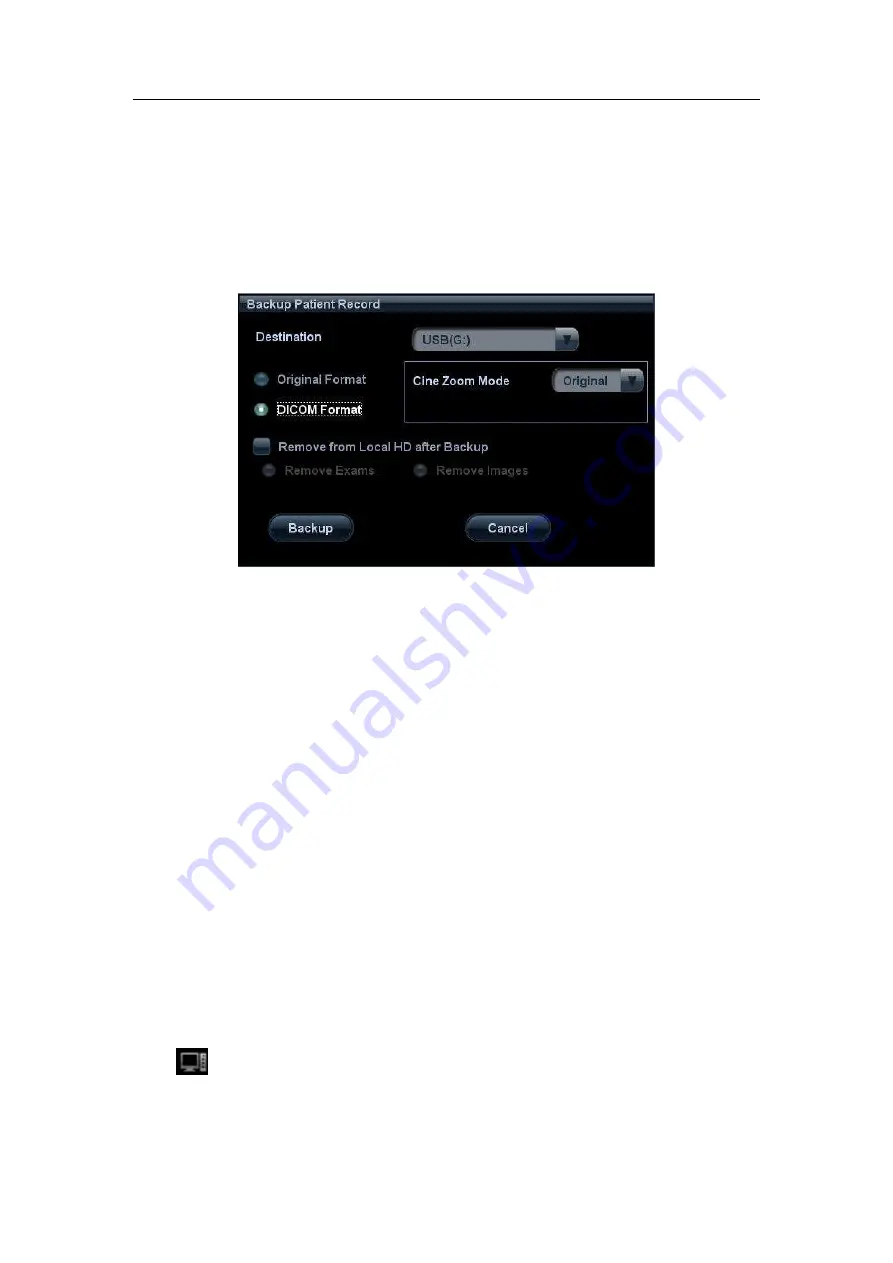
3. In the dialog box popped up, select the [Destination], and select “DICOM Format”
as shown in Figure below.
Figure 23 DICOM Format Backup
4. Click [OK], to backup the image in current exam to the external media in DICOM
format
5. If the backup is succeeded, [Backup] in the iStation screen will be marked with
√
;
otherwise no
√
is marked
NOTE: make sure enough space on the media; otherwise the media storage process will
be failed due to insufficient space.
2.9.2
DICOMDIR Review
Steps:
1. Press <iStation> on the control panel to enter the patient information screen.
2. Select the external media from “Data Source”.
3. The exam(s) and image(s) will display in the iStation screen if the media is read
successfully.
2.10 Task Management
The task management is a platform for the user to manage, view, delete or restart the
background task, including DICOM tasks.
Click
icon in the lower right corner of the screen to open the DICOM Task
Management dialog box, as shown in Figure 12 Task Management.
Task progress and status of storage task, print task and media storage task can be viewed
in this dialog box. The task management icon indicates the status of the task:


