HYB-1000 KIT
If you have problems with the display or the Midtronics printer,
try these troubleshooting suggestions:
The Display Does Not Turn On
•
Check the connection to the vehicle battery.
•
Press the
POWER button.
•
The vehicle’s battery may be too low to power the ana
-
lyzer (below 1 volt). Fully charge the battery and retest.
•
The analyzer’s 6 AA batteries may need to be replaced. Fol
-
low the directions in “Chapter 10: HYB-1000 Internal Bat-
teries” and replace the batteries (alkaline recommended).
The STaTUS lED Flashes
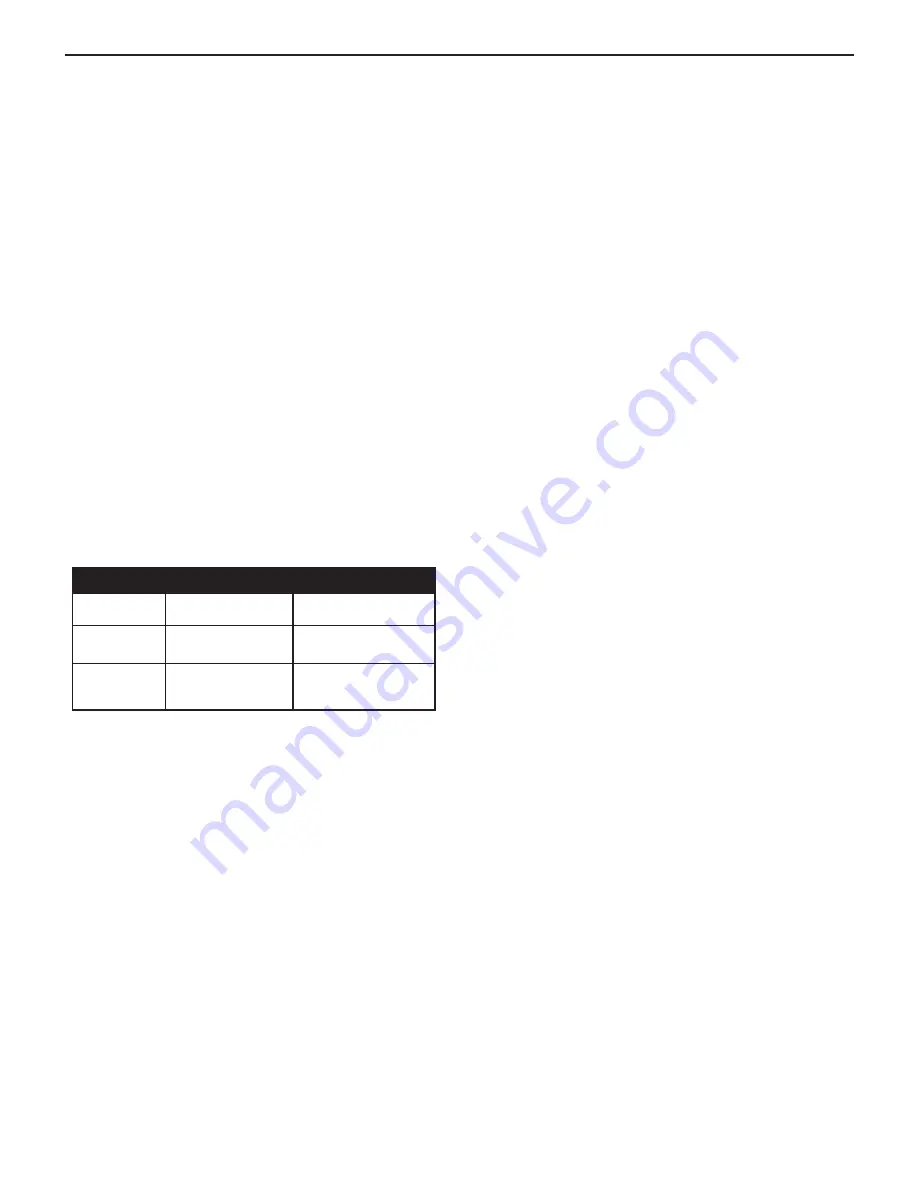
When a printer fault occurs, the STATUS
LED flashes. You can
identify the fault by the number of sequential flashes:
Sequence
Condition
Solution
* * *
No paper
Insert new paper
** ** **
Thermal head too
hot
Allow head to cool
*** *** ***
Batteries weak
Recharge printer
batteries for 16 hours
Printer STaTUS lED
Data Will Not Print (Optional Printer)
•
If the IR transmitter and receiver are not aligned, all the
data may not print. The infrared ports on the top of the an-
alyzer and on the printer below the MODE button should
be pointed directly at each other. The maximum distance
for reliable transmission between the ports is 17 in (45
cm).
•
To realign, press the
END button to cancel the print job.
Verify alignment between the analyzer and printer; then
try to print the test results again.
•
Make sure the printer is on. The printer shuts off after two
minutes of inactivity to conserve the batteries. To turn
the printer on, briefly press the MODE button. The green
STATUS light should turn on. Make sure you are using the
Midtronics printer. Other printers may not be compatible.
•
Direct sunlight interferes with infrared data transmission
and receiving. If the printer is not receiving data, remove
the printer and HYB-1000 from direct sunlight. If the
printed characters are not clear or are partially missing,
recharge the batteries and reprint.
•
If you are unable to print after ensuring the analyzer is
functioning, the printer is on, the batteries are good, and
the IR transmitter and receiver are aligned, check the
printer manual for further instructions
.
Chapter 9: Troubleshooting


