27
Shooting
Shooting Your First Video
Video mode allows you to record digital video clips in
ASF (MPEG 4) and AVI format with resolutions of
640x480 or 320x240 pixels. The video clips can be
stored in the DV camera’s internal memory or in the SD/
MMC expansion card, the length of which is determined
only by the size of your available memory.
To record video clips:
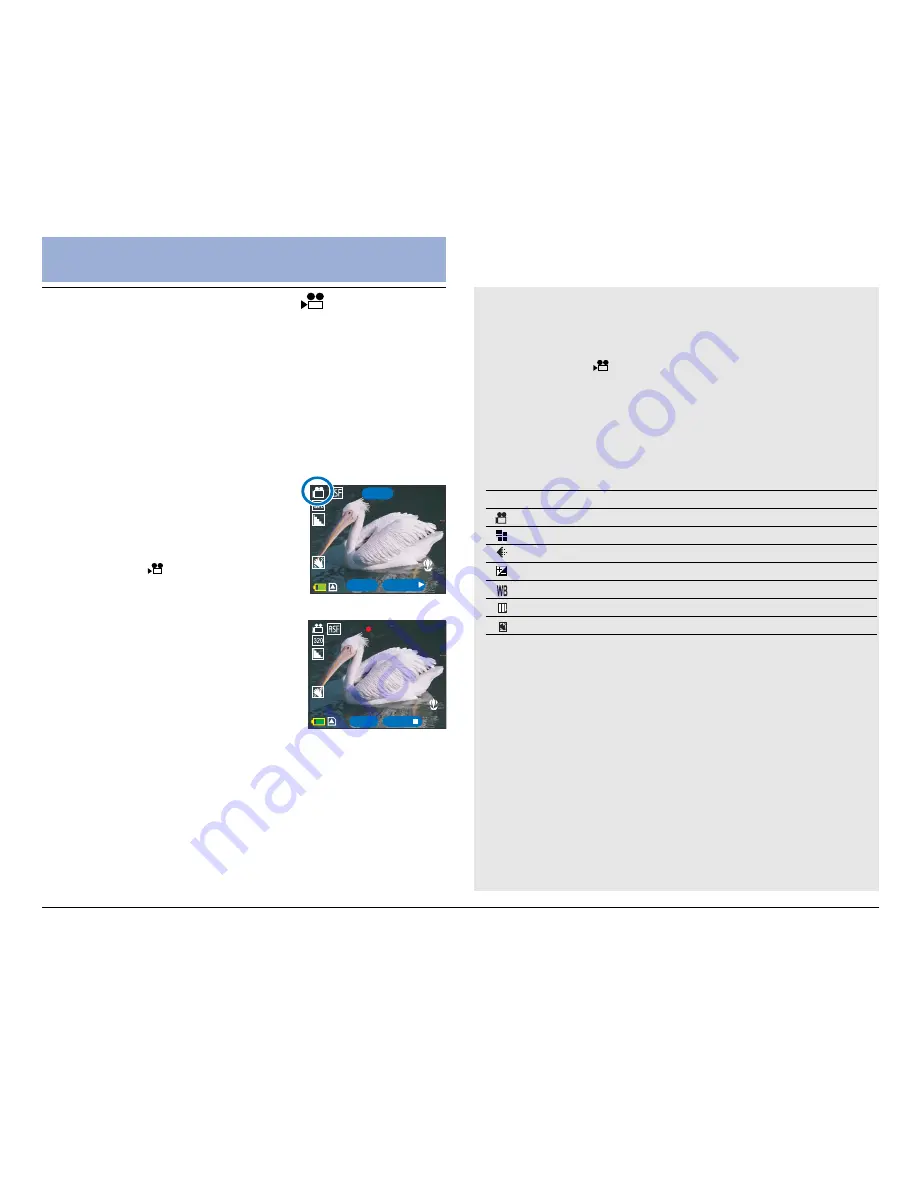
1. Press the POWER button to turn
on the DV camera.
The DV camera should start up in
Video mode. Check for the Video
mode icon ( ) in the top left
corner of the screen.
2. Compose your shot using the
LCD screen.
3. Press the Shutter button and
release to start recording.
Video recording begins, with the
elapsed recording time shown on
the LCD screen.
For best results, hold the DV camera steady to pan
when recording video clips.
4. Press the Shutter button a second time to stop
recording.
NOTE:
• If the DV camera is not in Video mode, press the
MODE button to show the mode screen, then select
Video mode ( ).
• You can change the various settings that influence the
quality and appearance of the video clips you record.
The following table lists the available functions that
can be manually adjusted in the Video menu.
• The flash is inactive in Video mode.
STBY
STBY
SNAP
SNAP
START
00:00:00
REC
SNAP
SNAP
STOP
00:02:09
Function
Description
Page
Video Format
33
Size
34
Quality
34
EV Compensation
35
White Balance
36
Color Mode
37
Anti-Shake
38
The video is recorded and is automatically saved in the
memory. The DV camera is then ready to record another
video. You will be able to view your video in Playback
mode.
Summary of Contents for Take-it MV500
Page 4: ...4 ...


