XT5750 HS Scanner User's Manual 45
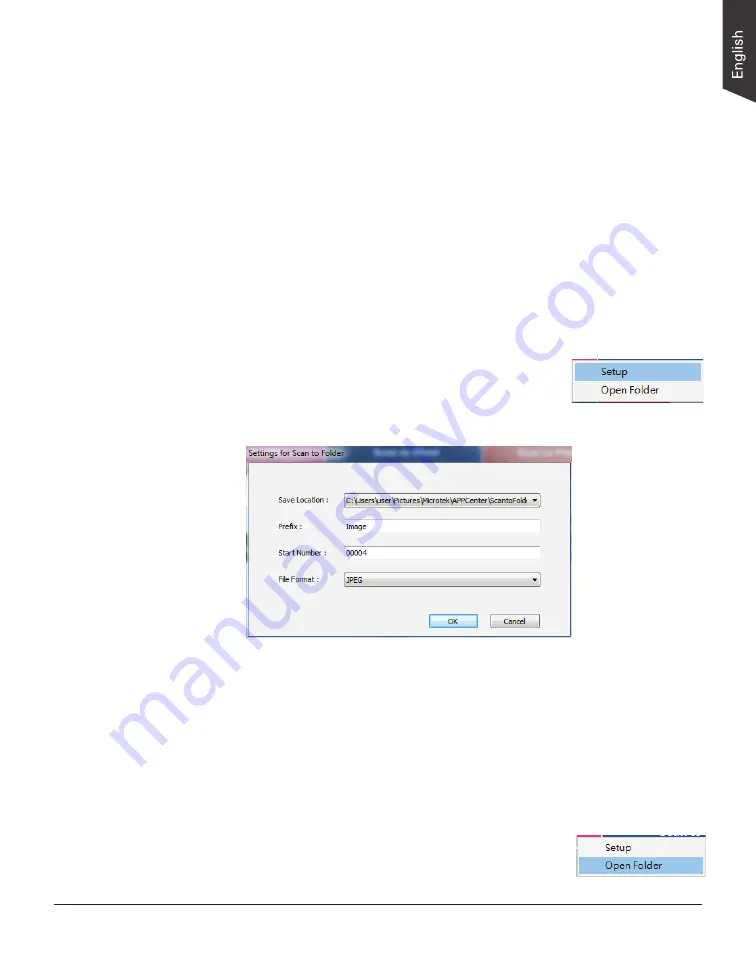
When done, click the
OK
button to exit the window.
5. Next, click the
Scan to Folder
button to scan your document.
The scanner will start scanning based on the parameters set up and a
window “MicrotekImageView” will be opened on the screen. When done,
the scanned images will be automatically saved into the folder defined
earlier.
6. Click the right button of the mouse on the
Scan to Folder
button to enable
the options menu.
– Click to select “Open Folder” and then you can
preview the image of a scanned document.
Scanning to Folder
1. Place the document to be scanned facing down on the scanner's glass
surface.
2. Launch ScanWizard Control Panel.
3. In the main interface, click the
Scan Setup
button to activate the Scan Setup
interface.
– Follow the procedures (steps 4 through 8) for the “Scanning
Documents” section to specify your scanning requirements in the
interface.
When done, click the
OK
button to exit the Scan Setup interface.
4. Click the right button of the mouse on the
Scan to Folder
button to enable
the options menu of the “Scan to Folder” button.
– Click to select “Setup” and to open the Settings
window. In the Settings window, take turns
to set up a file’s name, saving location, and
saving format (or OCR language) for the scanned
document.


