XT5750 HS Scanner User's Manual 27
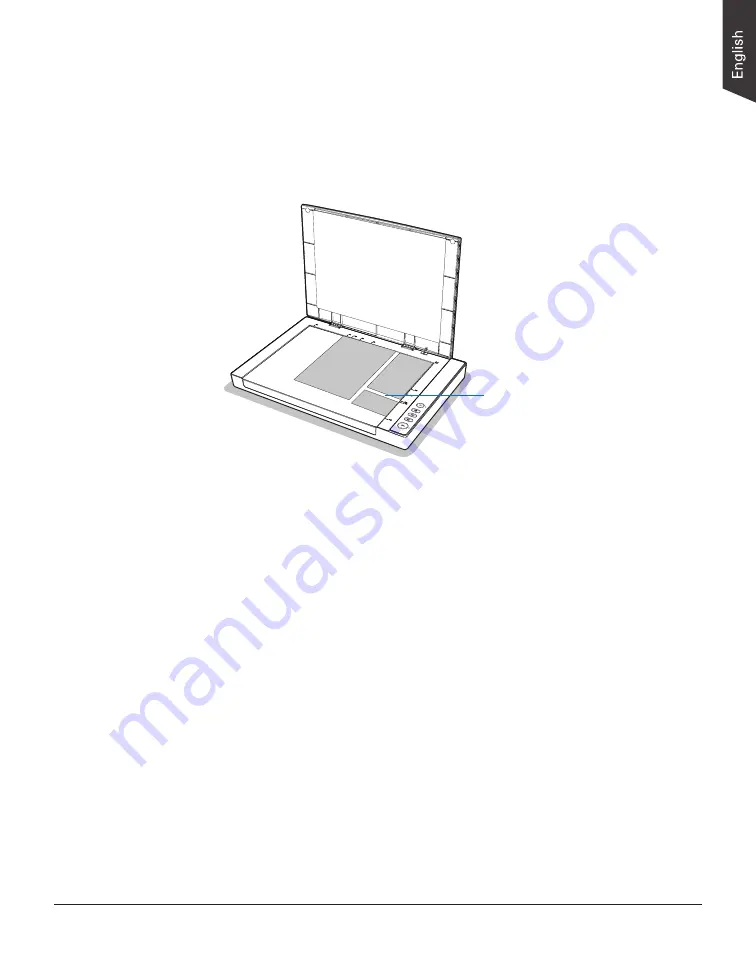
Scanning and Auto-Cropping Multiple Pictures
This scanning scenario guides users to crop and extract multiple pictures from
one scan automatically, saving extra time from document scanning
1. Place the multiple originals to be scanned facing down on the scanner's glass
surface.
2. Launch ScanWizard DI as a stand-alone program by clicking on the
ScanWizard DI
icon on the desktop.
3. Follow the procedure (steps 3 through 13) for “Scanning Documents” section
to specify your scanning requirements.
– In step 4, select “Full Scan Area” in the Paper Size as your preview
image size.
And, always
check “Multiple Auto-Crop” & “Aut
o-Deskew”.
– In step 6, click the
Preview
button to perform a preliminary view of the
entire scan area.
When done, a preview image containing multiple pictures appears in the
Preview window.
– In step 12, click the
Normal Scan
button to perform a final scan.
When done, the system will crop pictures individually according to
the original size of each picture from one scan and save them into the
specified folder. At the same time, the individual image thumbnail will
also be displayed in the Thumbnail View window.
NOTE: Please ensure that there
is space between the scanned
originals when they are placed
on the scanner's glass surface;
otherwise, the individual image
may not be extracted from
one scan correctly after auto-
cropping.


