27
Auto: When you check this option, the Shadow/Highlight value is automatically
given according to your preview image. To manually adjust Shadow/Highlight,
uncheck the Auto option.
Shadow: Drag the black (left) triangle, or enter the value in the edit box to control the
shadows. Moving this triangle to the right will emphasize shadows and create a
darker image. Acceptable ranges are from 0 to 252. The default is 0.
Highlight: Drag the white (right) triangle, or enter the value in the edit box to control
the highlights. Moving this triangle to the left will emphasize highlights and create a
lighter image. Acceptable ranges are from 3 to 255. The default is 255.
Gamma: This lets you adjust the intensity of the midtones of an image, making them
consistent between the preview image and the final scanned image. To change the
Gamma of an image, drag on the Gamma slide bar. Dragging the slider to the left
decreases intensity; dragging it to the right increases intensity. Acceptable ranges
are from 0.1 to 3.0. A value of 1.0 means that no gamma value is applied; default is
1.0.
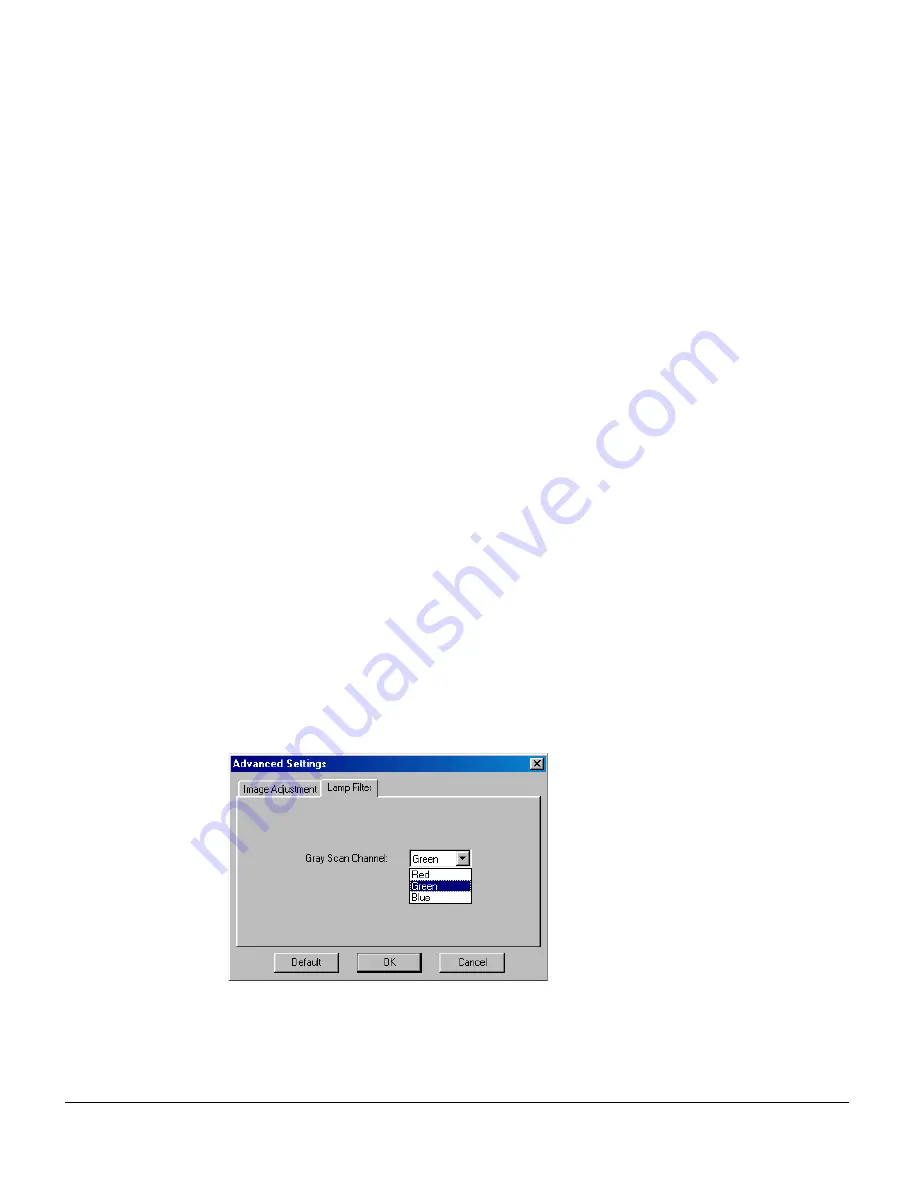
Lamp Filter
The Lamp Filter control tab appears only when all of the following conditions have
been met:
•
The scanner you are using implements the lamp filter function.
•
The current working frame is "Main Frame", and "Grayscale" or "Black & White"
is selected in the Scan Type for image output.
The Lamp Filter function allows you to remove an unwanted color cast (i.e., green,
red, or blue) from your originals. For example, to eliminate a greenish color cast,
select Green as your lamp filter. For some scanner models (i.e., ArtixScan DI 6020),
only the green and red filter options are available.
Summary of Contents for ArtixScan DI 2010
Page 1: ......


