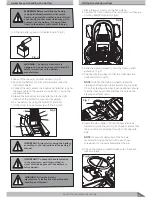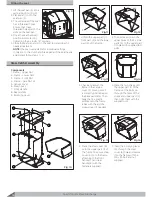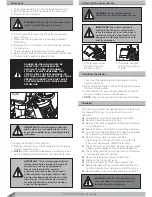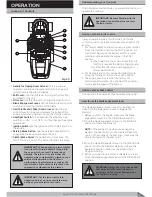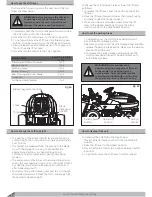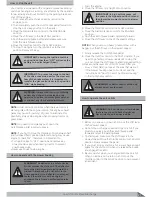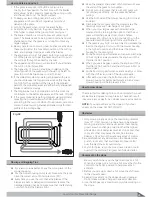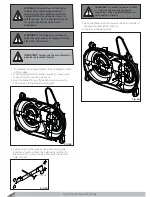
Check the oil!
NOTE:
The engine was shipped from the factory WITHOUT
oil. Check the level of the oil. Add oil as needed.
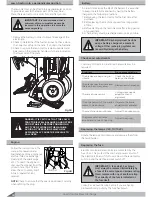
1. Make sure the unit is level.
2.
NOTE:
Do not check the level of the oil while the engine
is running.
3. Clean the area around the dipstick. Remove the dipstick.
Wipe the oil from the dipstick.
,QVHUWWKHGLSVWLFNLQWRWKHRLO´OOWXEH7XUQWKHGLSVWLFN
clockwise until it is tight. Remove the dipstick. Check
the oil level on the dipstick. The oil level must reach the
FULL mark on the dipstick.
5. If necessary, add oil until the oil reaches the FULL mark
on the dipstick. The quantity of oil needed from ADD to
FULL is shown on the dipstick. Do not add too much oil.
7KHIDFWRU\VHWWLQJVIRUWKHFDUEXUHWRUDUHIRUPRVW
conditions. If the engine is operated under the following
FRQGLWLRQV\RXFDQDGMXVWWKHFDUEXUHWRUPL[WXUH
7RDGMXVWWKHFDUEXUHWRUVHHWKHHQJLQHPDQXIDFWXUHUV
instructions.
1. The engine has a loss of power or does not run
smoothly.
2. A change from summer to winter operation.
3. A 40°C change in the operation temperature. The
FDUEXUHWRUZDVDGMXVWHGDW&DWWKHIDFWRU\
7KHHQJLQHLVRSHUDWHGDERYHNPIHHW
Lawn Tractor Rear Discharge
22
Adding Fuel
WARNING:
Always use a safety fuel
container.
WARNING:
The electrical system has an
operator presence system that includes a
sensor switch mounted in the seat. These
components tell the electrical system if
the operator is sitting on the seat. This
system will stop the engine when the
operator leaves the seat. For your
protection, always make sure this system
operates correctly.
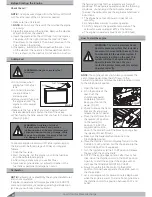
• Do not smoke when
adding fuel to the fuel
tank.
• Do not add fuel when
you are inside an
enclosure area.
• Before you add fuel, stop
the engine and let the
engine cool for several
minutes.
• Make sure the fuel is fresh and clean. Leaded fuel will
increase deposits and shorten the life of the valves.
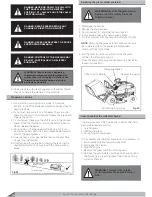
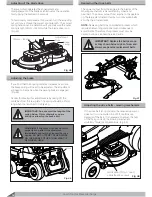
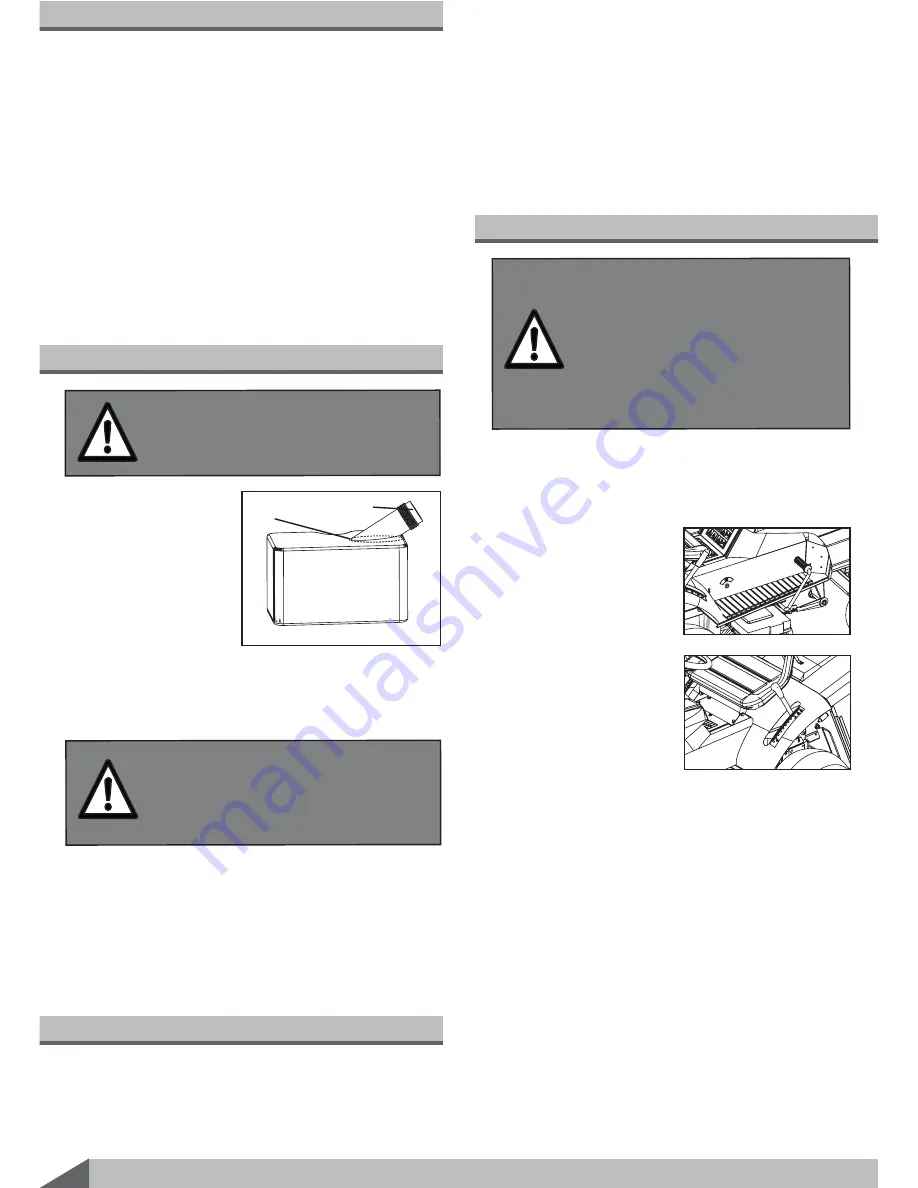
• When fuelling the tank, ensure that you fuel to the level as
VKRZQ)LJ
WARNING:
A mixture of alcohol
(ethanol or methanol) and gasoline
(called gasohol), will attract moisture and
cause acid deposits during storage. While
the unit is in storage, the acids in the fuel
can damage the fuel system.
7RSUHYHQWHQJLQHSUREOHPVZLWKWKHIXHOV\VWHPHPSW\
WKHIXHOV\VWHPEHIRUHVWRUDJHRIGD\VRUORQJHUDV
follows.
1. Drain the fuel tank.
2. Start the engine. Let the engine run until the fuel lines
DQGWKHFDUEXUHWRUDUHHPSW\
3. After storage, make sure you use fresh fuel.
1HYHUXVHHQJLQHFOHDQHURUFDUEXUHWRUFOHDQHULQWKH
fuel tank or permanent damage can occur.
Fig 26
Full
Fuel Tank
Fig 27
Fig 28
Before Starting the Engine
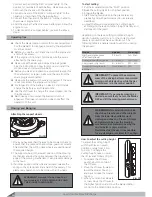
NOTE:
&DUEXUHWRULVFDOLEUDWHGE\WKHHQJLQHPDQXIDFWXUHU
DQGLVQRWDGMXVWDEOH
,IHQJLQHLVRSHUDWHGDWDOWLWXGHVDERYHPIW
VRPHFDUEXUHWRUVPD\UHTXLUHDVSHFLDOKLJKDOWLWXGHPDLQ
jet. See your authorized service center.
Carburetor
How to start the engine
NOTE:
The engine will not start unless you depress the
FOXWFKEUDNHSHGDOPRYHWKHVKLIWOHYHUWRWKH
QHXWUDO1SRVLWLRQDQGPRYHWKHEODGHURWDWLRQFRQWURO
to the DISENGAGE position.
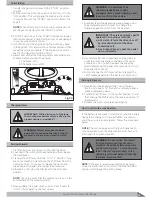
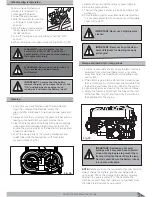
1. Open the fuel cock.
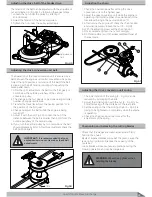
2. Sit in the middle of the
seat. Push the
FOXWFKEUDNHSHGDO
completely forward.
Keep your foot on the
SHGDO)LJ
3. Check to ensure the hand
EUDNHLV21DQGVORZO\
release the clutch pedal.
4. Move the shift lever from
WKHUHYHUVH5SRVLWLRQ
WRWKHQHXWUDO1
SRVLWLRQ)LJ7KH
segment pin must go
GRZQLQWKHFHQWUDOKROHRIWKHEORFNLQJVSULQJDIWHU
the release of the shift lever.
0DNHVXUHWKHEODGHURWDWLRQFRQWUROLVLQWKH
DISENGAGE position.
0RYHWKHWKURWWOHFRQWUROFRPSOHWHO\IRUZDUGWRWKH
&+2.(RU)$67SRVLWLRQ3XOOWKHFKRNHNQREWRWKH
IXOO&+2.(SRVLWLRQLIHTXLSSHG
7XUQWKHLJQLWLRQNH\WRWKH67$57SRVLWLRQ5HOHDVH
the key when the engine starts.
127(,IWKHHQJLQHGRHVQRWVWDUWDIWHUIRXURU´YH
tries, move the throttle control to the FAST position.
Again try to start the engine. If the engine will not
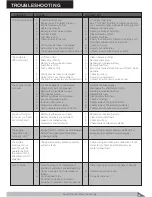
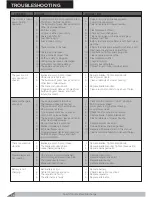
start, see the TROUBLE SHOOTING CHART.
6ORZO\PRYHWKHWKURWWOHFRQWUROWRWKH6/2:
SRVLWLRQ,IPRGHOKDVDVHSDUDWHFKRNHNQRESXVKLQ
WKHFKRNHNQRE
/HWDFROGHQJLQHUXQIRUVHYHUDOPLQXWHV%HJLQZRUN
when the engine is warm. To start a hot engine, move
WKHWKURWWOHFRQWUROWRDSRVLWLRQEHWZHHQ)$67DQG
SLOW.
Summary of Contents for Gizmow T130
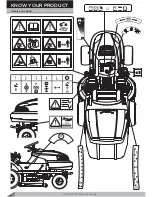
Page 12: ...KNOW YOUR PRODUCT Lawn Tractor Rear Discharge 12 Decals and Labels ...
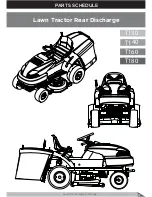
Page 37: ...PARTS SCHEDULE Lawn Tractor Rear Discharge 37 T130 T140 T160 T180 Lawn Tractor Rear Discharge ...
Page 38: ...PARTS SCHEDULE Lawn Tractor Rear Discharge 38 ...
Page 40: ...Lawn Tractor Rear Discharge 40 PARTS SCHEDULE T130 T160 T140 T180 LAWN TRACTOR 1A ...
Page 44: ...T130 T160 T140 T180 LAWN TRACTOR 1B PARTS SCHEDULE Lawn Tractor Rear Discharge 44 ...
Page 49: ...T130 T160 LAWN TRACTOR 1C Lawn Tractor Rear Discharge 49 PARTS SCHEDULE ...
Page 50: ...T140 T180 LAWN TRACTOR 1C PARTS SCHEDULE Lawn Tractor Rear Discharge 50 ...
Page 53: ...T130 T160 T140 T180 LAWN TRACTOR 1D Lawn Tractor Rear Discharge 53 PARTS SCHEDULE ...
Page 56: ...T130 T160 T140 T180 CUTTING DECK 2 PARTS SCHEDULE Lawn Tractor Rear Discharge 56 ...
Page 60: ...T130 T160 FRONT AXLE 7 PARTS SCHEDULE Lawn Tractor Rear Discharge 60 ...
Page 61: ...T140 T180 FRONT AXLE 7 Lawn Tractor Rear Discharge 61 PARTS SCHEDULE ...
Page 63: ...T130 T160 T140 T180 LIFTING LEVER 11 Lawn Tractor Rear Discharge 63 PARTS SCHEDULE ...
Page 65: ...T130 T160 T140 T180 HUB 14 Lawn Tractor Rear Discharge 65 PARTS SCHEDULE ...
Page 67: ...T130 T160 T140 T180 REAR AXLE 15A Lawn Tractor Rear Discharge 67 PARTS SCHEDULE ...
Page 69: ...T130 T160 T140 T180 REAR AXLE 15B Lawn Tractor Rear Discharge 69 PARTS SCHEDULE ...
Page 73: ...T130 T160 T140 T180 HOOD 24 Lawn Tractor Rear Discharge 73 PARTS SCHEDULE ...
Page 75: ...T130 T160 T140 T180 PANEL 25 Lawn Tractor Rear Discharge 75 PARTS SCHEDULE ...
Page 77: ...T130 T160 T140 T180 ELECTRICAL SYSTEM 27 Lawn Tractor Rear Discharge 77 PARTS SCHEDULE ...
Page 78: ...T130 T160 T140 T180 ELECTRICAL SYSTEM 27a PARTS SCHEDULE Lawn Tractor Rear Discharge 78 ...
Page 80: ...T130 T160 T140 T180 SEAT 32 PARTS SCHEDULE Lawn Tractor Rear Discharge 80 ...
Page 82: ...T130 T160 T140 T180 BUNKER 34 PARTS SCHEDULE Lawn Tractor Rear Discharge 82 ...
Page 84: ...T130 T160 T140 T180 GEAR SHIFTING 35 PARTS SCHEDULE Lawn Tractor Rear Discharge 84 ...
Page 86: ...T130 T160 T140 T180 SEGMENT 36 PARTS SCHEDULE Lawn Tractor Rear Discharge 86 ...
Page 88: ...T130 T160 T140 T180 PLATE 37 PARTS SCHEDULE Lawn Tractor Rear Discharge 88 ...
Page 90: ...T130 T160 T140 T180 DECALS 38 PARTS SCHEDULE Lawn Tractor Rear Discharge 90 ...

