DICOMBurner: User Manual [
DB-UM-3 – Rev B
]
64
Note
: if at the first step of the wizard you set Rimage for
Backup
usage then this step isn’t shown because
the image viewer is useless on a backup CD/DVD.
By clicking “
Next>
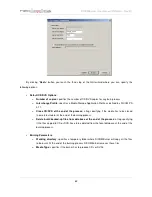
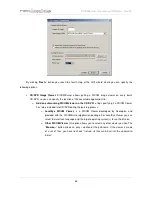
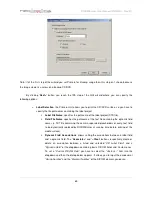
” button you reach the fifth step of the GUI wizard where you can specify the
following options:
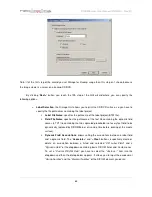
o
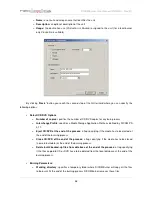
Label Selection
: the Rimage Unit allows you to print the CD/DVD surface, so you have to
specify the file pathnames containing the label project.
Label File Name
: specifies the pathname of the label project (BTW file).
Field File Name
: specifies the pathname of the text file containing the dynamic field
names (a TXT file containing the tab separated placeholders of every text field to be
dynamically replaced by DICOMBurner at running time before printing of the media
surface).
Dynamic Field Associations
: allows setting the associations between a label field
and a dynamic field. The “
Associate>
” and “<
Clear
” buttons respectively create or
delete an association between a listed and selected “
CD Label Field
” and a
“
Dynamic Field
” of the dropdown containing basic DICOM fields and Custom ones.
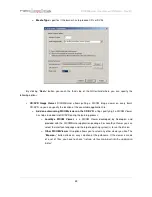
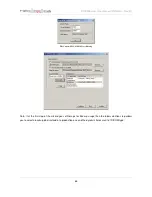
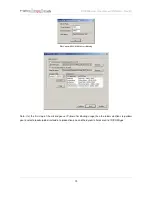
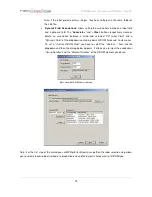
To set a “
Custom DICOM Field
” you have to select the “
Custom…
” item into the
dropdown and then the dialog below appears. It allows you to input the exadecimal
“
Group Number
” and the “
Element Number
” of the DICOM element you desire.


