DICOMBurner: User Manual [
DB-UM-3 – Rev B
]
41
These four options are accessible by clicking the small down arrow located next to the “
Backup
” button on
the main toolbar. Once you select one of the available backup options from the pop-up menu, it will become
the default option associated with the “
Backup
” toolbar button.
Note: if the set of DICOM files to burn exceeds the free size of the media you’ve loaded, then DICOMBurner
spans the DICOM files over two or more CDs/DVDs.
9.1 Backup database
DICOMBurner allows the backup of the database content to prevent loss of data in case of system
crash. Note that this function saves only the database tables entries, not the DICOM files storage. To
completely recover from a system disaster, you need to perform periodically backup of both database and
DICOM files (as explained in the next sections).
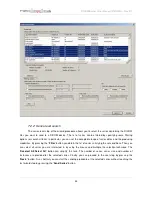
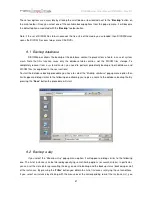
To start the database backup procedure you have to select the
“Backup database”
popup menu option then
it will appear a dialog similar to the following one allowing you to give a name to the database backup file. By
pressing the “
Save
” button the procedure will start.
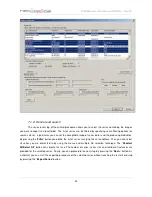
9.2 Backup a day
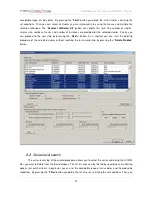
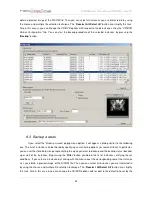
If you select the
“Backup a day”
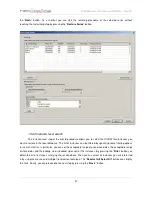
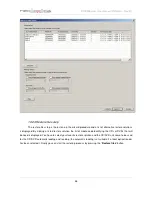
popup menu option, it will appear a dialog similar to the following
one. The list of instances can be filtered by specifying some filtering options (or search criteria): in particular,
you can set the store date representing the day you want to backup and the backup status (backed-up or not)
of the instances. By pressing the “
Filter
” button you obtain the list of instances satisfying the set conditions.
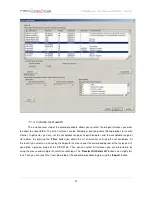
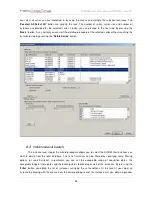
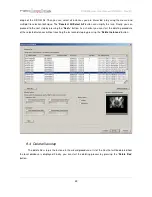
If you select an instance by clicking with the mouse over the corresponding row of the Instance List, you

