-18-
U.motion Client Touch 10 / 15
Technical Manual
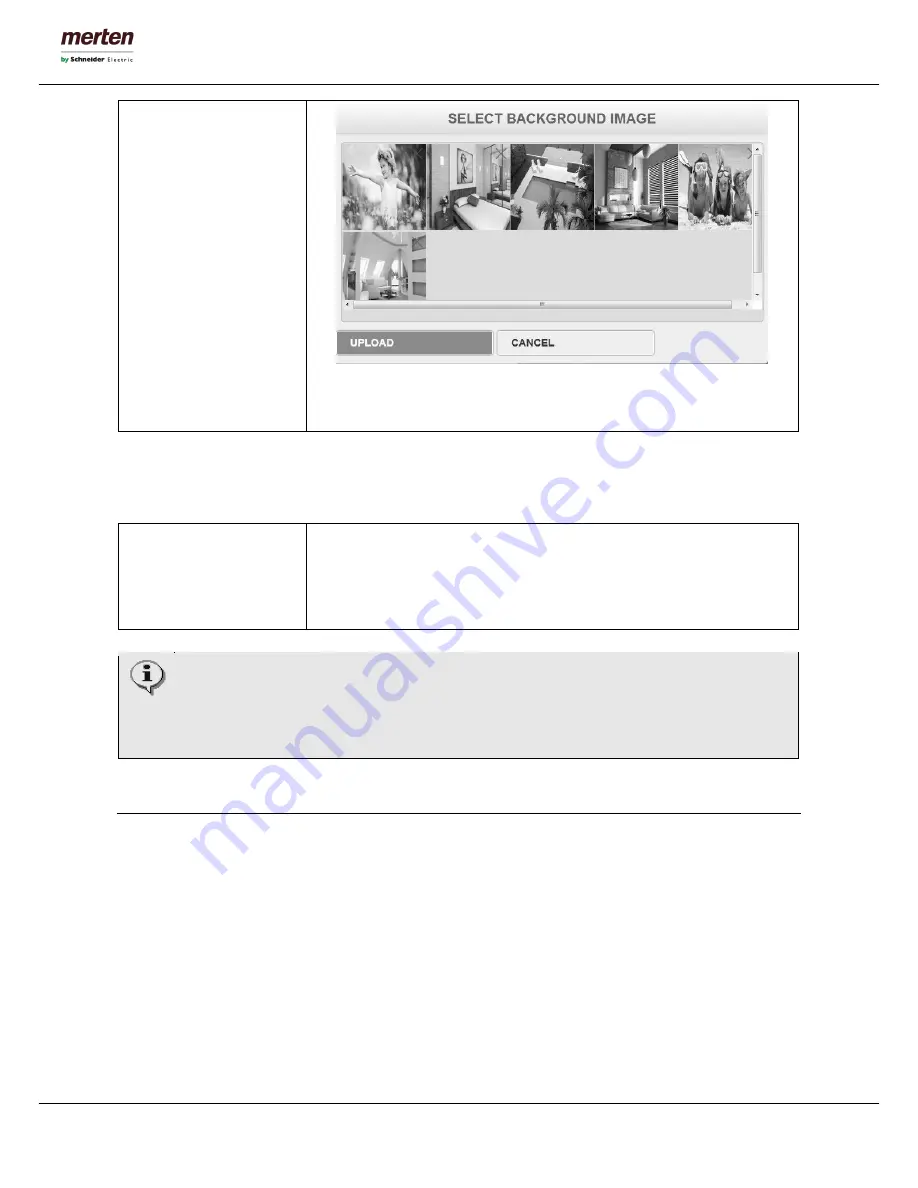
Through the „UPLOAD“-button further pictures can be uploaded to U.motion
Client Touch. Through the “X”-button the corresponding picture can be
removed from U.motion Client Touch.
C7.6.3 Touchscreen
Through the calibration the touchscreen can be optimized for the customer:
CALIBRATION
A single click on the button „CALIBRATE NOW“ starts the calibration
procedure on the display of U.motion Client Touch. During this procedure, 4
crosses appear on the display of U.motion Client Touch, which must be
pressed by the customer one after another. Once all crosses have been
pressed, the calibration process is done.
The calibration process can be started only from the administration menu, which is accessible
either by a remote PC (desktop PC/ notebook) or locally, directly on the device. The first option
brings the advantage that the calibration can be started even when the touchscreen can’t be used
anymore, e.g. because of a wrong calibration. TAKE CARE: the calibration itself always must be
done directly on the device (through its touchscreen), even when launched locally!
C8. Administration and visualisation area
As already mentioned, the interface of U.motion Client Touch is split into two areas:
•
“ADMINISTRATION” or “BACKEND”: Configuration area, in which (depending on the users
permissions) the settings of the U.motion Client Touch can be modified
•
“VISUALISATION”: Visualisation area, is transferred directly from the configured U.motion KNX Server
Plus.
Please note that in case of the U.motion Client Touch, only the configuration area is available directly on the
device, since the visualisation is received directly from the connected U.motion KNX Server Plus. Therefore
the settings described on the last pages always refer to settings of the U.motion Client Touch; if instead you
want to modify settings of the visualisation, you will have to access the configuration area of the connected
U.motion KNX Server Plus.


