Meridian Digital Surround Controller 561, User Manual
Enhance your home theater experience with the Meridian Digital Surround Controller 561. For easy setup and optimal performance, be sure to download the User Manual for free from manualshive.com. This comprehensive manual will guide you through all the features and functions of this top-of-the-line audio controller.
Share
Download


Reviews:
No comments
Related manuals for Digital Surround Controller 561

Spectra
Brand: Wavetec Pages: 17

ET1
Brand: Calsense Pages: 9

Smart Controller
Brand: MaestroHome Pages: 10

Controller
Brand: ZEHUS Pages: 28

S3
Brand: Valfonta Pages: 12

Solo
Brand: 1Control Pages: 8

PX5 Series
Brand: 3M Pages: 34

34
Brand: QUAD Pages: 17

VIGILO 2250
Brand: fadini Pages: 16

RM186
Brand: Laird Pages: 38

BL600 Series
Brand: Laird Pages: 5

TP200
Brand: UNISENSE Pages: 16

FST
Brand: Xylem Pages: 48

MM4005
Brand: Newport Pages: 417

MS8xICP
Brand: IBA Pages: 29

FPC-36040
Brand: Matelec Pages: 16
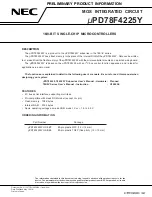
uPD78F4225Y
Brand: NEC Pages: 30

LIEBERT RPC2
Brand: Vertiv Pages: 2


