Matrox Productiva G100 Multi-Monitor Series – User Guide
23
For more information on PC-VCR Remote property settings, click “
” on the title bar of the
dialog box, then click a dialog box item.
Recording to a video file
1
Click the
LINE
button on the PC-VCR Remote. You should see video in the PC-VCR Remote
video window; if not,
see “Before you record to a video file”, page 22
.
2
Click
Record
(
).
If you click
Record
once, PC-VCR Remote will record to video file until you click
Stop
(
) or run out of disk space. If you click
Record
again, PC-VCR Remote will record for
2 minutes; click again and PC-VCR Remote will record for 4 minutes; and so on.
Mini remote
If you don’t want to use the full-sized PC-VCR Remote, you
can use the “mini remote”. The mini remote is a toolbar
added to the PC-VCR Remote video window. The mini
remote replaces the “full remote”. To use the mini remote, right-click the PC-VCR Remote, then
click
Use Mini Remote
on the resulting pop-up menu.
Pause your mouse pointer over each mini remote button to see a pop-up tooltip identifying it. There
are different buttons on the mini remote depending on the type of input selected.
To return to using the full remote again, right-click the PC-VCR Remote video window, then click
Use Full Remote
on the resulting pop-up menu.
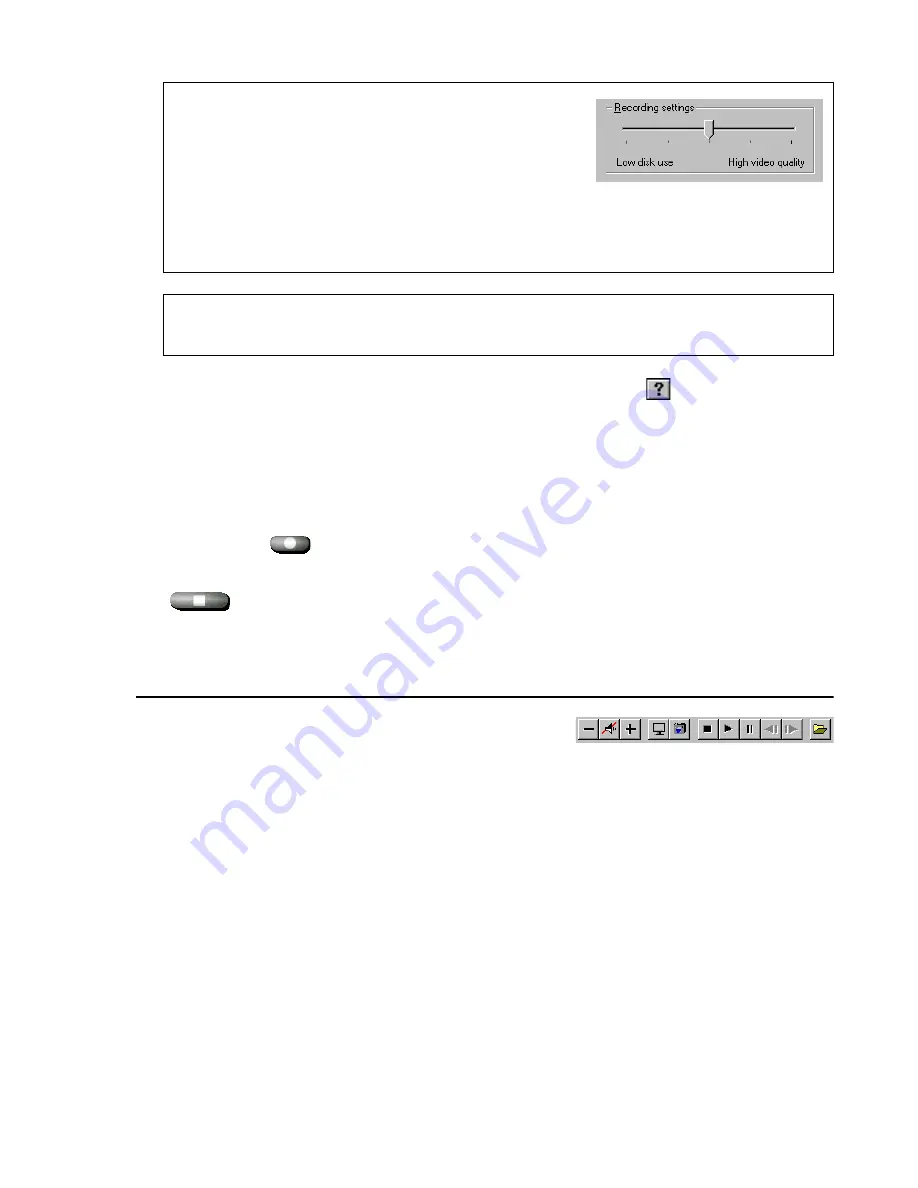
Recording settings
The maximum frame size and rates you can select with the
Recording settings
slider are based on the currently
selected capture settings and the disk where the video file
will be created. Higher-quality capture settings generally require a disk that can store
information faster. PC-VCR Remote determines how fast your disk can store information
by checking the results saved by the
Matrox HD Benchmark
program.
Note: Your Matrox product doesn’t support hardware-accelerated MJPEG encoding and
decoding. Because of this, certain Matrox software controls are unavailable.
Mini remote toolbar (FILE input)


