1
2
Removing and installing starter
116
Fig. 1
Disconnect minus cable from battery or switch off
battery main switch if fitted.
Disconnect cable from terminal 31 (minus terminal,
thick cable), terminal 30 (plus terminal, thick cable)
and terminal 50 from starter.
Remove mounting nuts (19 mm).
Note:
A curved wrench is advantageous for the
inner bolts (see Fig.).
Fig. 2
Take off starter.
Check starter pinion for wear and that it can move
freely. If necessary, clean piston using a brush
dipped in fuel and regrease it.
4392
Check flywheel gear ring for wear and damage.
Turn over engine by hand once, paying particular attention to the positions at which the engine finally stops;
i. e. when the engine is switched off it always stops in certain positions.
The starter pinion engages in these positions when the engine is started.
For changing starter gear ring, see page 63.
The starter is installed in reverse sequence to the removal procedure. Ensure that the cables are
correctly connected up and the bolts tightened to specified torque.
Connect up battery or switch on battery main switch.
After installation check starter to see that it works properly.
Summary of Contents for D 2866 LE 401
Page 1: ......
Page 17: ...Engine views D 2866 LE401 16...
Page 18: ...Engine views D 2866 LE401 17...
Page 19: ...Cross section of engine 18...
Page 20: ...Longitudinal section 19...
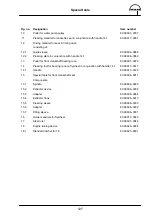
Page 124: ...123 Special tools...
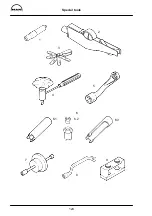
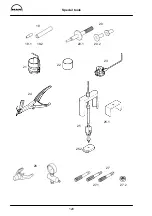
Page 125: ...Special tools 124 2 3 4 5 6 7 9 1 8 6 1 6 2 6 3...
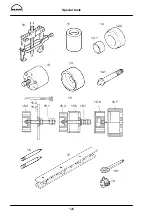
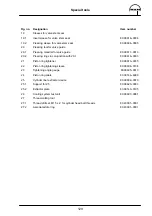
Page 129: ...Special tools 128 21 22 23 25 25 2 24 25 1 26 27 1 27 2 27 20 1 19 2 19 1 20 2 19 20...
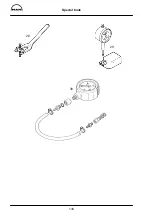
Page 131: ...Special tools 130 29 28 30...
Page 138: ......


