7 - Maintenance
ExpressCard 2000| Instant Issuance Card Personalization System | User Installation and Operation Manual
Page 58
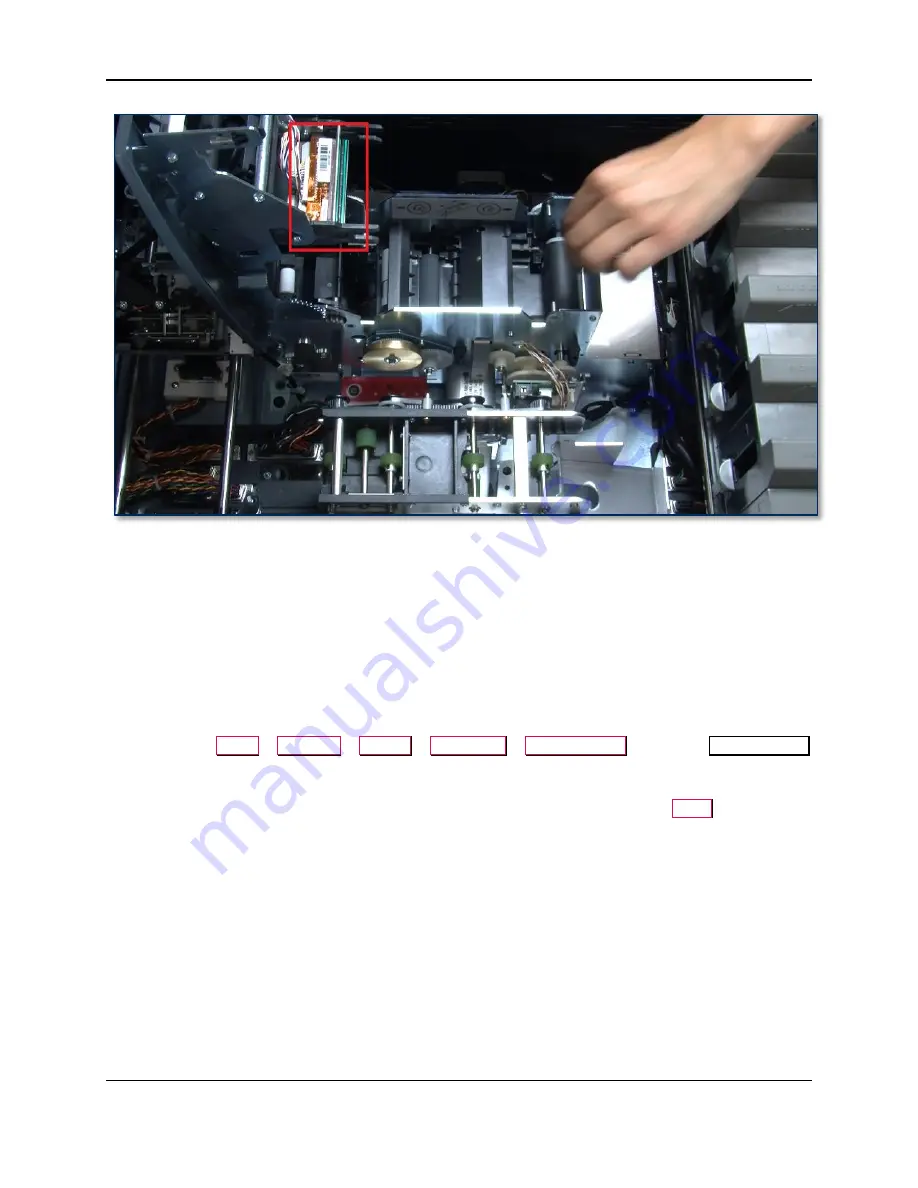
Figure 7-5 - Locating the Image Print Head
7)
Press in on the forks facing the right of the printer. The print head will move inward with a springy
resistance. Guide the whole print head assembly out of the groove that locks it in place.
8)
Tilt the head carefully, and gently disconnect the cable without using force on the mechanism.
9)
Connect the new print head into its socket the way the old print head was connected (see
),
making sure it is facing the right way.
This part is fragile: Do not use force to connect the cable.
10)
Insert the print head back into the slot, push inward gently against the spring, and guide the print head
back into the locked position.
11)
Close the image printer.
12)
Navigate to
Menu
>
Settings
>
Printer
>
Advanced
>
Commands
…
to open the
Printer Utility
page.
13)
Select the
Command
text box and use the on-screen keyboard to enter the (case-sensitive) command
Pkn;x
where x is the print head kit code number you noted above, then press the
Send
button. For
example, if the print head kit number is 179-004-00048, the command to be entered is:
Pkn;179-004-
00048
. If the print head kit number is not entered correctly, the image printer may malfunction and
the warranty may be voided.
14)
The “Response” text box should report “OK.” If it reports an error, try again.
15)
Thoroughly clean the EC2000 (see section
16)
Re-install the ribbon (see section
6.8.2 How to Install / Remove the Image Printer Ribbon
17)
Close the EC2000’s top access door.
7.4
Re-Aligning Embossed and Printed Characters
Embossed and printed characters must only be re-aligned in rare cases where the solution where the
EC2000 is being used includes one or more card designs that emboss on top of printed characters, without
using the foil tipping feature. Otherwise, it is not necessary to perform any of the steps in this section.


