21
Setting Timer Program
1. Press [ POWER] to turn on the unit.
2. Make sure that a recordable disc or a VHS tape
is inserted or loaded for recording.
When you insert a new recordable disc for recording, the recorder
will automatically start the disc preparation process.
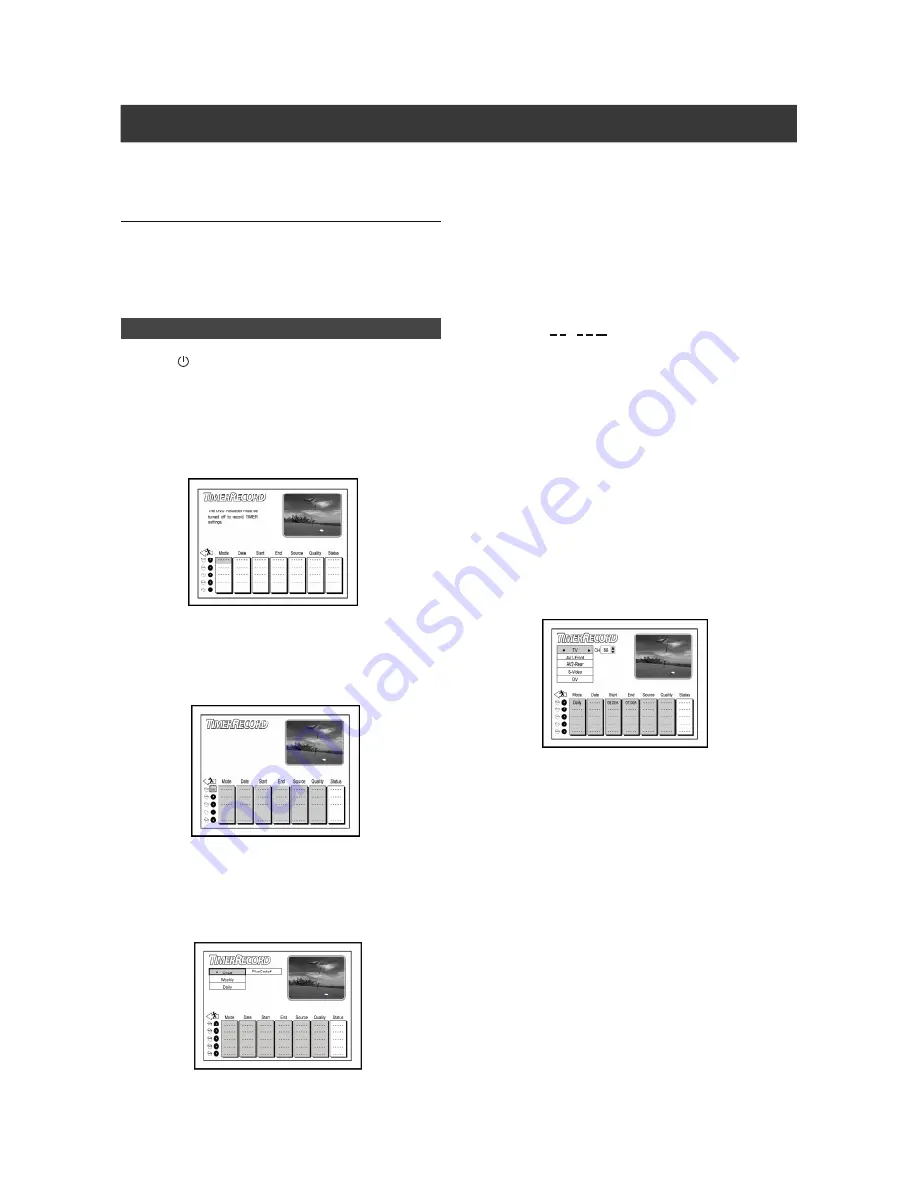
3. Press [TIMER] to display the Timer-Record menu.
4. Press [
] [
] to select one of the timer setting
items from the list and press [
].
5. Press [
] [
] to move to the disc/tape icon and
press [ENTER] to select to record on a disc or a
tape.
6. Press [
] [
] to select “Mode” and press [ENTER] .
Press [
] [
] to select among “Once,” “Weekly” or “Daily” and
press [ENTER] for confirmation.
Mode: Once <-> Weekly <-> Daily
*LVC-9016G:
This unit can record on DVD-R/-RW, DVD+R/+RW
discs and VHS tapes.
*LVC-9017GDL:
This unit can record on DVD-R/-RW, DVD+R/
+RW, DVD+R DL (double layer) discs and VHS tapes.
Before using “Timer Record”
Please check whether the recordable disc or the VHS tape has
enough space for the timer recording session(s). Before you start
to record, follow the steps listed below to set the date, time, picture
quality and channel of the program.
Timer Recording
7. Press [
] [
] to select “Date” and press [ENTER] .
Press [
] [
] [
] [
] to make your selection and [ENTER] for
confirmation. To enter the number, use the number buttons (0~9).
Once DATE: MM/DD
Weekly DATE: SUN/MON/TUE/WED/THU/FRI/SAT
Daily
DATE:- - - - -
(When the “daily” mode is selected, skip to step 8)
8. Press [
] [
] to select “Start” and press [ENTER] to
set the start time for the timer recording session.
When completed, press [ENTER] for confirmation.
TIME:0 1 : 2 8 A (HH/MM/AM or PM)
9. Press [
] [
] to select “End” and press [ENTER] to
set the end time for the timer recording session.
When completed, press [ENTER] for confirmation.
When scheduling timer recording on a DVD disc, the unit automati-
cally sets the recording quality depending on the length of the
recorded item. If you wish to set other modes of recording quality,
proceed with step 11.
10. Press [
] [
] to select “Source” and press
[ENTER] to set the signal input source.
Press [
] [
] to select among “TV,” “AV1-Front,” “AV2-Rear,” “S-
Video” or “DV” and press [ENTER] for confirmation.
Source: TV <--> AV1-Front <--> AV2-Rear<-->S-Video
<-- >DV
When TV is selected, press [
] [
] to select the channel and
press [ENTER].
11. Press [
] [
] to select “Quality” and press
[ENTER] to set the mode of recording quality.
DVD disc recording mode:
HQ <-> SP <-> LP <-> EP <-> SLP
Tape recording mode:
SP <-> EP


