14
Operation and settings
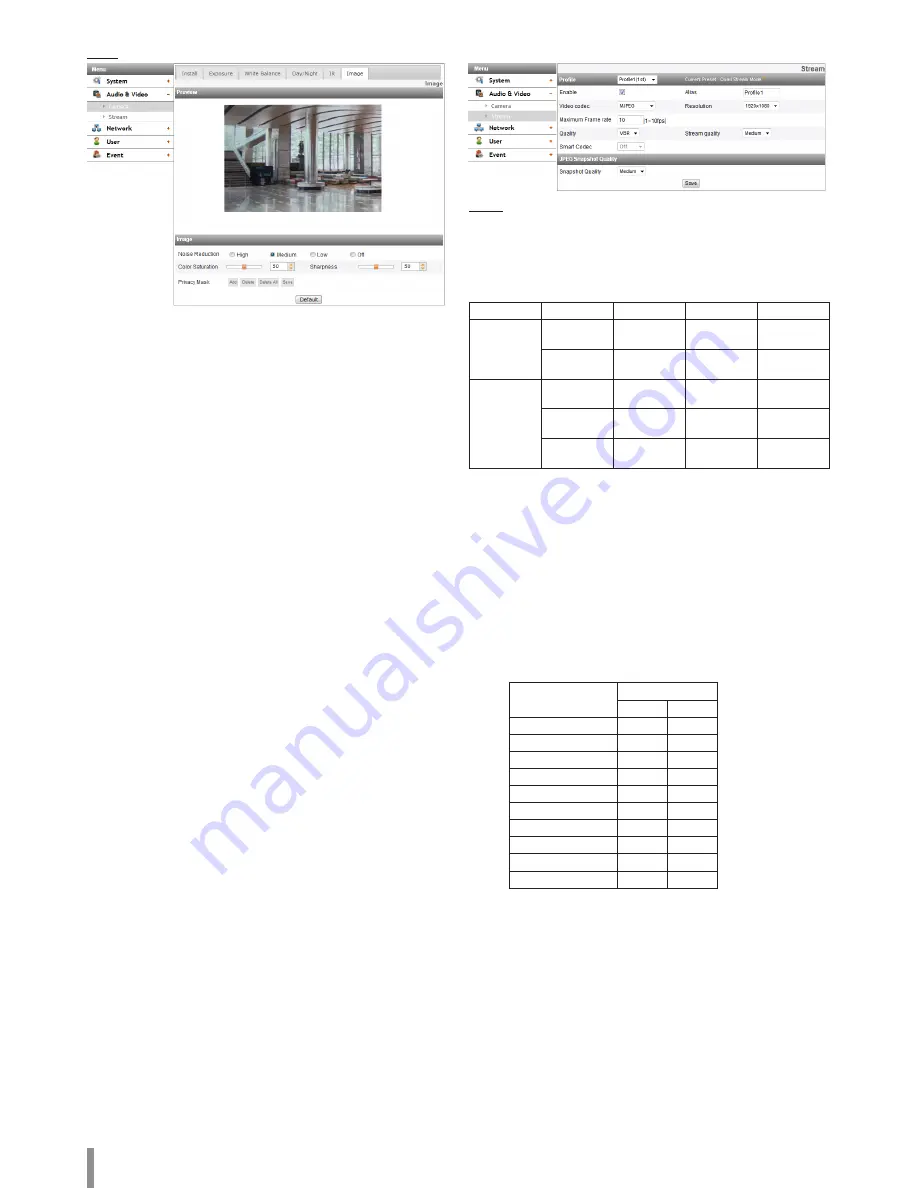
Image
> Noise Reduction: If pictures are not clear due to noise, this option
would reduce the noise of picture. When you use this function,
the afterimage may occur.
>
Color Saturation: Set the intensity of the color.
>
Sharpness: The degree to which the boundary of the two
portions is clearly distinguished. If you set the sharpness value to
higher, the image outline becomes sharp. If you set to lower value,
the image outline becomes dim.
> Privacy Mask
-
Add: Click the [Add] button.
1. When you click on the preview screen, yellow cross point
is displayed.
2. When you select all of 2 points, area is set automatically.
Note:
• You can cancel the point by click the mouse right button
near the other point.
•
Up to 4 zone is available to set.
-
Delete: Delete the selected zone.
-
Delete All: Delete all of the mask zone.
-
Save: Save the settings of the Privacy Mask.
Note:
• If the privacy mask setting is changed , it is not applied
immediately. You need to click the [Save] button to save the
settings.
• When the [Image] tab is selected, the Privacy Mask area is
displayed on the preview window.
• Set the [Privacy Mask] after complete the [Install] settings.
• If the [D-Effect] is changed, the [Privacy Mask] settings will
be initialized.
• Default: Click this button to restore the IP device back to original
factory settings.
Stream
Profile
Select the stream [Profile1], [Profile2], [Profile3] or [Profile4] depending
on Install Preset.
Note:
It is displayed the constraints according to the current preset settings by
mouse-over at the right-top of the current Preset.
Profile
Profile1
Profile2
Profile3
Profile4
Quad
Stream
1080p @
30 fps
1080p @
15 fps
720p @
30 fps
CIF @
30 fps
1080p @
30 fps
720p @
30 fps
720p @
30 fps
CIF @
30 fps
Pivot
1080p @
30 fps
N/A
N/A
N/A
1080p @
15 fps
720p @
30 fps
CIF @
30 fps
N/A
720p @
30 fps
720p @
30 fps
CIF @
30 fps
N/A
> Enable: Click to activate the stream function.
>
Alias: Enter the profile name you want to use.
> Video codec: Select the video mode (Codec) from the dropdown
list. The viewer can choose among MJPEG, H.264 and H.264_
HIGH.
>
Resolution: Select the resolution from the drop-down list.
>
Maximum frame rate: Set the frame rate of the image.
Note:
Refer to the table below for the supported Framerate.
If you enter the unsupported framerate, the less Encoding
Framerate than the input is applied.
For example, when 17 fps is entered, 15 fps will be applied.
Encoding Framerate
Sensor Framerate
30
25
30
O
N/A
25
O
O
20
O
O
15
O
O
10
O
O
5
O
O
4
O
O
3
O
O
2
O
O
1
O
O
Summary of Contents for LND3230R
Page 27: ......


