Solving print quality problems
154
Troubleshooting
L
e
xm
ar
k Co
nf
id
en
ti
al
u
n
ti
l an
no
un
ced - Re
vi
si
on:
02
/18
/05
Solving print quality problems
To help isolate print quality problems, print the Print Quality Test Pages.
1
Turn the printer off.
2
Press
and
. Hold them while you turn the printer on, and until the
Performing Self
Test
message appears.
Config Menu
.appears.
3
Press
until
Prt Quality Pgs
appears, and then press
.
The pages are formatted. The
Printing Quality Test Pages
message appears, then the
pages print. The message remains on the operator panel until all the pages print.
After the Print Quality Test Pages print, to exit the Config Menu:
4
Press
until
Exit Config Menu
appears, and then press
to complete the
procedure.
The information in the following table may help you solve print quality problems. If these suggestions
still do not correct the problem, call for service. You may have a printer part that requires adjustment
or replacement.
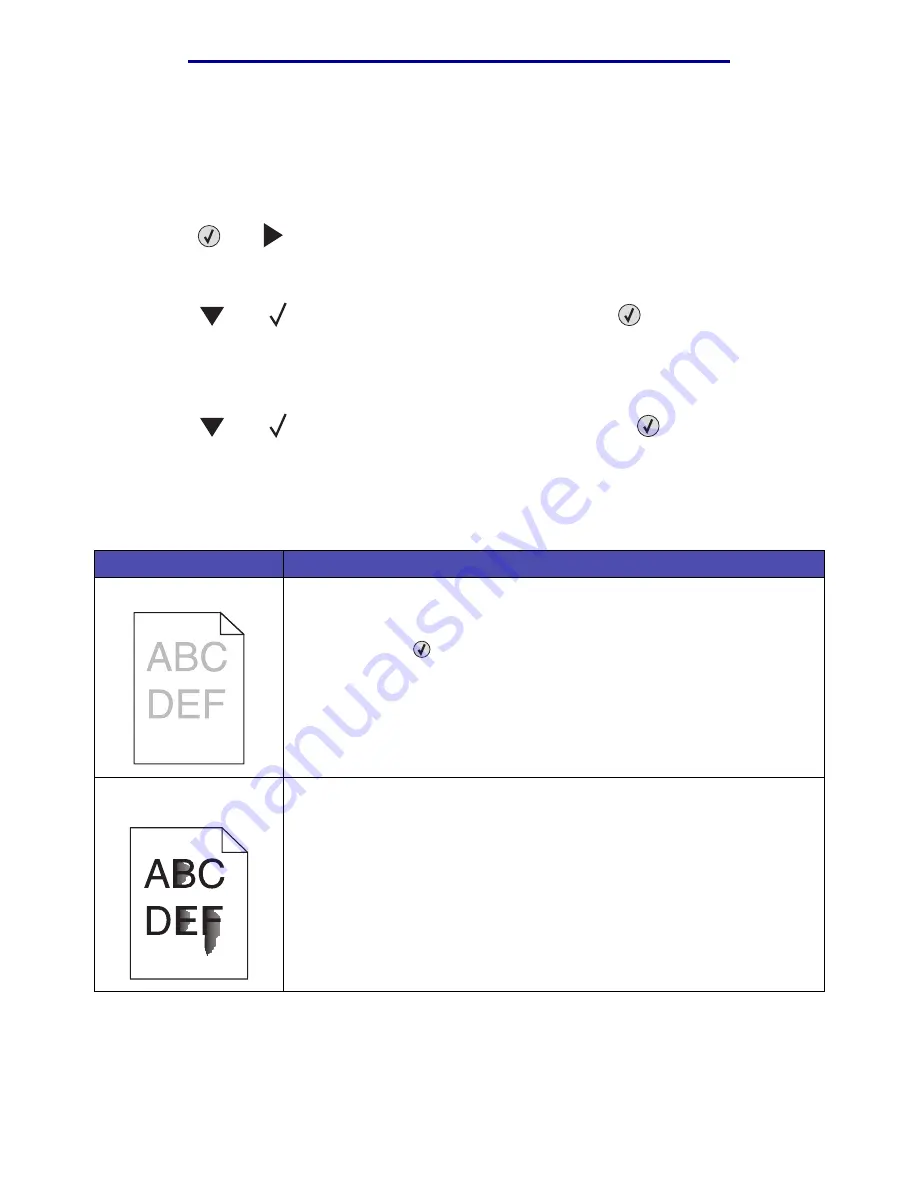
Problem
Action
Print is too light.
• The toner may be low. To utilize the remaining toner, remove the cartridge by
gripping the handles with both hands. With the cartridge arrows pointing
downward, shake the print cartridge back and forth. Reinstall the cartridge
and then press
.
• Change the Toner Darkness setting in the Quality Menu.
• If you are printing on an uneven print surface, change the Paper Weight and
Paper Texture settings in the Paper Menu.
• Verify the correct print media is being used.
Toner smears or print
comes off the page.
• If you are printing on an uneven print surface, change the Paper Weight and
Paper Texture settings in the Paper Menu.
• Verify the print media is within the printer specifications. See
for more details.
If the problem continues, contact the Lexmark Customer Support Center at
1-859-232-3000 or http://support.lexmark.com.
If the problem continues, turn the printer off and contact the place you bought
your printer.


