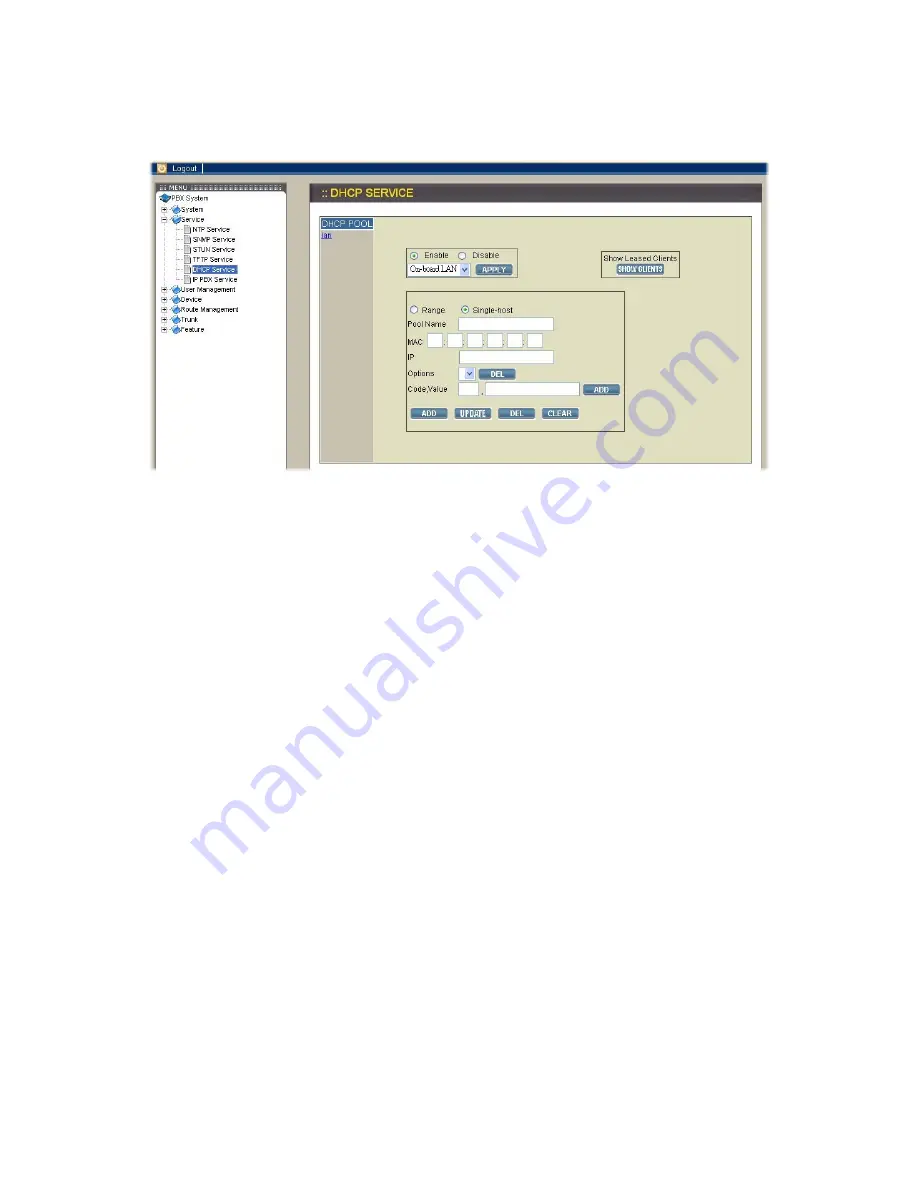
2.2.5. DHCP Service
Select Service
→
DHCP Service to display current status of DHCP service in this page.
You can enable or disable DHCP service at any time.
Enable DHCP service
Select Enable button, and then click APPLY icon. Afterward, you can configure more
DHCP settings in this page.
Add DHCP pool
Click <Add new> icon from the left panel. At first, specify a pool ID which must have an
alphabet initial in the ID text field. Secondly, check Single host checkbox if the binding is
intended for a specific host only then give the MAC address of the host right below.
Thirdly, enter the DHCP range of addresses available for lease in the two Range text
fields; Start and End. If Single host checkbox is checked, the End text field will be grayed
out. Optionally, DHCP options could be configured by entering an option code in Code
text field and the option value in Value text field then click Add icon. The just added
DHCP option shall be displayed in the Options list. Follow the same steps to add more
DHCP options. To delete an option, choose it from the Options list and click Delete icon.
Last, click Save icon to commit changes. You should be able to see the newly added
DHCP pool displayed in the DHCP Pool panel on the left side.
Edit DHCP Pool
Click the link of the pool ID listed in the DHCP Pool panel, and enter desired settings
shown on the right side. Click APPLY icon to save the changes.
Delete DHCP Pool
Click the link of the pool ID which you want to delete from the DHCP Pool panel. Click
Delete icon to delete it. The just deleted pool ID shall disappear from the DHCP Pool
panel.
Show Clients
Click the Show client icon to list all leased LAN IP addresses and client details in a new
pop-up window.
Disable DHCP service
Select Disable button then click APPLY icon.


