


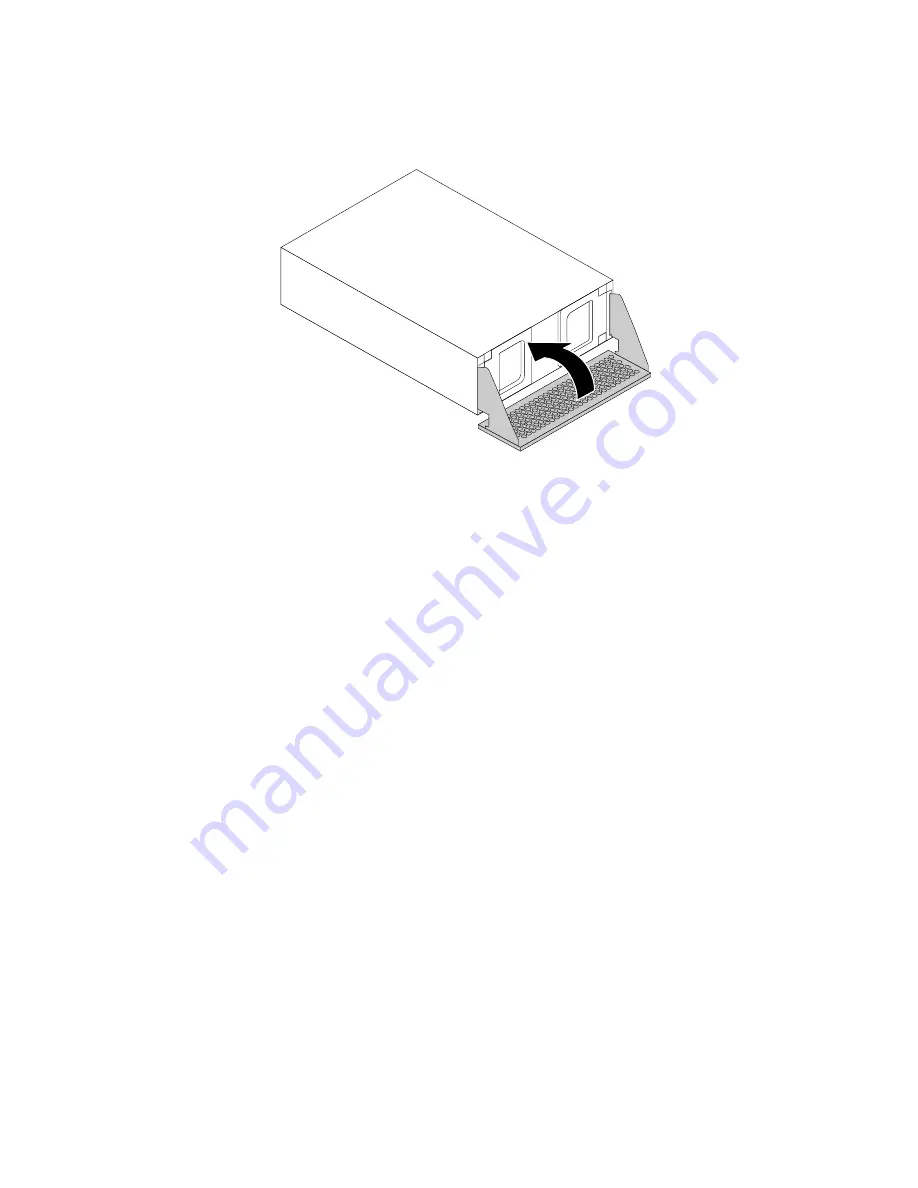
8. Close the handles on both sides of the hard disk drive bracket. Then, pivot the cover of the front-access
storage enclosure inward as shown until it snaps into position.
Figure 17. Closing the cover of the front-access storage enclosure
9. Install the front-access storage enclosure into the optical drive bay. See “Removing and installing
a device in an optical drive bay” on page 130.
10. Reinstall the direct cooling air baffle. See “Removing and reinstalling the direct cooling air baffle” on
page 128.
What to do next:
• To work with another piece of hardware, go to the appropriate section.
• To complete the installation or replacement, go to “Completing the parts replacement” on page 183.
Installing or replacing a 2.5-inch storage drive
Note:
Depending your computer model, a 2.5-inch hard disk drive or a 2.5-inch solid-state drive might
come with your computer.
To install or replace a 2.5-inch storage drive, refer to one of the following topics:
•
“Installing or replacing a 2.5-inch storage drive in a hard disk drive bay” on page 118
•
“Installing or replacing a 2.5-inch storage drive with a converter in a hard disk drive bay” on page 120
•
“Installing or replacing a 2.5-inch storage drive in an optical drive bay” on page 123
Installing or replacing a 2.5-inch storage drive in a hard disk drive bay
Attention:
Do not open your computer or attempt any repair before reading and understanding the Chapter
1 “Read this first: Important safety information” on page 1.
To install or replace a 2.5-inch storage drive in a hard disk drive bay, do the following:
1. Remove all media from the drives and turn off all attached devices and the computer. Then, disconnect
all power cords from electrical outlets and disconnect all cables that are connected to the computer.
2. Remove the computer cover. See “Removing the computer cover” on page 111.
3. Locate the hard disk drive bay in which you want to install or replace a storage drive. See “Locating
internal drives” on page 35.
4. Remove the storage drive bracket from the hard disk drive bay. See step 4 on page 113.
118
ThinkStation P900 Hardware Maintenance Manual
Summary of Contents for ThinkStation P900
Page 1: ...ThinkStation P900 Hardware Maintenance Manual Machine Types 30A4 and 30A5 ...
Page 6: ...iv ThinkStation P900 Hardware Maintenance Manual ...
Page 8: ...vi ThinkStation P900 Hardware Maintenance Manual ...
Page 16: ...8 ThinkStation P900 Hardware Maintenance Manual ...
Page 20: ...12 ThinkStation P900 Hardware Maintenance Manual ...
Page 21: ...1 2 Chapter 1 Read this first Important safety information 13 ...
Page 22: ...1 2 14 ThinkStation P900 Hardware Maintenance Manual ...
Page 27: ...1 2 Chapter 1 Read this first Important safety information 19 ...
Page 28: ...1 2 20 ThinkStation P900 Hardware Maintenance Manual ...
Page 31: ...Chapter 1 Read this first Important safety information 23 ...
Page 68: ...Figure 8 Locking the computer cover 60 ThinkStation P900 Hardware Maintenance Manual ...
Page 72: ...64 ThinkStation P900 Hardware Maintenance Manual ...
Page 86: ...78 ThinkStation P900 Hardware Maintenance Manual ...
Page 104: ...96 ThinkStation P900 Hardware Maintenance Manual ...
Page 118: ...110 ThinkStation P900 Hardware Maintenance Manual ...
Page 202: ...194 ThinkStation P900 Hardware Maintenance Manual ...
Page 206: ...198 ThinkStation P900 Hardware Maintenance Manual ...
Page 210: ...202 ThinkStation P900 Hardware Maintenance Manual ...
Page 217: ......
Page 218: ......