Last Updated on Sep 2021
Click on
Live
to view a live image. You can now adjust parameters while checking the result
directly on the monitor. Be careful though, if you spend too long doing this you will
photobleach your sample. Start focusing your sample and then center it moving the stage.
Now, based on the image, you can adjust the brightness in the
Acquire
and
Acquisition
tabs:
•
Excitation
laser power
: the higher the laser power, the faster your sample photobleaches.
Also, this will alter both the brightness of the fluorescent image and that of the brightfield.
•
Gain
:
o
Photomultiplier Tube (PMT):
Keep below 800V during image acquisition to control
noise.
o
Hybrid Detector (HyD):
Keep at 100% at all times for optimum performance. Change
the brightness of your image by changing the laser power only.
•
Offset
(adjusts the background/black level)
•
Pinhole
(the wider the pinhole aperture, the thicker is the optical slice
–
which means a
blurrier, but brighter image).
Make sure you also lower the laser power if you have to
increase the pinhole.
There’s no general rule: these adjustments mainly depend on your sample.
4.8 Image Adjustments
–
Setting the Gain and Offset properly
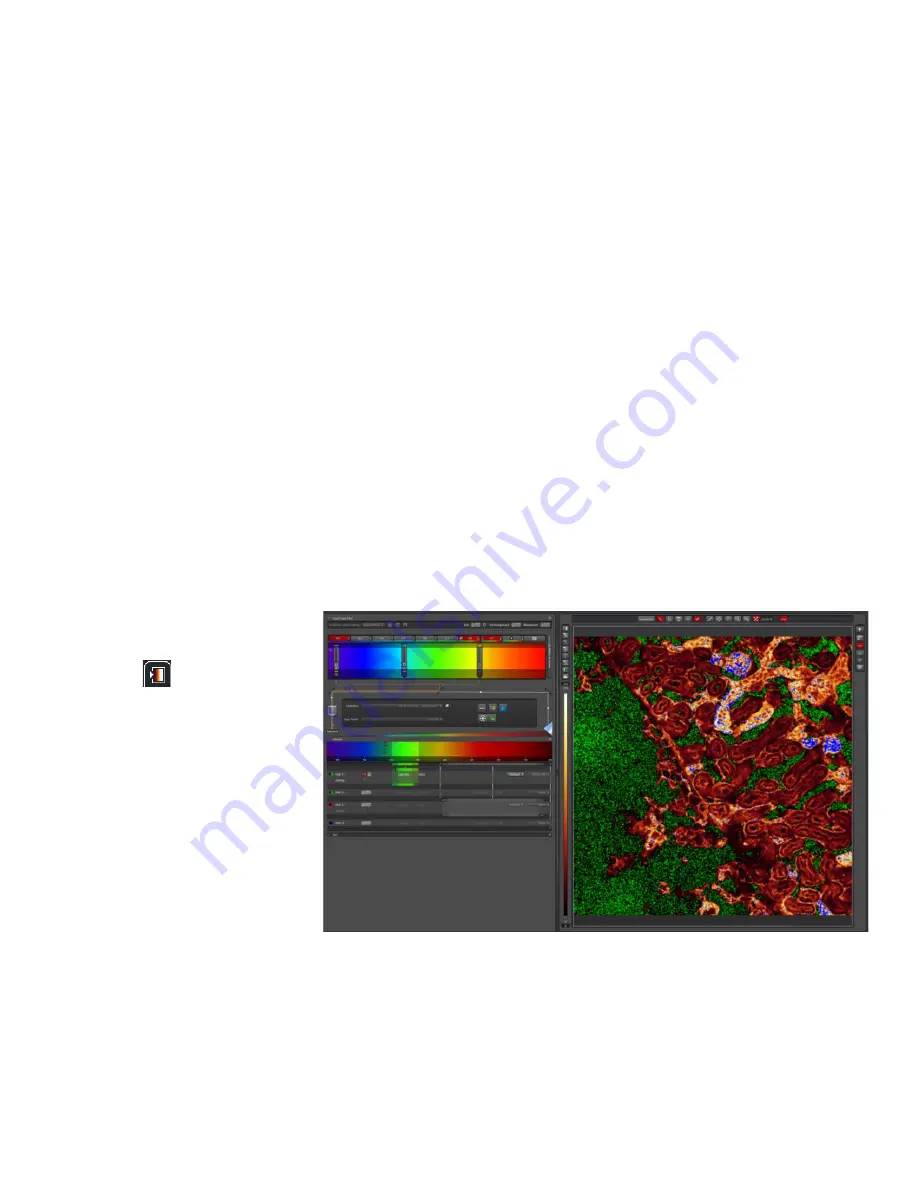
Check image saturation
level by clicking QuickLUT
icon
. The image will
change color to show
green, orange and blue.
Green indicates that the
signal in a given pixel is
black, with a value of 0.
Blue color in a given pixel
means it is saturated (over-
exposed) with a value of
255. We need to bring our
image back within the
limits of our dynamic range, such that the background is black and the sample is not too bright.
Different sets of experiments may have different fluorescence intensities.
When using the PMT detectors, we have to adjust our image using a combination of the
excitation
Laser power
,
Gain
and
Offset
: Set the Gain at 700 - 800 and reduce it, or the laser


