


6600-NG User’s Manual
125-9110A
Page 44
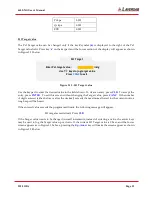
Figure 3.27 : Ps1 Leak mode
‘Leak’ will be blinking in the Ps1 mode field, waiting for either
GO
or
CANC
to be pressed. (
Caution:
Do NOT press GO at this moment
). Pressing
GO
will activate Ps1 Leak mode and stop ‘Leak’ from
blinking. Pressing
CANC
will revert back to Ps1 Measure mode. For now, press
CANC
and return Ps1
to Measure mode.
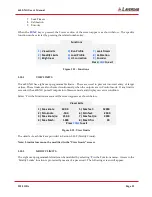
Press ‘
8
’ to select Ps1 mode again. Then press ‘
3
’ to select Ps1 Control mode. The screen appears as
shown in Figure 3.28 below.
Figure 3.28 : Ps1 Control mode
‘Control’ will be blinking in the Ps1 mode field. Also, ‘Control’ will be blinking in the Pt and Ps2 mode
fields. This is because when either Pt, Ps2 or Ps1 modes are changed to Control, all three modes (Pt, Ps2,
Ps1) are automatically setup for Control. (
Caution:
Do NOT press GO at this moment
). Pressing
GO
will activate all 3 outputs (Pt, Ps2, Ps1) into Control mode. Pressing
CANC
will revert all 3 modes back
to Measure. For now, press
CANC
and return Pt, Ps2 and Ps1 to Measure mode.
Note: When Ps1 mode is changed to Control, Pt and Ps2 modes are automatically changed to Control.
Similarly, when Pt or Ps2 mode is changed to Control, Ps1 mode is automatically changed to Control.
Note: Leak and Measure modes can be selected independently for Pt, Ps2 and Ps1.
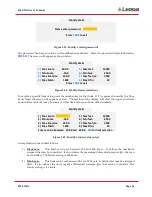
Ps2 Mode
The Ps2 mode can be changed when the key# symbol
(
±
)
is displayed to the left of the Ps2 mode field.
Press key ‘
±
’ on the keypad and the Lower section of the display will appear as shown in Figure 3.29
below.
Messages
Control
Control
Control
4
±
8
000
Hide/Show Ps2
AC
92%
Messages
Leak
Measure
Measure
4
±
8
000
Hide/Show Ps2
AC
92%


