28 |
P a g e
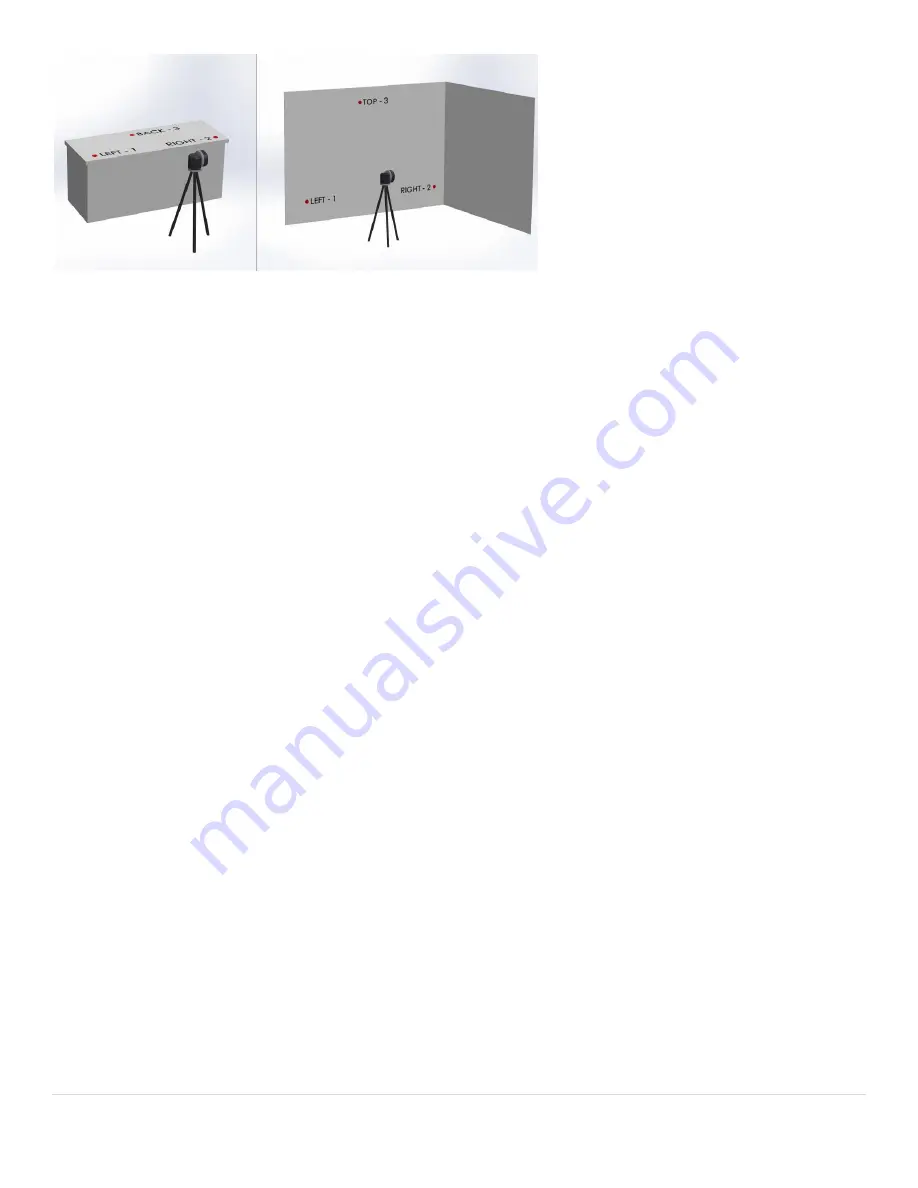
The three points need to be at least 12” apart from each other and cannot be near to a straight line. If the three points
are set like this, you will see a warning box stating that the measurement’s accuracy will be affected. The user can then
choose to reshoot or accept them as is. We suggest that get the three points in a triangular pattern and have them be as
far apart as possible to the highest level of accuracy.
2.29 Offset
2.29.1 Offset Scribed Wall
To offset a scribed wall:
1.
Key in the distance you want to offset the scribed wall and hit OK.
2.
Select all parts of the wall you want to offset.
3.
Select Done Selecting.
4.
Click in the direction you want the wall to be offset just as if you were doing a normal offset.
2.29.2 Offset Polygon
Offset Multiple would be used if you want to offset an entire object outward or inward. This is commonly used in
the situation of a sink reveal. If you are using a under mounted sink and need to reduce the size of the opening in
the countertop because you are going to top mount it (different sink with same dimensions), you would drop in
the sink, select it and then reduce the size of the opening.
1.
Key in the distance you want to offset and hit OK.
2.
Select all parts of the object you want to offset.
3.
Select Done Selecting.
4.
Click in the direction you want the wall to be offset just as if you were doing a normal offset.
2.30 Define (0,0)
Define (0,0) is used for when you create a
3T
Drop-In
3T
and need to designate a point where you want it to snap to
when you add it to a template. To
3T
Define (0,0)
3T
:
1.
Click
3T
Draw
3T
.
2.
Click
3T
Define (0,0)
3T
.
3.
Click the point you wish to designate (points will snap to end points, midpoints and intersections).
2.31 Slab Layout
When Slab Layout is clicked, you will need to tap on all the lines you want to move or modify.


