12 |
P a g e
6.
Click Ok.
2.4.6
Import Job Tracker Data
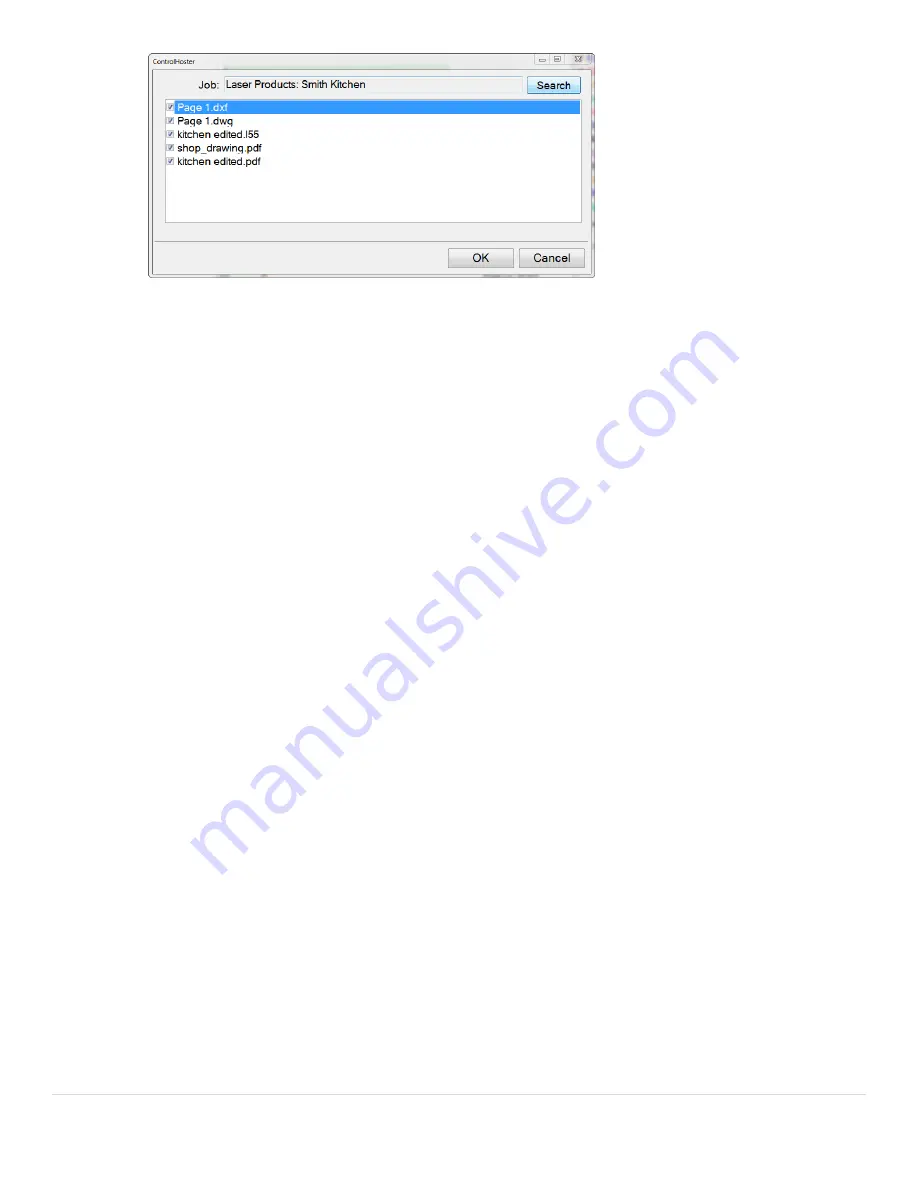
Now that you have your Job Tracker account settings ready in the program, you can import the job information.
1.
Click File / Import/Export / Import Job Tracker Data
2.
Select the Account that the job is saved under
3.
Select the Job that you want to import the data from
4.
Click Ok.
The job’s data will now be visible in the Job Information area of the software.
2.5
Save
Choosing to Save your project should be done frequently. The current version of the job will be saved when you press
3T
Save
3T
. If this is the first time the job is being saved, it will ask you to enter a name for it. Once a name is associated with
the file, choosing save will just overwrite the older version with the current one.
The program saves files with .l55 extensions. This is the file that contains all measurement information and recorded
date. From this file, .dxf, .dwg, .ord, .xml, .csv, .txt, and .pdf files can be recreated. The only files that are not recreated
from the .l55 file are the .jpg files (images).
The .l55 file will have all points flattened to a horizontal 2D plane (if the 'Template Wall' function was used, the points
will be flattened to a vertical 2D plane).
The 'INTERNAL 3D IMAGE.dxf' file located in the same job folder will have all the points saved in 3D space in a point
cluster that can be opened and edited in a separate CAD program.
2.6
Save As
The first time you are saving a template, you should choose to Save As. This will bring up a box giving you the option to
save the template on the Hard Drive, as a Drop-In or using the Advanced saving option (Other).
2.6.1
Hard Drive
Saving files to the Hard Drive will place the jobs in the My Documents folder of the tablet.
2.6.2
Drop-In
If you create a Drop-In like a special corner, bump out or a sink bowl and you want to save it for future use, this is
where you will save it to. By saving here, the template will show up when you choose the
3T
Drop-In
3T
feature.


