3: Installation of EDS8PS and EDS16PS
EDS User Guide
25
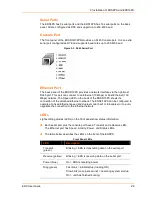
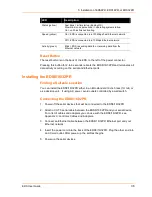
LED
Description
On = EDS is connected to a 100 Mbps Fast Ethernet
network.
Speed (yellow)
Off = EDS is connected to a 10 Mbps Ethernet network.
Activity (green)
Blink = EDS is sending data to or receiving data from the
Ethernet network.
Reset Button
The reset button is on the rear of the device to the right of the Ethernet port,
accessible through a hole in the case. You can use it to reboot the unit or to reload
factory defaults.
Reboot the device:
1. Press and hold the reset button for about 3 seconds. The status LED blinks
quickly.
2. When the fast blinks stop, release the button. When the unit reboots, the status
LED changes from a fast blink to a solid ON.
Restore factory defaults:
1. Press and hold the reset button for about 11 seconds. The LED blinks quickly for
about 3 seconds, then comes on for about 5 seconds, then blinks slowly for
about 2 seconds.
2. When the slow blinks stop, release the button.
Installing the EDS8/16PS
Finding a Suitable Location
You can install the EDS8/16PS either in a shelf or as a desktop unit.
If using AC power, avoid outlets controlled by a wall switch.
Connecting the EDS8/16PS
All EDS serial ports support RS-232 devices.
Connect the EDS8/16PS to one or more serial devices.
1. Power off the serial devices.
2. Attach a CAT 5 serial cable between the EDS8/16PS and your serial device. See
Appendix C: Lantronix Cables and Adapters, for a list of cables and adapters you
can use.
3. Connect an Ethernet cable between the EDS8/16PS Ethernet port and your
Ethernet network.


