LW 300 E / LW 450 E
Page A - 61
A
M A I N T E N A N C E A N D S E R V I C E
Replacement inlet and outlet valves 3rd stage
Replacement inlet and outlet valves 3rd stage as follows:
• Loosen pipe connections
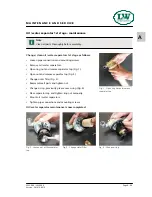
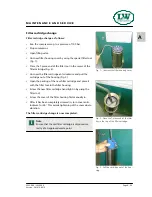
• Loosen valve head screws (Fig. 1)
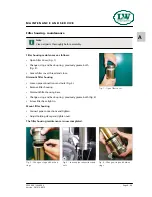
• Remove lower valve gasket (Fig. 2)
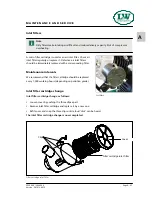
• Dismount inlet and outlet valve (Fig. 3). Observe that the upper
valve gasket is also pulled out. (It can still stick inside the
cylinder head)
• Check valve head if defective (check centre pin)
• Mount valve gasket on inlet and outlet valve.
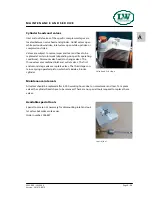
CAUTION: Ensure correct mounting position of the upper valve
gasket (Fig. 4).
• Insert new inlet and outlet valve into valve head.
CAUTION: Observe correct position between valve centre hole
and valve head centre pin.
• Place bottom valve gasket
• Place valve head with the new inlet and outlet valve. Tighten
valve head screws crosswise (tightening torque 30 Nm).
Replacement inlet and outlet valves 3rd stage complete.
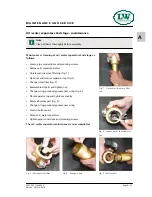
Fig. 1 - Loosen valve head screws
Fig. 3 - Remove inlet and outlet valve
Fig. 4 - Ensure correct mounting
position of the upper valve gasket
Fig. 2 - Remove lower valve gasket
Version: 261012-001 E
Summary of Contents for LW 300 E
Page 10: ...A S A F E T Y P R E C A U T I O N S ...
Page 17: ...A LO C A T I N G T H E U N I T ...
Page 24: ...A O P E R AT I O N ...
Page 32: ...A R E M E D Y I N G FA U LT S ...
Page 37: ...A M A I N T E N A N C E A N D S E R V I C E ...

