Playing Your PC2R
The Front Panel
3-9
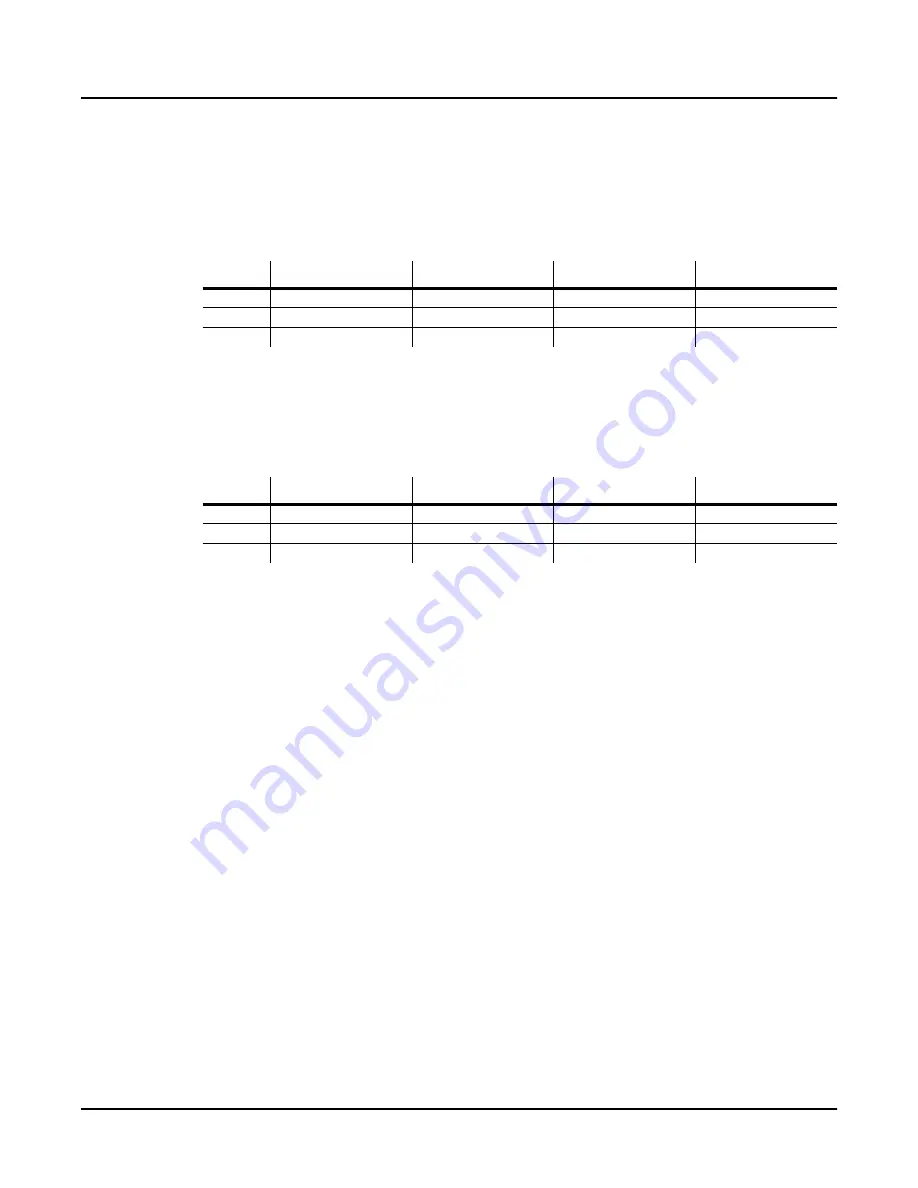
The following table shows the parameters that correspond to Knobs
A
–
D
, for each state of the
Shift
LED when you’re in Internal Voices mode or MIDI Setups mode. When the parameter
name includes the word “Knob,” the corresponding knob functions as a continuous controller.
When the parameter name includes the word “Switch,” the corresponding knob functions as a
switch controller.
In KB3 mode, Knobs
A
–
D
adjust drawbar lengths, pre-amp settings, and chorus/vibrato
settings for KB3 programs. You’ll notice that these knobs each have three rows of labeling in
orange. Each row of labeling corresponds to one of the states of the
Drawbar Toggle
LED. The
default assignments for the knobs are as follows:
If your MIDI source has programmable sliders or other physical controllers, you can program
those controllers to work the way Knobs
A
–
D
work. See page B-12 for a list of the MIDI
Controller messages that affect PC2R features.
The Edit Region
There are eight buttons, and a dial called the Alpha Wheel, in the Edit region. Most of the
buttons you’ll need for programming (editing) your PC2R are in this region. (We’ll discuss
editing thoroughly in Chapter 4.)
Four of the buttons in the Edit region have dual labels. For readability, when we refer to these
buttons, we’ll describe them according to the situation, instead of using the full name. For
example, to enter an edit mode, we’ll instruct you to press
Edit
(not
Edit/Store
).
Edit/Store
Press the
Edit
button to enter the edit mode corresponding to your current performance
mode.This is where you make changes to the parameters that define programs, setups, and
effects. See Chapter 4 for specifics about programming your PC2R.
Once you’re in an edit mode, this button becomes the
Store
button. Press
Store
to bring up a
Save dialog, then either press
Yes
to save the current object, or use the cursor buttons to select
another related function. See
Naming and Storing
on page 4-3 for more information.
Group/Menu
In all three performance modes, this button is the
Group
button, and selects categories of
programs or setups. (See page 3-13 for more information about using the Group button to select
programs and setups by category.)
Knob A
Knob B
Knob C
Knob D
Green
Green Knob A
Green Knob B
Green Knob C
Green Knob D
Amber
Amber Swch A
Amber Swch B
Amber Swch C
Amber Swch D
Red
Red Switch A
Red Knob B
Red Knob C
Red Knob D
Knob A
Knob B
Knob C
Knob D
Green
Drawbar 1 (16')
Drawbar 2 (5 1/3')
Drawbar 3 (8')
Drawbar 4 (4')
Amber
Drawbar 5 (2 2/3')
Drawbar 6 (2')
Drawbar 7 (1 3/5')
Drawbar 8 (1 1/3')
Red
Drawbar 9 (1')
Pre-amp level
Chorus/Vibrato On/Off
Chorus/Vibrato Depth


