


©
KRAMER ELECTRONICS LTD.
Issue 1-16 May 30, 2017
11
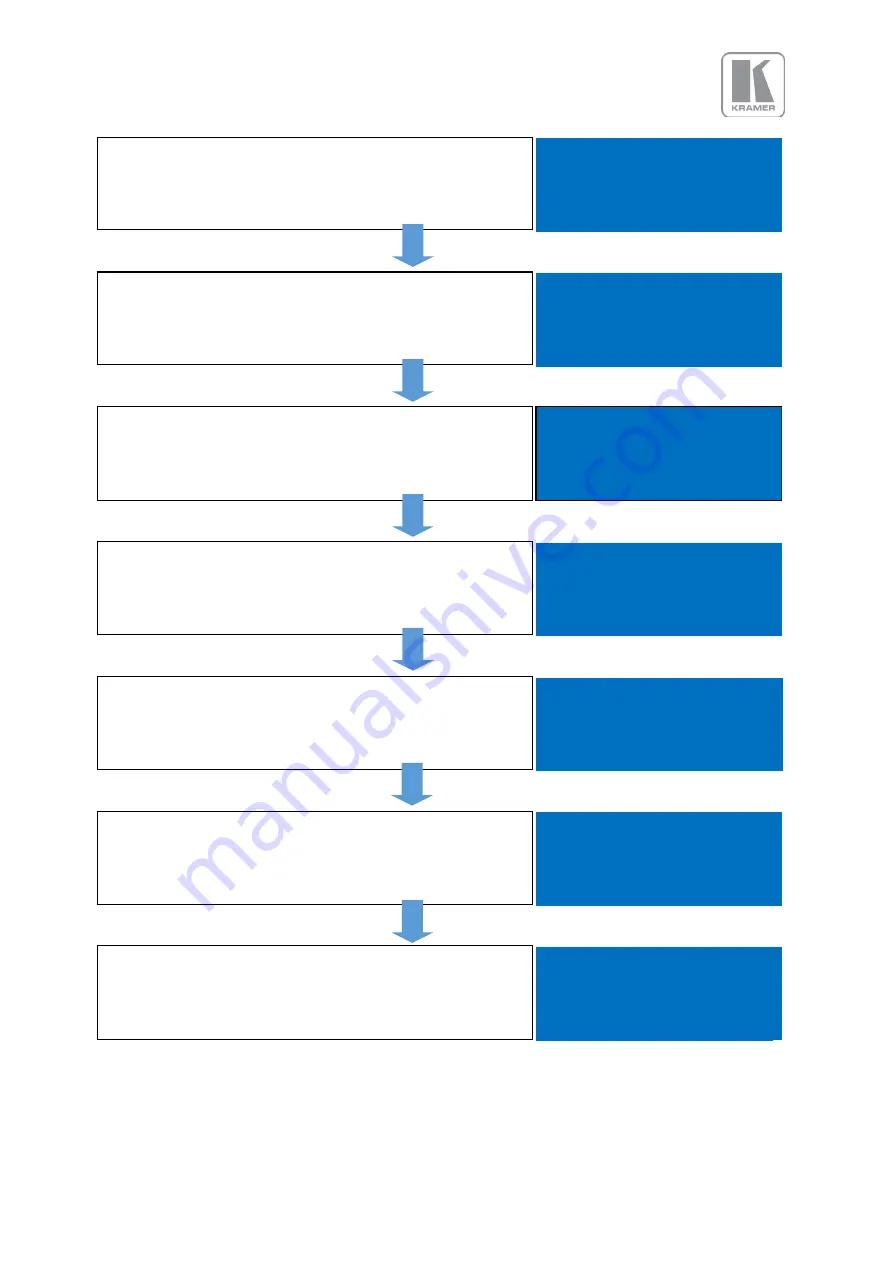
After the unit boots up, the main status menu is displayed.
The menu shows the detected resolution of the input source,
the output resolution and the lock status. In the example, a
4K source was detected on the HDMI-1 input
In: 3840x2160 60Hz
HDMI 1
Out:1920x1080p 59.94
Free Run
Press the Test button to enable a Test Pattern on the output.
Use the rotary knob to select the Warp Adjust pattern. This
pattern provides a border around the whole raster
In: Warp Adjust
TESTPAT
Out:1920x1080p 59.94
Run
Press the select button or the rotary knob to enter the main
menu. Scroll to the Output menu entry and enter the menu
to setup all the output related parameters
Input HDMI 1
►Output
Color
Geometry
Enter the Display Type sub menu by pressing the menu
button.
►Display Type
Gamma/Color/Crush
Output Config
Video Wall
First, select the output resolution from the O/P Mode sub-
menu
►O/P Mode
1920x1080p
Frame Rate 59.94 HZ
I/O Lock Off
Frame Rates
Locate and select the desired output resolution to match the
native resolution of the connected device. In the example,
2560x1600p is selected. Press the Esc key to return to the
previous menu.
O/P Mode
2560x1440p
►2560x1600p
3840x2160p
Repeat the previous steps to change the Frame Rate or the
Genlock source. In the example, a 30Hz frame rate was
selected. Except for LED applications, verify that the Test
pattern with the border outline is shown on the display
►O/P Mode
2560x1600p
Frame Rate 30 HZ
I/O Lock Off
Frame Rates


