


Kontron Carrier Grade Server TIGW1U
December 2009
Product Guide, rev. 1.3
27
Server Installations and Upgrades—TIGW1U server
3.2.6
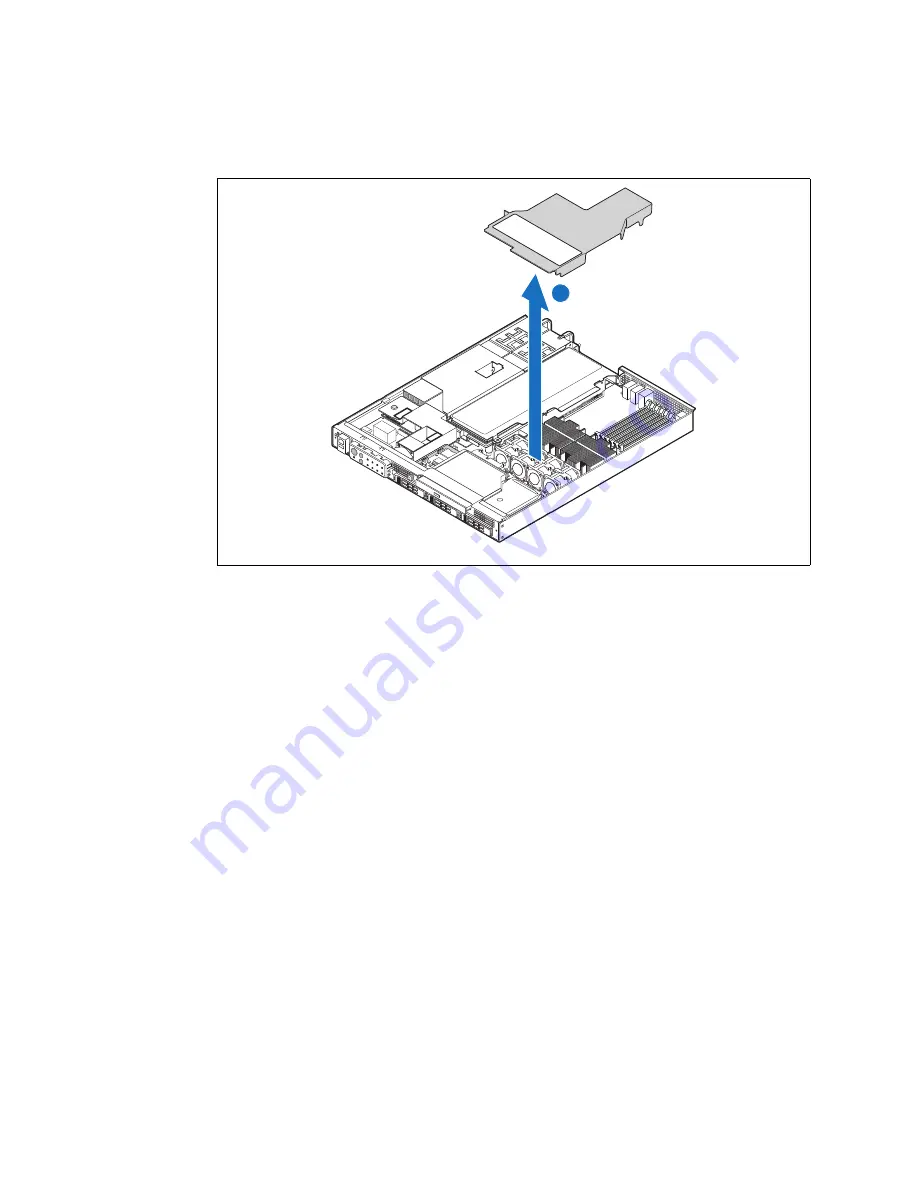
Installing the Processor Air Duct
1. Place the processor air duct over the processor sockets and four-fan assembly,
using caution to make sure you do not pinch any wires beneath the edges of the air
duct.
The top of the installed air duct should be flush with the top surface of the PCI riser
card assembly.
2. Replace the chassis cover if you have completed all work inside of the chassis.
3.3
Hot-Swappable Component Installation Procedures
The following components are hot-swappable and do not require powering down the
system or removing the chassis cover:
• Hard disk drives
• AC and DC power supplies
3.3.1
Installing or Replacing a Hard Drive
Up to three hot-swappable drives can be installed in your TIGW1U server. You must
remove the front bezel to add or replace a hard drive.
Caution:
If you install fewer than three hard drives, the empty bays must be populated with
drive trays that have baffles in them to maintain proper system cooling.
The Carrier Grade Server TIGW1U does not support all SAS hard drives. To see a list of
validated manufacturers and hard drive types, go to:
http://us.kontron.com/support/
Search for TIGW1U, click on Product Downloads, and then select Compatibility Matrix.
Figure 12.
Removing the Air Duct
TS00020
3
A