Automatic Brightness
– Check this box if you wish to have the scanner perform a pr
and apply an appropriate brightne
escan
ss setting based on the detected original. Automatic
brightness will assume an original of normal exposure.
Bri
Wh
o
the brightness applied by the AB function and the slider can be set between 1 and 9. When
AB is not selected this value will apply an absolute brightness based on a setting between 0
esult in each pixel being given a value closer
to white while a higher setting will cause each pixel to be given a value closer to black.
ith Image Type set for black and white, a low brightness setting will
xels being set to black. Please note that all Brightness and
re applied prior to any Halftone or Photo settings. Brightness settings
ghtness
– Changing this value will cause the scanned image to appear lighter or darker.
en automatic brightness (AB) is selected this value will work as a small adjustment t
and 90.
In grayscale a lower brightness setting will r
When scanning w
cause the threshold process to result in more pixels being set to white while a higher
brightness will result in more pi
Contrast controls a
can be adjusted using the front panel Auto, Darker and Lighter buttons.
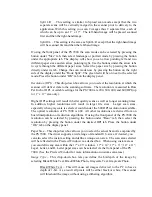
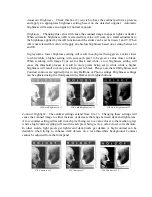
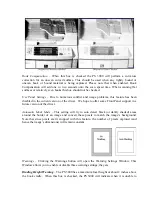
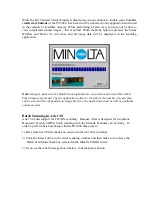
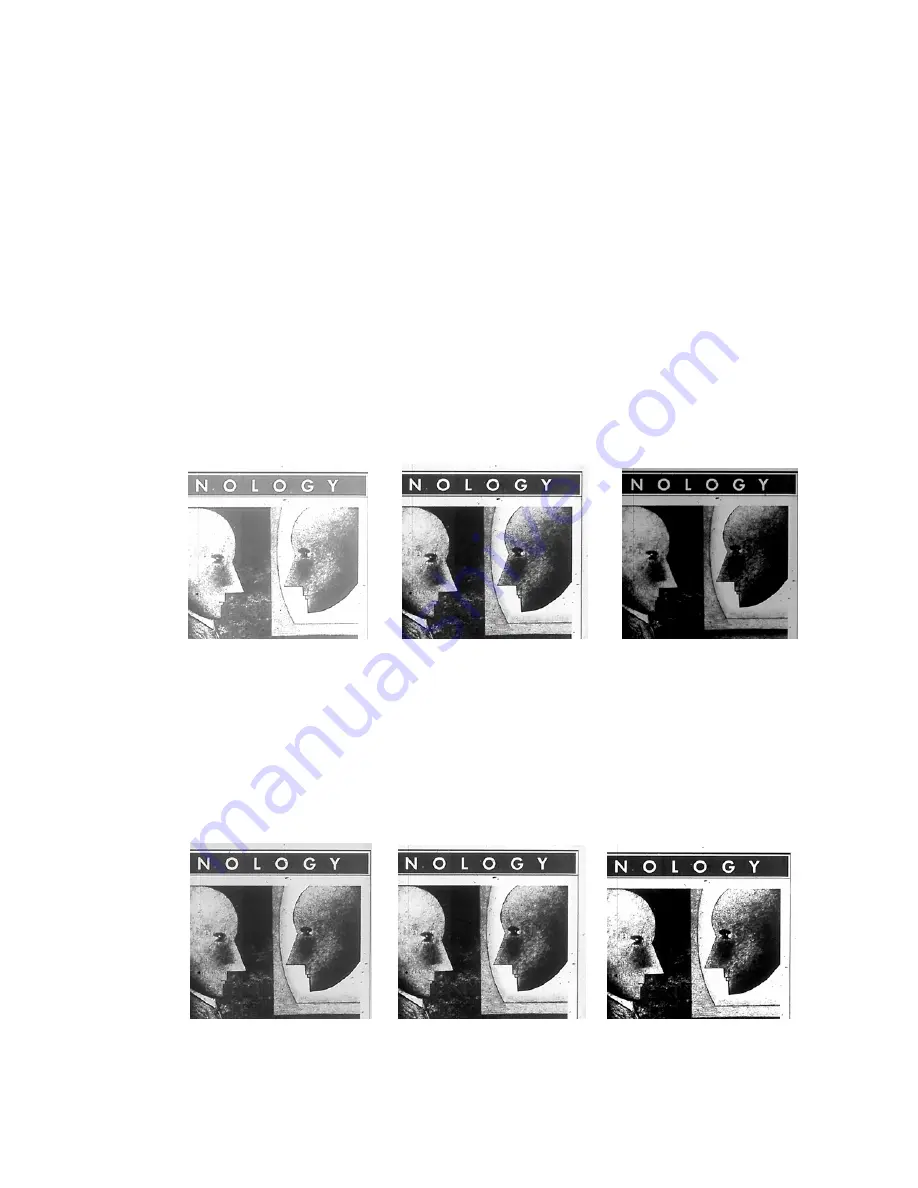
G/S Auto Brightness of 7 G/S Auto Brightness of 15
G/S Auto Brightness of 22
Contrast Highlight
– The contrast settings extend from 0 to 15. Changing these settings will
range between dark and light areas.
low contrast setting will result in each pixel being set to a value closer to the median (gray)
tting will result in each pixel being set to a value closer to its absolute.
In other words, light pixels get lighter and dark pixels get darker. A high contrast can be
desirable when trying to enhance dark objects on a less-than-white background. Contrast
cannot be adjusted from the front panel.
cause the scanned image to either increase or decrease the
A
while a high contrast se
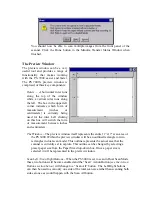
G/S Contrast of 2
G/S Contrast of 7
G/S Contrast of 12
Summary of Contents for MS 2000
Page 52: ......


