31
Installation/Connection
Changing Method for parameters
4
to
11
For parameters
4
to
11
, switch the LCD display section to the menu selec-
tion screen as explained below.
1
. Press the
key.
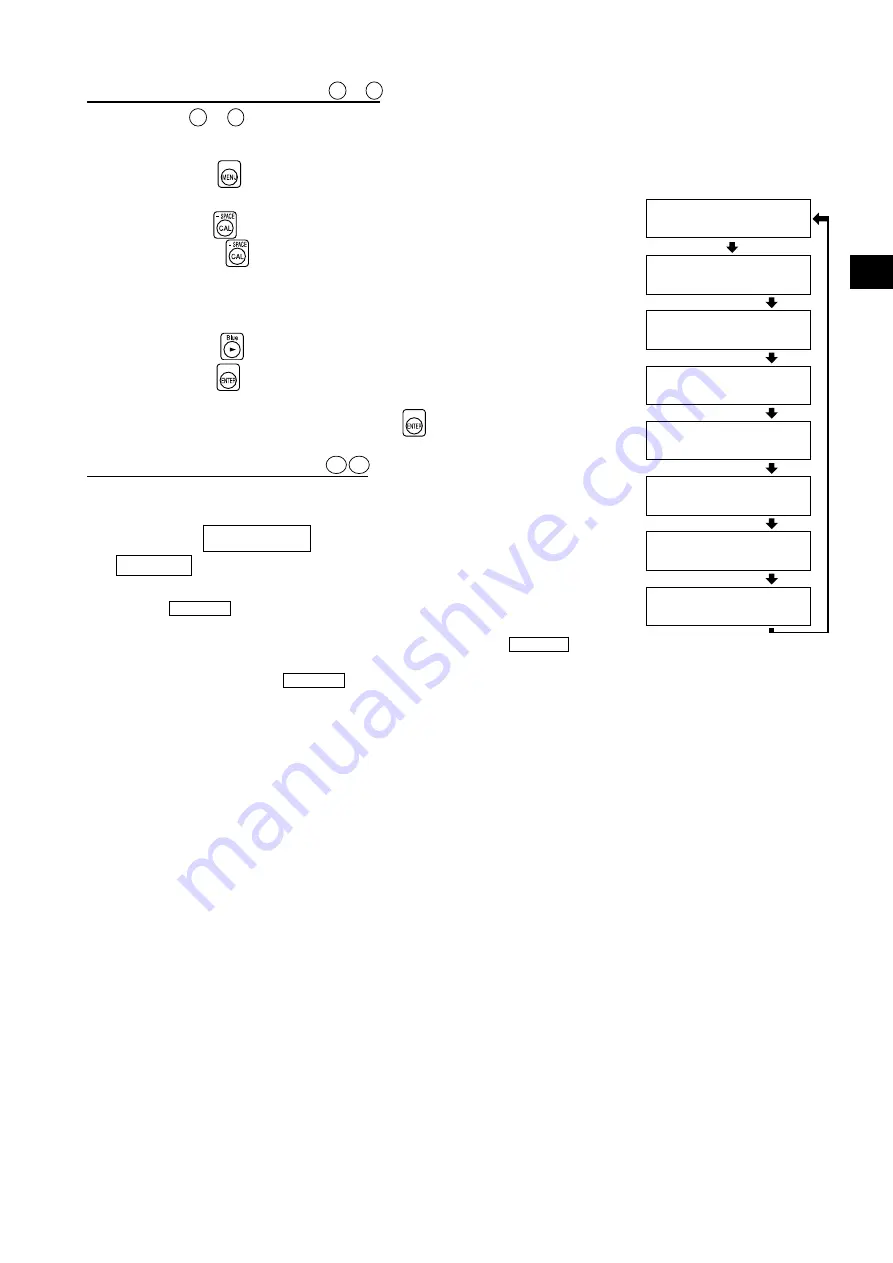
The LCD display section will switch to the menu selection screen.
2
. Press the
key until the desired screen is displayed.
Each time the
key is pressed, the screen will switch in the order
PROBE
→
SYNC
→
ID Name input
→
RANGE
→
Measurement Speed
→
Number of Digits
→
Calibration Standard data
→
RS232C Baud
Rate
→
PROBE.
3
. Press the
key to select the desired setting, and
press the
key to confirm the selection.
For the ID name and range, enter the desired settings using the ten-key,
ALPHA and alphabet keys, then press the
key to confirm the set-
tings.
Changing Method for parameter
12 13
For the setting method, refer to the page given in the above table.
<About the REMOTE Key>
The REMOTE key should not be pressed unless you are going to commu-
nicate with the PC via RS-232C or USB.
•
Pressing the REMOTE key sets the instrument in remote mode, enabling communica-
tion with the PC via RS-232C or USB.
(The REMOTE LED will light up.) In remote mode, no keys other than the REMOTE
key are effective.
To cancel remote mode, press the REMOTE
key again.
MENU : SELECT
PUSH SPACE KEY
SELECT : PROBE
P1 35881112 A
SELECT : SYNC.
EXT
CH01 EXT Ad P1
[ ]
RANGE x,y Lv
(%) 10 10
SELECT : M-SPD
AUTO
SELECT : DISP.
4 FIGURES
SELECT : BAUD
38400 BPS
Menu selection screen
PROBE selection screen
SYNC selection screen
ID name input screen
RANGE setting screen
Measurement speed selection screen
Number of display digits selection screen
RS-232C baud rate selection screen
Summary of Contents for CA-310
Page 24: ...22...
Page 46: ...44...
Page 86: ...84...
Page 122: ...BGLFPK Printed in Japan 9222 A3CT 11 2010 2016 KONICA MINOLTA INC...


