


Calibration Utility for MACINTOSH
2–4
September 1997 Part No. 1H9659
Using Easy Cal to Calibrate Your Printer
The Easy Cal calibration procedure provides you with steps that guide
you through the process of calibrating your printer using a Visual Gray
Balance calibration.
NOTE: The Easy Cal calibration procedure cannot be used to calibrate a
printer that is using black-only ribbon.
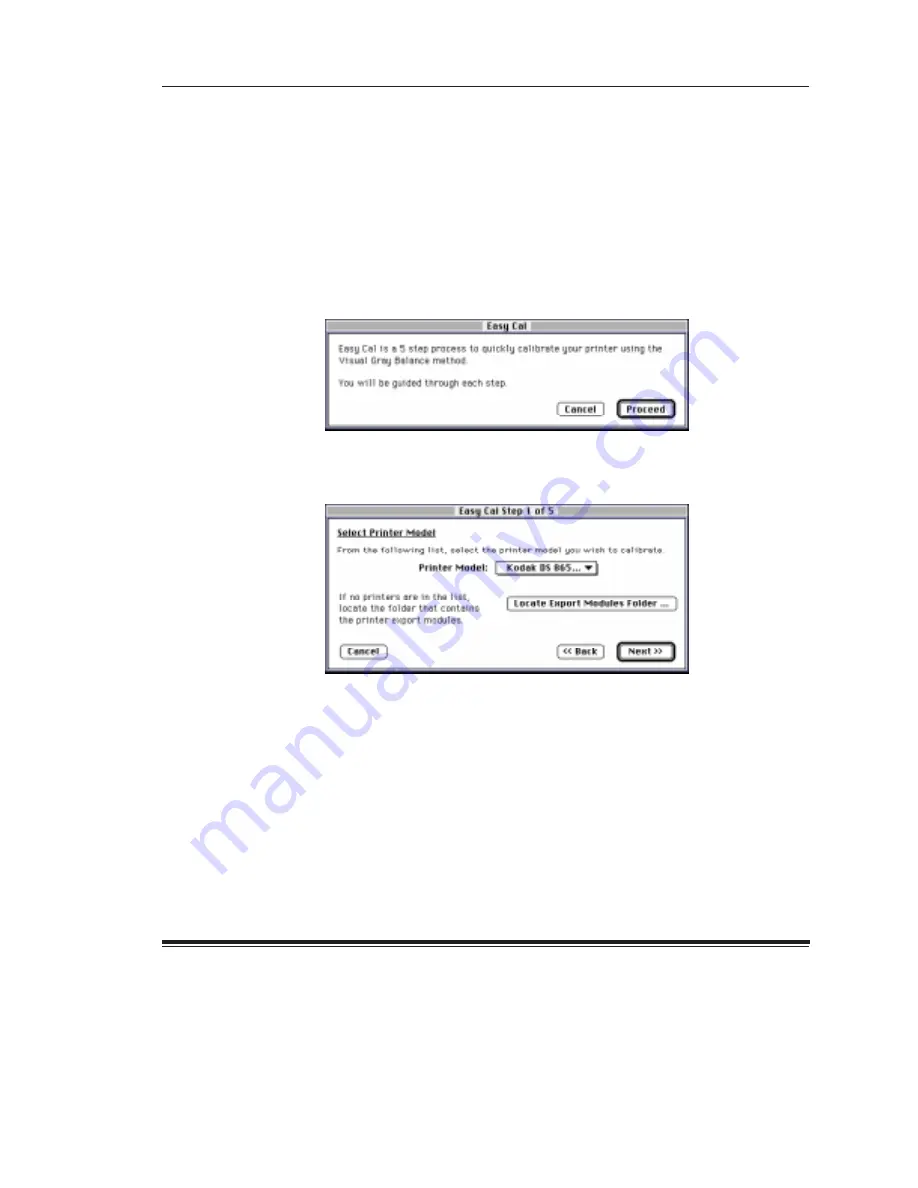
When you click on the
Begin Easy Cal button in the Calibration Utility
selection dialog, the Easy Cal calibration procedure starts up and the
following dialog box appears.
D
Click on the
Proceed button.
The Easy Cal Step 1 of 5 dialog box appears.
NOTE: Clicking on the
Cancel button accesses Normal Utility.


