Calibration Utility for MICROSOFT WINDOWS
1–8
September 1997 Part No. 1H9659
4. Click on the
OK button.
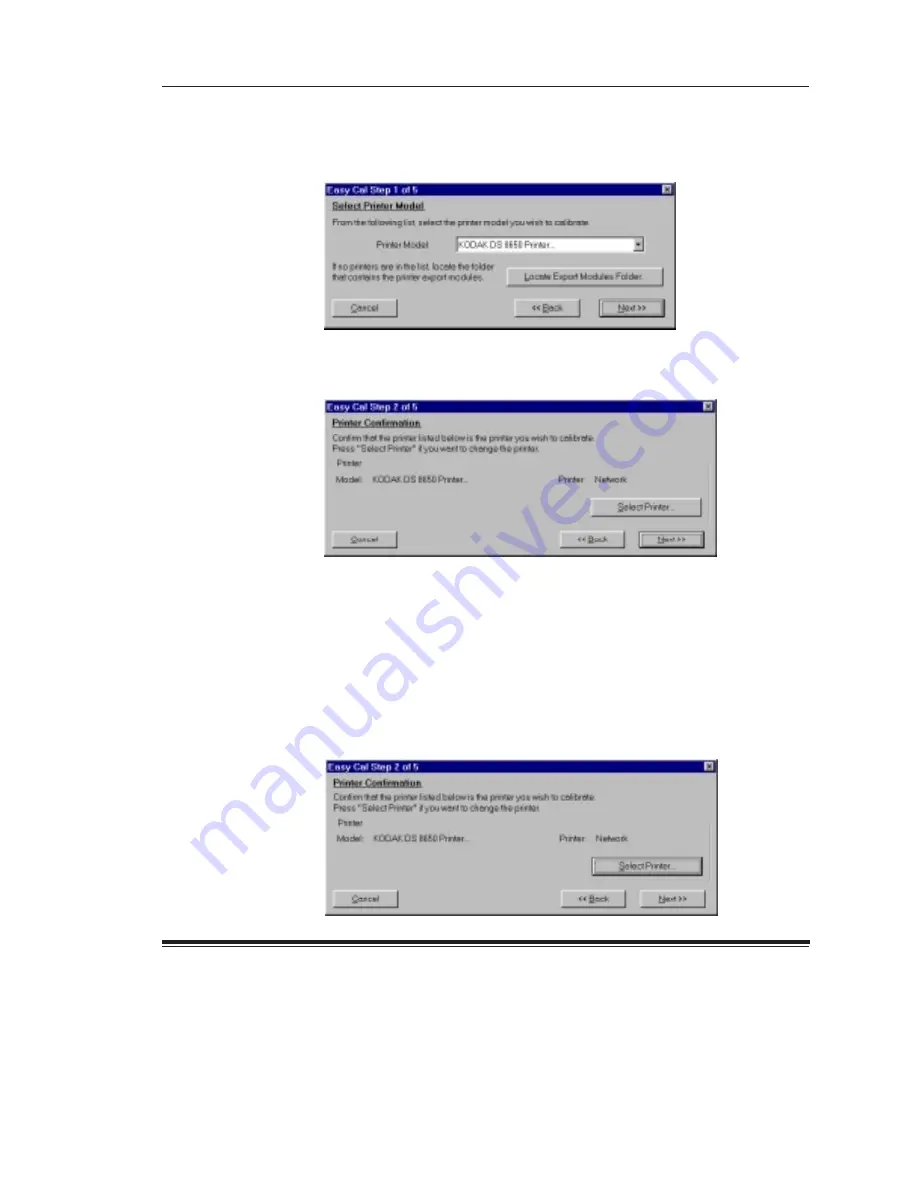
You return to the Easy Cal Step 1 dialog box. The Calibration Utility now
can find and use the export module so it can transfer data to the printer.
5. Click on the
Next >> button.
The Easy Cal Step 2 dialog box appears.
Easy Cal Step 2
The Easy Cal Step 2 dialog box allows you to specify a different printer to
calibrate than the one that appears in the
Printer box.
NOTE: If you do not need to specify a different printer, you can ignore the
following steps and click on the
Next>> button in the Easy Cal
Step 2 dialog box and go to “Easy Cal Step 3.”
1. Click on the
Select Printer... button.


