51
3.15 USB/External Connection
The USB/External Connection setting allows you to turn the USB port (or Ethernet port on Network
models) on the back of the Kanguru Duplicator On or Off. When turned On, the system can be connected
to a computer. If your Duplicator came with a hard drive, you will be able to access the Duplicator’s hard
drive from your computer. If your Duplicator did not come with a hard drive, you will be able to access one
or more of the Writer drives using the computer. The default setting is Off.
Warning:
If your Duplicator came with a hard drive, do not try to access the hard drive through your
computer before installing Kanguru Media Manager (see Appendix
B: Kanguru Media Manager (Hard
drive models only)
, p.69). The Duplicator’s hard drive comes formatted in a special file system that will not
be recognized until Kanguru Media Manager is installed.
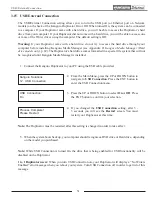
1. Connect the Kanguru Duplicator to your PC using the USB cable provided.
USB Connection :
On
Kanguru Solutions
12. USB Connection
2. From the Main
Menu, press the UP or DOWN button to
navigate to
USB Connection
. Press the ENT button to
enter the USB Connection
menu.
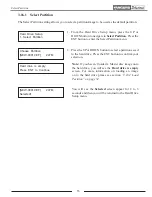
3. Press the UP or DOWN button to select
On
or
Off
. Press
the ENT button to confirm your selection.
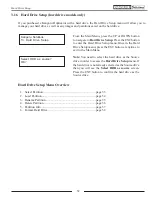
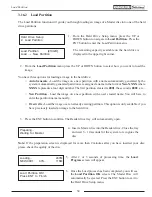
4. If you changed the
USB Connection
setting, after 3 -
5 seconds you will see the
Restart
screen. You must
restart your Duplicator at this time.
Process Complete !
Please Restart
Note:
The Duplicator must be restarted after this setting is changed in order to take affect.
5. When the system boots back up, your computer should recognize a DVD drive or Hard drive, depending
on the model you purchased.
Note:
While USB Connection is turned On, the drive that is being enabled for USB functionality will be
disabled on the Duplicator.
1 to 1 Duplicator users:
When you turn USB Connection on, your Duplicator will display a “No Writers
Enabled” error message when you reboot your system. Turn USB Connection off in order to get rid of this
message.
USB / External Connection

