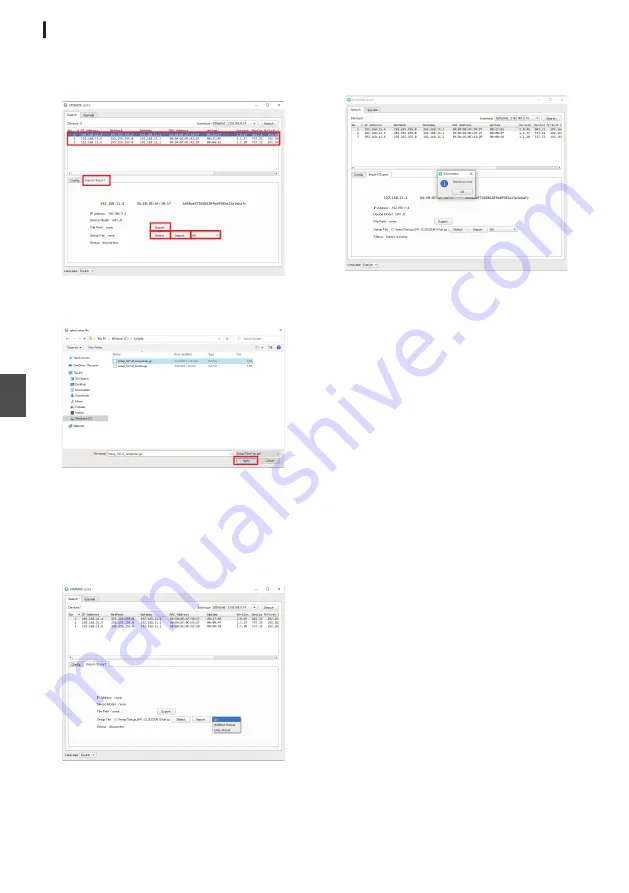
Loading the Setup Files (Import)
5
Click the [Select] button.
A dialog box to select the file is displayed.
Select the file name to import.
.
6
Click the [Open] button.
The file name appears in the Setup File field.
.
7
Click the import target select button.
You can select from the following three types.
[All]
: Imports all the settings.
[Without Preset]: Imports the settings other
than presets.
[Only Preset]
: Imports only the preset
settings.
.
8
Press the [Import] button.
Loads the setup file.
An “Import Success” message appears if the
loading is successful.
.
Still Image Capture
This unit is able to capture 4 still images.
These image files can be accessed via a web
browser on the PC that is connected to the same
network.
Launch the web browser on the PC to be
connected to this unit, and enter the following text
string in the address field to continuously record 4
still image files.
http://[Camera IP]/cgi-bin/booth.cgi?
0&4&[Interval]&photo&0
[Interval] is used to set the interval for recording the
still images in units of seconds.
You can specify a value between 1 to 9 seconds for
[Interval].
(Example:If the IP address of this unit is
192.168.0.10 and 4 still images are to be recorded
at 5 second intervals, enter the following character
string in the address field.
http://192.168.0.10/cgi-bin/booth.cgi?
0&4&5&photo&0)
To access a still image, launch the web browser on
the PC to be connected to this unit, and enter the
following text strings in the address field.
Image 1 : http://[Camera IP]/photo1.jpg
Image 2 : http://[Camera IP]/photo2.jpg
Image 3 : http://[Camera IP]/photo3.jpg
Image 4 : http://[Camera IP]/photo4.jpg
52
Configuring Setup Files
Camera Features
Summary of Contents for KY-PZ510BE
Page 59: ...59 ...


