Installing and Connecting an Access Point
20
Copyright © 2012, Juniper Networks, Inc.
2.
The WLA-XPS9001GO PSU is shipped with an North American (NA) power cable
connected to the standard AC receptacle on the PSU. For international users, install
your own nationally-approved AC plug to the power cable.
3.
Plug the other end of the power cable into a grounded, 3-pin socket, AC power
source
Checking the LED Indicators
The 11a and 11b/g LEDs on the WLA622 operate in two display modes, which are
configurable through the software. The default WLA mode indicates data traffic rates.
The RSSI mode indicates the received signal power and is used when aligning
antennas in a bridge link.
When the bridge is connected to power, the LEDs function as follows:
Caution:
The DATA IN port on the PSU is not used.
Informational Note:
International users must use a nationally approved AC plug
appropriate for your country.
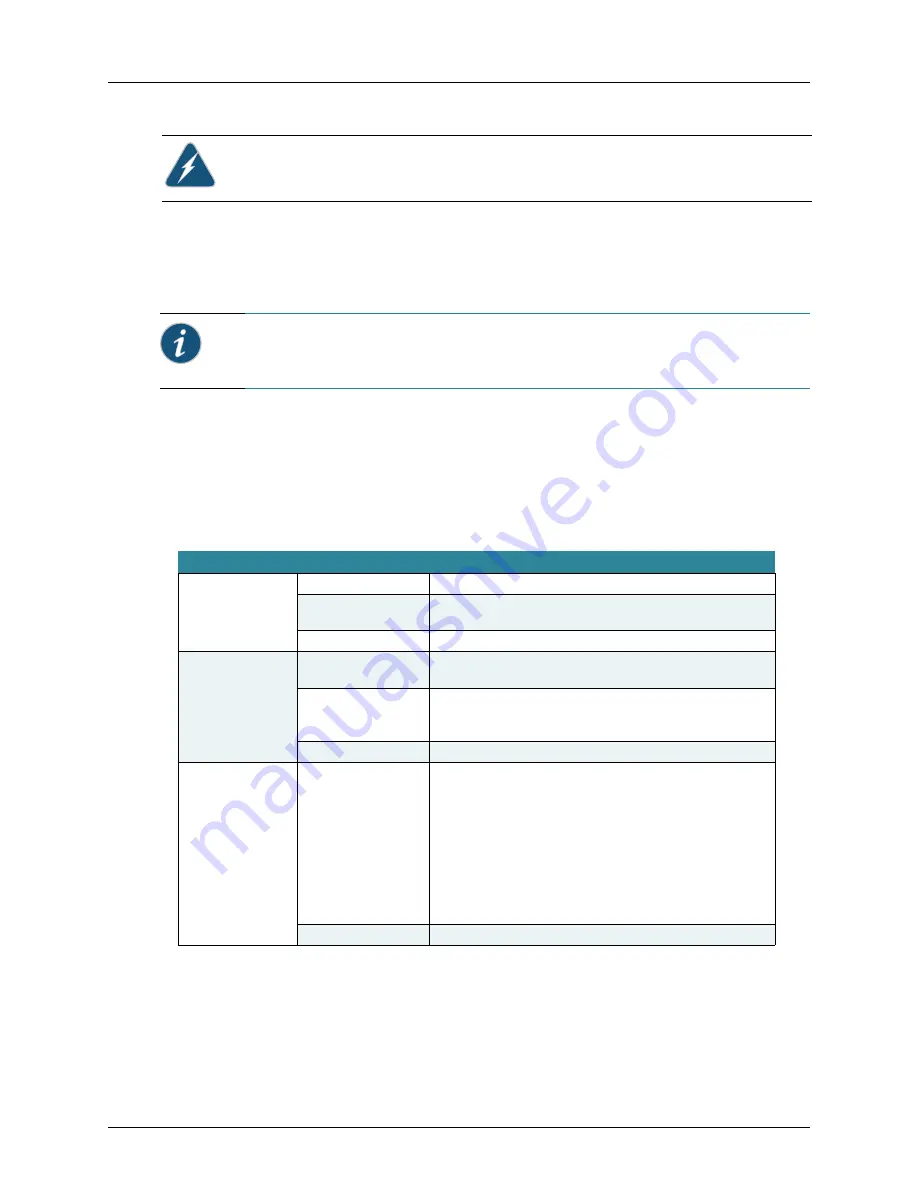
Table 2: 11a and 11b/g LED Behavior on the WLA622
LED
Appearance
Meaning
Power
Green
The bridge is powered up and operating normally.
Off
The bridge is not receiving power or there is a fault with the power
supply.
Amber
The system is under cold reset status.
Link
Green
The bridge has a 10/100 Mbps Fast Ethernet connection, but there
is no activity.
Flashing
Indicates that the bridge is transmitting or receiving data on a
10/100 Mbps Ethernet LAN. Flashing rate is proportional to
network activity.
Off
No link is present or the Ethernet LAN port is disabled.
11a
(Three LEDs)
Green and Flashing
The 802.11a 5.3 GHz radio is enabled.
RSSI Mode:
One fully lit LED indicates a low RSSI output level, two LEDs.a
medium level, and three LEDs the maximum level.
A flashing LED indicates an intermediate RSSI output level WLA
Mode:
One fully lit LED indicates a low traffic rate, two LEDs.a medium
rate, and three LEDs the maximum rate.
A flashing LED indicates an intermediate traffic rate level
Off
No link is present or the 802.11a radio is disabled.


