CMC Setup
69
Media Flow Manager Administrator’s Guide
CHAPTER 3 Media Flow Manager Web-Based Interface
management to the selected Media Flow Controllers; and
Refresh
to update the page with the
latest information.
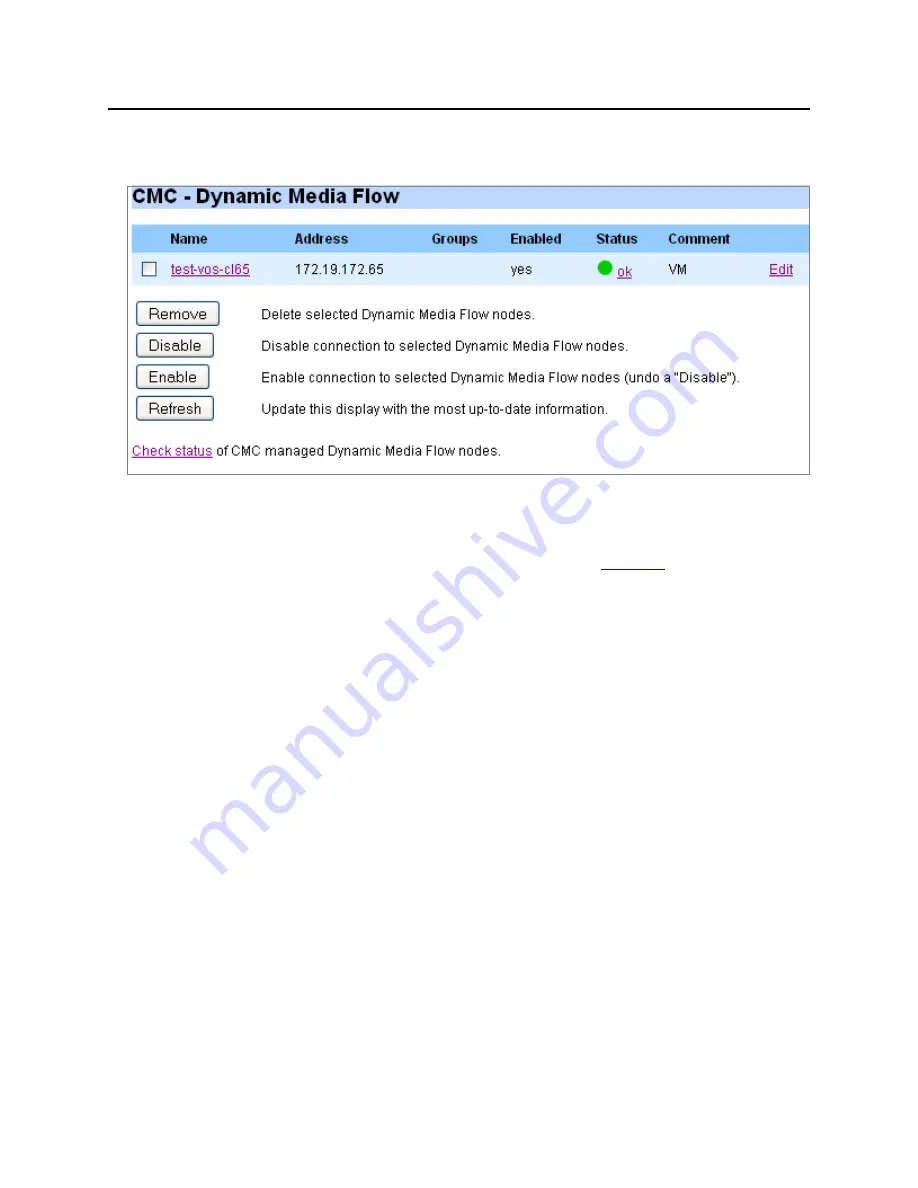
Figure 58
CMC Setup Page Detail (Managed Nodes List)
Add New Media Flow Controller Node
For each Media Flow Controller that you want this CMC to manage you’ll need a name, IP
address, and authentication type with applicable values. See
Figure 59
, next, for graphic. To
do this using the CLI, see
cmc appliance
.
1. In the
Add New Media Flow Controller Node
area, enter the following information for
each Media Flow Controller you want to manage:
•
Media Flow Controller ID
—A meaningful name.
•
Media Flow Controller Address
—The Media Flow Controller’s IP address.
•
Comment
—A brief description of this Media Flow Controller.
•
Enabled
—Enables monitoring of this Media Flow Controller.
•
Authentication Type
—How this CMC will authenticate the client Media Flow
Controller and how the client Media Flow Controller will authenticate this CMC. You
need only set one authentication type. Choices are:
•
password
—(default) If selected, enter a password below in the
Password for
password auth
option. You’ll use this to log in as the set
Username for
password auth
user.
•
ssh-dsa2
—If selected, enter an Identity below in the
Identity for ssh-dsa2 auth
option. You’ll use this to log in as the set
Username for ssh-dsa2 auth
user.
•
ssh-rsa2
—If selected, enter an Identity below in the
Identity for ssh-rsa2 auth
option. You’ll use this to log in as the set
Username for ssh-rsa2 auth
user.
•
Username for password auth
—A username for password authenticated logins;
default is
admin
.
•
Password for password auth
—The password for password authenticated logins;
default is none (empty).
•
Username for ssh-dsa2 auth
—A username for ssh-dsa2 authenticated logins;
default is
admin
.


