MIDI MENU | 45
HOME MENU
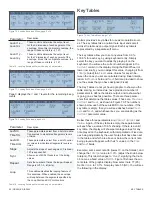
Rx-NRPN
When On, Solaris will receive Non-Registered Parameter
Numbers over MIDI.
MIDICtrl
This parameter determines whether or not Solaris will send
or receive MIDI signal. It should be defaulted to
On
.
ClkSrc
Determines whether the Solaris will use its internal MIDI
clock, or sync to an external MIDI clock source. When set
to
Ext
, Solaris will sync to an external clock. When set to
Send
, Solaris will sync to its internal clock and also send
clock signal out over MIDI out.
Volume
When
On
, Solaris will respond to volume change mes-
sages over MIDI.
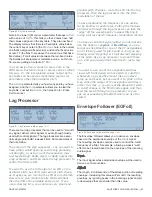
Figure 85. MIDI Menu, page 2 of 2
There are five assignable MIDI Control “inputs”, labeled
CC
1-5
. The value that appears below each of these labels is
the actual MIDI Control number that the user wants to as-
sign to the CC input. That input is then available as a Mod
Source in all the Mod Lists. This provides for a way to use
a MIDI Controller that wasn’t included in the standard Mod
List. Here’s how it works:
Let’s say you have an external MIDI controller box, such
as the Kawai K5000 Macro Control. This box has some
dedicated knobs that put out specific controller values, such
as Release (72), Attack (73), and Cutoff (74). This means,
when you turn the knob that is called ‘Cutoff’, it will send its
knob output as MIDI Control 74.
Now, let’s say you wanted to use this knob as a source for
modulation in the Solaris. On page 2 of the
MIDI
menus,
you can assign up to 5 control numbers, and in this exam-
ple, we are going to select a value of 74 for CC 1.
If I plug the Macro Control box into the MIDI input of the
Solaris, when I turn the ‘cutoff’ knob on the box, it will send
a value to wherever CC 1 is programmed to go. When you
select Modulation Sources, you will see that CC1 is one
of the choices, so you could go into a Filter modulation
source, set the
Destination
for
Cutoff
, and then select CC
1 as the Mod Source with a full
Amount
, and you would
have the knob from the box controlling the filter cutoff of the
Solaris.
The other thing to know about this is that these CC values
are usually 0-127, so they may sound ‘stepped’ when you
use them, especially on frequency controls. In that case,
you would want to route the CC 1 through a Lag proces-
sor first, and then select that Lag processor as your Mod
Source, using a small amount of lag to ‘smooth out’ the
control signal.
Home Menu
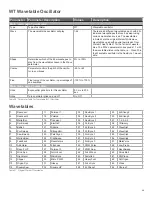
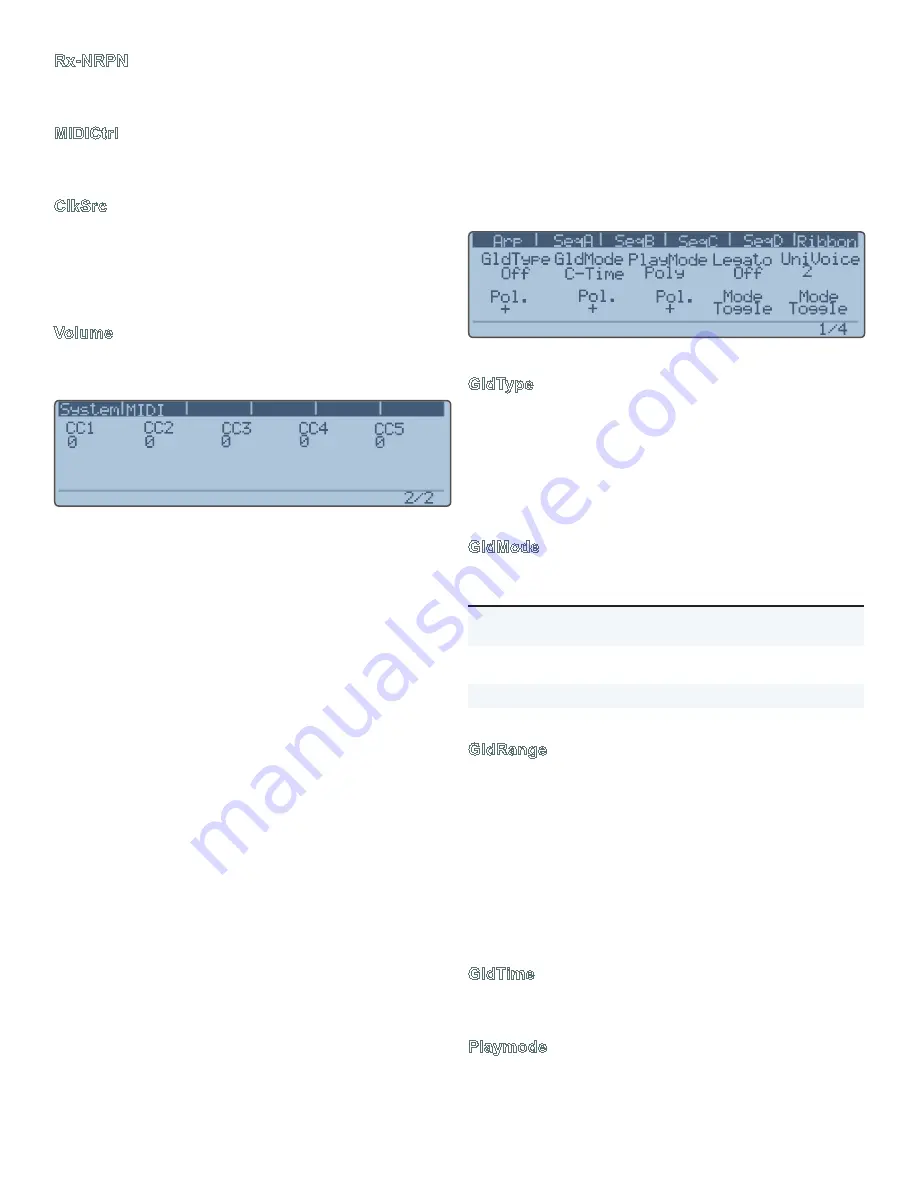
Figure 86. Home Menu, page 1 of 4
GldType
The global glide type setting: portamento (
Porta
), glissan-
do (
Gliss
), fingered portamento (
FingPort
) and fingered
glissando (
FingGlis
). Glissando is “quantized portamento”.
It is as if you were sliding your finger up a guitar neck, with
discreet semitone intervals being played as you slide. “Fin-
gered” means it only glides when legato notes are played
(you play a new note before lifting off the old note).
GldMode
Parameter
Description
C-Time
Constant Time. Allows you to specify the time
of the glide using the
GldTime
parameter.
C-Rate
Constant Rate. 0% to 100%, with 100% being
the shortest glide time.
Exp
Exponential.
Table 17. Glide Modes
GldRange
Describes the range of the glide between two notes. When
set to 100%, you get the full range expected. If you are in
Gliss mode, for example, you will hear each discrete semi-
tone played between the two notes. For example, if you
play C2, then C4. At 100%, you hear the full range gliding.
If you set the Range to 50%, the Glide will start from C3 up
to C4.
It is best to set
PlayMode
to
Mono
to hear the effect
of glide settings.
GldTime
Duration of the glide from 0.0ms to 10.0sec (or 0% to 100%
for Constant Rate glide mode).
Playmode
Determines if the Solaris will play in polyphonic or mono-
phonic mode.
The
Unison
button on the front panel (under the
Summary of Contents for Solaris
Page 1: ...User Guide Version 1 ...


