VIII. MAINTENANCE
59
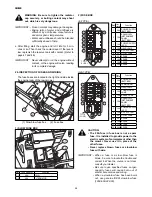
The alternator and the starter motor have their own
slow-blow fuse.
WARNING: Damaged wire covers should be
mended with insulation tape immediately.
CAUTION:
• The wiring of the lawn mower should
be checked every year at your dealer to
avoid electrical fires.
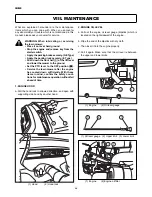
• Grass and dust around the battery, wiring,
muffler and engine should be removed.
Otherwise they may catch fire.
IMPORTANT: When a wire harness has come off its
clamp, it should be re-clamped immediately.
27. HYDRAULIC SYSTEM PARTS
When hydraulic system parts such as the HST unit,
power-steering unit, hydraulic pump, control valve,
hydraulic cylinder, piping, etc. are required to be ad-
justed or repaired, consult your ISEKI dealer. Users
are advised not to adjust or repair hydraulic system
parts by themselves.
28. INSPECTION OF SAFETY SWITCHES
Safety devices are installed for safe operation. Make
sure that each device works properly before operation
following the next procedures.
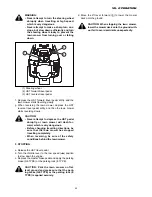
CAUTION: When the engine does not start
due to a defective safety switch or does
not stop even when the operator leaves his
seat, ask your dealer for repair immediately.
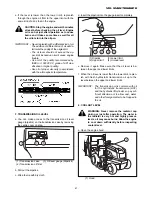
INSPECTION 1
a. Be seated in the operator’s seat.
b. Move the PTO lever to the OFF ( ) position.
c. Do not depress the brake pedal.
d. Turn the starter switch to the START (
f
) position.
Make sure that the engine is not cranked.
INSPECTION 2
a. Be seated in the operator’s seat.
b. Move the PTO lever to the ON ( ) position.
c. Depress the brake pedal.
d. Turn the starter switch to the START (
f
) position.
Make sure that the engine is not cranked.
INSPECTION 3
a. Be seated in the operator’s seat.
b. Move the PTO lever to the OFF ( ) position.
c. Depress the brake pedal.
d. Turn the starter switch to the START (
f
) position.
Make sure that the engine is cranked and started.
e. Leave from the operator’s seat.
Make sure that the engine stops.
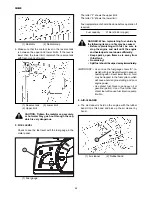
INSPECTION 4
a. Open the engine hood.
b. Be seated in the operator’s seat.
c. Move the PTO lever to the OFF ( ) position.
d. Depress the brake pedal.
e. Turn the starter switch to the START (
f
) position.
Make sure that the engine is not cranked.
Summary of Contents for SBC550X
Page 71: ...SXG 70 ...
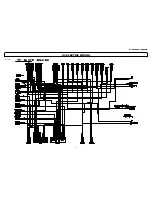
Page 72: ...XI ELECTRIC WIRING 71 XI ELECTRIC WIRING E TYPE ...
Page 73: ...72 SXG GE TYPE ...
Page 103: ...SBC600XH SBC550XL 102 ...

