VIII. MAINTENANCE
49
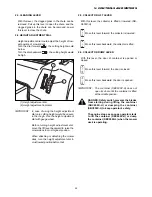
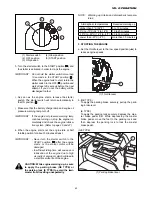
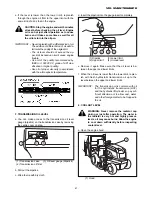
b. Pinch the vacuum valve to eject the dust accumulated
inside. When the dust is wet, wipe it off with dry cloth.
(1) Vacuum valve (2) Element
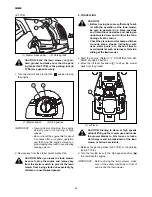
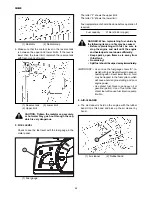
c. Remove the wing bolt. Pull the element out of the air-
cleaner.
d. Dust it off by patting lightly while holding it with the
other hand.
e. When the element does not become clean only by
patting, blow dust off the element with compressed
air. Apply compressed air from inside to outside of the
element.
f. When the element does not become sufficiently clean
only by blowing, dip it in neutral detergent solution
for about 30 minutes and then rinse it in fresh water.
Then dry it in the atmospheric temperature.
g. After cleaning, install the element in reverse order of
disassembly.
IMPORTANT: • Never hit the element against a hard ob-
ject like a concrete wall.
• An element which is damaged should be
replaced with a new one.
• Never attempt to start the engine without
the air-cleaner element. Such operation
will cause engine trouble.
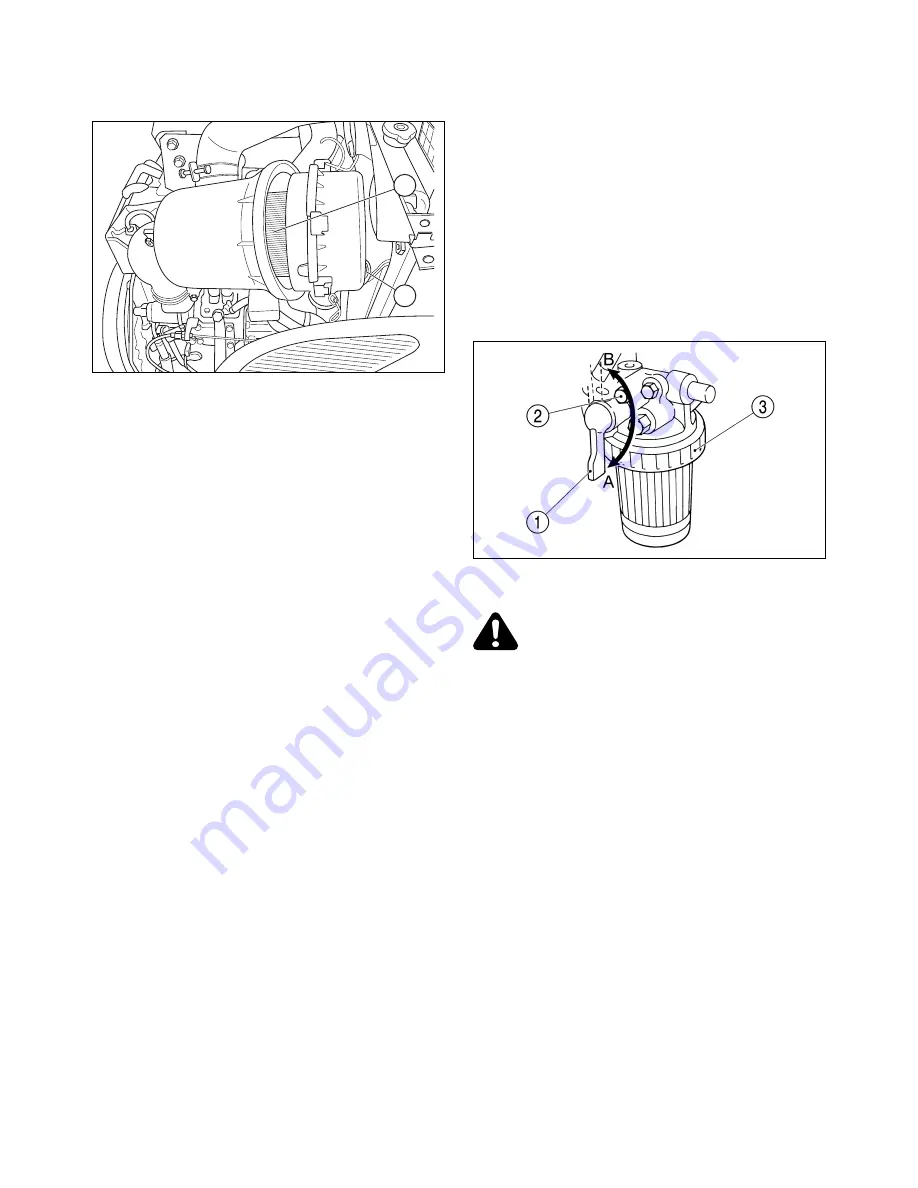
7. FUEL STRAINER
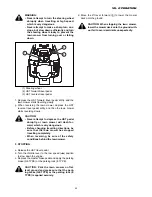
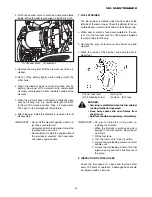
The fuel strainer is located under the floor step of the
left side of the lawn mower. Check the strainer for accu-
mulated dust or water in the bottom of the strainer cup.
a. When dust or water is found accumulated in the bot-
tom, turn the fuel cock lever by 180 degrees towards
the bolt to stop fuel flowing.
b. Remove the ring nut to remove the strainer cup and
element.
c. Wash the inside of the strainer cup and element in
diesel fuel.
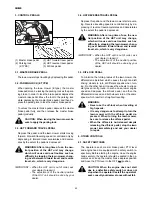
(1) Fuel cock lever
(3) Ring nut
(2) Air-bleeding screw
(A) Open (B) Close
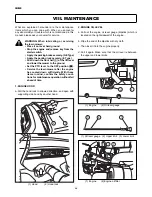
DANGER:
• Smoking is prohibited when the fuel strainer
is being cleaned or inspected.
• Keep away sparks and open flames from
the strainer.
• Spilt fuel should be wiped away immediately.
IMPORTANT: • Be sure to install the O-ring when re-
installing the strainer.
• When the fuel tank is emptied and air is
trapped in the fuel system, bleed the air
as follows:
1. Fill the fuel tank.
2. Turn the fuel cock to “Open” position.
3. Loosen the air-bleeding screw and let air
bubbles out.
4. Loosen the air-bleeding screw of the fuel
injection pump and let air bubbles out of
the pump.
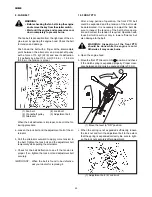
8. INSPECTION OF FUEL HOSES
Check the fuel hoses for cracks and fuel leak after
every 100 hours of operation. A damaged hose should
be replaced with a new one.
2
1
Summary of Contents for SBC550X
Page 71: ...SXG 70 ...
Page 72: ...XI ELECTRIC WIRING 71 XI ELECTRIC WIRING E TYPE ...
Page 73: ...72 SXG GE TYPE ...
Page 103: ...SBC600XH SBC550XL 102 ...

