


24
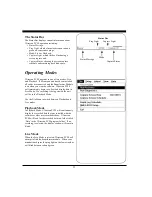
Setting System
Parameters
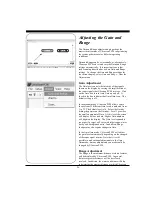
There are several system parameters that you will
usually need to set only once. Set these parameters
using the Beamformer and Transducer commands on
the Setup menu.
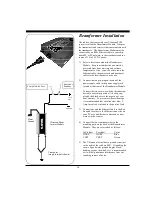
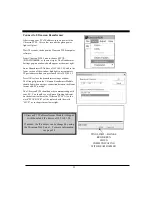
Beamformer I.P. Address
The default I.P. address for the Ultrascan beamformer
module is set to 192.168.1.20. Make sure your com-
puter’s network I.P is set to the same subnet mask (i.e.
192.168.1) and the device number is different than the
beamformer's “.20”. For example, set your computer’s
IP network address to 192.168.1.3 or 192.168.1.4, etc.
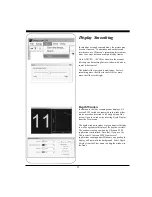
Transducer Mount Corrections
The Ultrascan PC90 software can compensate for minor
transducer misalignments. These are important
corrections, particularly if Ultrascan PC90 is being used
as a collision avoidance aid. For example, if the
vertical scanning transducer is tilted forward, a level
bottom will appear to be getting shallower at greater
distances. If it is tilted back, a level bottom will appear
to be getting deeper.
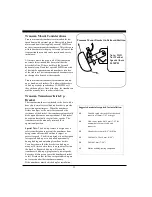
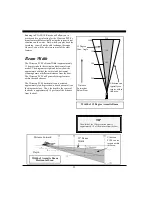
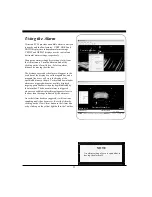
Level Adjustment
In case the vertical scanning transducer has been
mounted with a fore or aft tilt, Ultrascan PC90 can
compensate for up to 14 degrees of tilt in either
direction.
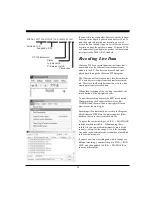
To set the Transducer Level parameter, Run Ultrascan
PC90 when the boat is over a known level bottom. The
vertical display should also appear level. If, however,
the bottom display is slanted upward (as shown in the
“Before Level Adjust” picture at left), it means that the
transducer was mounted with its nose pointing down
slightly. If the bottom slopes upwards by 10 degrees,
the Transducer Level correction should be 10 degrees
DOWN. If the bottom slopes downward, adjust the
Transducer Level in the UP direction to compensate.
After setting the Transducer Level, view the VERT
display to verify the correction.
Before Level Adjust
After Level Adjust
Summary of Contents for ULTRASCAN PC90
Page 1: ......
Page 5: ...5 Specifications 47 How To Obtain Service 51 9 Advanced Networking Information 48 Warranty 55...
Page 53: ...53 This Page for Notes...
Page 54: ...54 This Page for Notes...
Page 56: ...56...